
Use macos-app-skills to Build Native Mac Apps with AI Agents
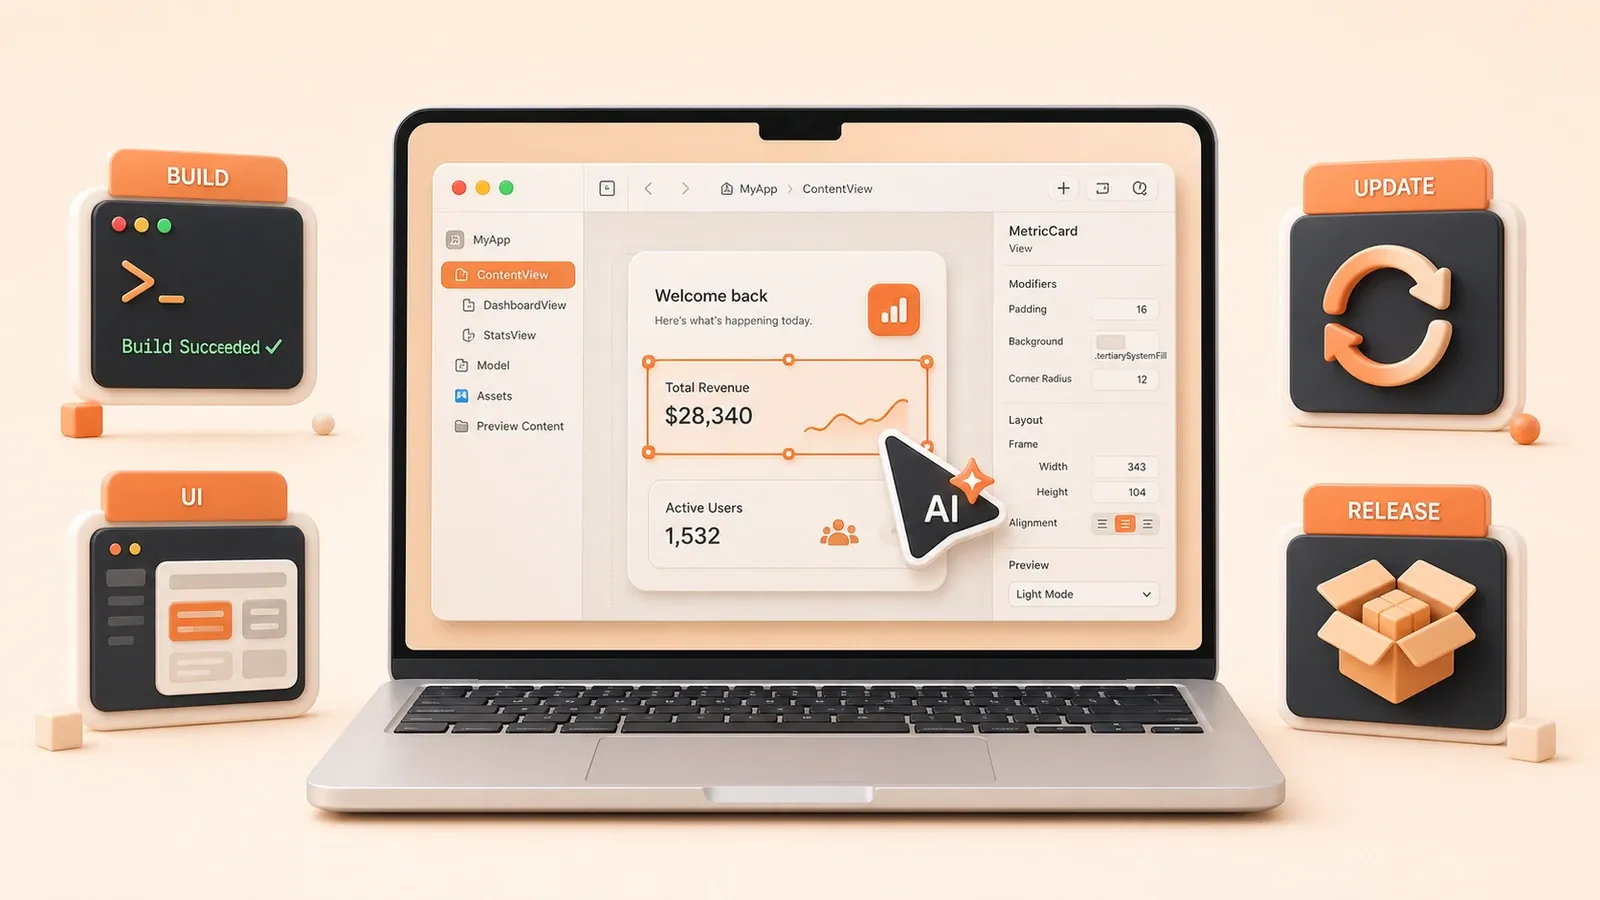
"The fayazara/macos-app-skills README is the primary source for the project's positioning, module list, installation path, system requirements, and capability boundaries around release, auto-update, and notch-ui."
Why did someone use Claude Code to build a macOS app with more than 20,000 lines of code while writing fewer than 1,000 lines by hand? In a 2025 field report, Indragie gives a simple answer: agents building native Mac apps often fall into five traps: confusion around Swift Concurrency, mixing old and new frameworks, calling deprecated APIs, misunderstanding window management, and missing release pipeline steps. Put plainly, the agent does not understand native macOS patterns and starts treating the Mac like a web page.
macos-app-skills is the skill pack built for that problem. It turns scattered WWDC knowledge, incomplete docs, and easy-to-misuse macOS patterns into 7 modules: build, native pattern reference, settings windows, auto update, notch UI, release pipeline, and installation. Each module has a clear sub-contract table: what it is, what it solves, typical usage, commands, flow, limitations, and FAQ. That gives the agent a better first attempt instead of repeated trial and error. Below I will break down the modules, then compare it with fireworks-macapp-creator and claude-swift-skills.
Installation: let the agent load the skill pack
The install command is short:
npx skills add fayazara/macos-app-skills -g -y-g installs it globally, and -y skips the interactive confirmation. After installation, restart the agent so it can load the content inside the skills directory. I previously tried this in OpenCode; after a restart, the skills list included several macos-app-skills modules: build, macos-patterns, settings-ui, auto-update, notch-ui, and release.
Prepare the prerequisites first: macOS 14+, Xcode 15+, and Swift 5.9+. If you want macOS 26 features such as Liquid Glass, you need Xcode 26 beta. Older versions fall back gracefully and do not block the basic workflow.
Agent loading has one common catch: some agents, such as Claude Code, require you to configure the skills directory manually. OpenCode automatically recognizes ~/.config/opencode/skills/, while Cursor expects .agents/skills/ in the project root. To verify loading, ask the agent to list loaded skills, or ask directly, “Do you know the build module in macos-app-skills?” and check whether it can reference the module content.
The common failures fall into two buckets: network and permissions. Accessing GitHub assets from some networks can be slow; use a proxy or retry a few times. Permission errors are usually caused by an unwritable npx cache directory. Prefer manually copying the skills directory over reaching for sudo npx. A third case is version drift. The project was created in 2026-05, and skill counts or names may change, so check the latest GitHub README before installing.
Submodule breakdown
| Submodule | What it is | What it solves | Typical usage | Command | Flow | Limitation | FAQ |
|---|---|---|---|---|---|---|---|
| Install command | Global skill-pack installation through npx | Lets the agent call macOS development skills | Install with one command | npx skills add fayazara/macos-app-skills -g -y | Run command → restart agent → verify loading | Depends on npx and network access | Slow network? Use a proxy or retry |
| Prerequisite check | macOS/Xcode/Swift version requirements | Confirms the environment can run code from the skills | Check system, Xcode, and Swift versions | sw_vers, xcodebuild -version, swift --version | Check versions → compare with README → upgrade if needed | macOS 14+, Xcode 15+, Swift 5.9+ | Can older versions work? Some features degrade |
| Agent loading verification | Confirms the agent has loaded the skills | Verifies whether installation worked | Ask the agent to list skills or test a module reference | No standard command; depends on the agent | Restart agent → ask loading status → test reference | Each agent uses a different config path | Not loaded? Check the configured skills path |
| Common failures | Network, permission, and version issues | Troubleshooting checklist for quick diagnosis | Proxy, permissions, version check | No specific command; follow the checklist | Check network → check permissions → check versions | GitHub access may be slow in some regions | Is sudo safe? Prefer manual directory copy |
build module: build a macOS project from the command line
The build module uses xcodebuild to compile any macOS Xcode project from the command line. In practice, it lets the agent build without clicking around the Xcode GUI.
It solves a few concrete problems: project discovery, such as finding .xcodeproj or .xcworkspace; scheme detection, so the agent knows which targets exist; beta toolchain handling, especially Xcode beta paths; and common build failures such as missing schemes or signing errors. A lot of AI macOS mistakes happen here. The agent does not know which parameters to pass, or it treats an iOS scheme as a macOS scheme.
The typical usage is to have the agent load this skill before running a build. The skill tells the agent how to find the project file, choose a scheme, and handle errors. Example command:
xcodebuild -project MyApp.xcodeproj -scheme MyApp -configuration ReleaseOr with a workspace:
xcodebuild -workspace MyApp.xcworkspace -scheme MyApp -configuration Release clean buildThe flow is roughly: project discovery → scheme detection → build execution → error inspection → iterative fix. The agent first finds .xcodeproj or .xcworkspace, lists available schemes, chooses a suitable one, runs the build, and uses the skill’s troubleshooting checklist when errors appear.

The limitation is clear: it targets Xcode projects, not SwiftPM-only projects. If your project is pure SwiftPM, convert it into an Xcode project or use a different skill. Beta toolchains also have rough edges because Xcode beta versions and paths are not always standard; the skill includes special handling for that.
The most common FAQ is: what if the scheme is missing? Usually the project has no shared scheme, or the scheme name does not match the target name. The skill teaches the agent to run xcodebuild -list before guessing. Another question is beta toolchain handling. The skill points to the Xcode beta path, usually /Applications/Xcode-beta.app, and passes a -destination argument for the platform.
Submodule breakdown
| Submodule | What it is | What it solves | Typical usage | Command | Flow | Limitation | FAQ |
|---|---|---|---|---|---|---|---|
| What it is | Build a macOS project with xcodebuild | Compile from the command line instead of the GUI | Load this skill before the agent builds | See code blocks below | Discover project → detect scheme → build → handle errors | Xcode projects only | SwiftPM project? Convert it to an Xcode project |
| What it solves | Project, scheme, toolchain, and failure handling | The agent does not know which parameters to pass | Find project files, then choose a scheme | Run xcodebuild -list before choosing a scheme | Execute → inspect errors → fix iteratively | Beta toolchain paths are non-standard | Beta toolchain? Specify path and destination |
| Typical usage | Let the agent load the skill before building | Avoids blind parameter guesses | Load the build skill before compilation | No fixed command; the agent uses the skill | Load skill → run build → handle errors | A skill is knowledge, not magic | Agent not loading it? Load manually or check config |
| Command | Standard xcodebuild commands | Gives the agent executable examples | Pass directly to xcodebuild | xcodebuild -project MyApp.xcodeproj -scheme MyApp | Run with parameters → wait → parse errors | Parameters must be correct | How to find the scheme? Use -list |
| Flow | Build → inspect → fix | Standard build loop | Follow the steps | No specific command; this is the logical flow | Discover → detect → build → inspect → fix | Do not skip steps | Build failed? Use the troubleshooting checklist |
| Limitation | Xcode project support scope | States the operating boundary | Use only for Xcode projects | None | None | Does not support SwiftPM directly | Why not SwiftPM? The skill is based on xcodebuild |
| FAQ | Missing scheme and beta toolchain | Answers common build questions | List schemes, specify beta path | xcodebuild -list | Check → query → specify | Beta toolchains need extra config | How to identify beta? Use version and path |
macos-patterns module: stop the agent from treating Mac like web
macos-patterns is the core module in the pack. It turns native macOS patterns into a reference the agent can consult, so it does not apply web UI instincts to a Mac app. Many SwiftUI agent skills have the same weakness: the agent can write web-like UI but does not understand menu bar behavior, window hierarchy, or screen geometry.
The specific pain points include:
- Three menu bar app approaches: MenuBarExtra, the native SwiftUI option; NSStatusItem, the older AppKit option; and NSPopover for popover windows. Agents often mix them up, and the wrong choice leads to a UI that does not feel native.
- Activation policy: Dock icon toggles,
LSUIElement, andNSApplication.setActivationPolicy(). Without this, the agent may make a background app behave like a foreground app. - NSPanel vs NSWindow: floating panels, such as inspectors, behave differently from normal windows. Agents often choose the wrong one.
- Window levels and collection behaviors: CGShieldingWindowLevel, NSWindow.Level, and collectionBehavior for multi-screen and full-screen behavior. Without this, windows jump around or appear at the wrong level.
- Screen geometry: frame vs visibleFrame, whether Dock/menu bar are excluded; flipped Y-axis; multi-display handling. These details are in WWDC videos, but the agent may not know them.
- Three tiers of keyboard shortcuts: SwiftUI
.keyboardShortcut()for simple cases, NSEvent monitors for global handling, and Carbon hotkeys for system-level shortcuts. Agents often pick the wrong tier. - Other patterns: file picker (NSOpenPanel), pasteboard (NSPasteboard), drag and drop (NSDragging), NavigationSplitView + inspector, launch at login (LaunchAgent), Quick Look (QLPreviewPanel), NSWorkspace, ScreenCaptureKit, and UserDefaults/@AppStorage persistence.
Typical usage: load this skill proactively before asking the agent to write macOS UI. If you are building a menu bar app, ask the agent, “Which menu bar approach does macos-patterns recommend?” It should tell you MenuBarExtra is the native SwiftUI path, while NSStatusItem is the older AppKit option.
The pattern list is long, so the skill breaks each one into recommendation/alternative/use case/code example/limitation. Here are a few high-frequency examples.
Menu bar app comparison
| Approach | Recommended or alternative | Use case | Code example | Limitation |
|---|---|---|---|---|
| MenuBarExtra | Recommended | Native SwiftUI, simple cases | MenuBarExtra("App", systemImage: "app") { ContentView() } | macOS 13+ |
| NSStatusItem | Alternative | Complex customization or AppKit interop | NSStatusBar.system.statusItem(withLength: NSStatusItem.squareLength) | Manual lifecycle management |
| NSPopover | Supplemental | Popover window opened from a click | NSPopover() + NSStatusItem | Must be used with NSStatusItem |
Activation policy comparison
| Policy | Recommended scenario | Configuration | Code | Limitation |
|---|---|---|---|---|
| NSApplication.ActivationPolicy.regular | Foreground app with Dock icon | Do not set LSUIElement in Info.plist | Default behavior | Most common |
| NSApplication.ActivationPolicy.accessory | Background app without Dock icon but with menu bar presence | Set LSUIElement=true in Info.plist | NSApplication.shared.setActivationPolicy(.accessory) | Menu bar remains visible |
| NSApplication.ActivationPolicy.prohibited | Fully background process with no UI | LaunchAgent configuration | NSApplication.shared.setActivationPolicy(.prohibited) | No Dock, no menu bar |
Window level comparison
| Type | Level value | Use case | Code | Limitation |
|---|---|---|---|---|
| NSWindow.Level.normal | 0 | Normal window | Default | Most common |
| NSWindow.Level.floating | 3 | Floating window, such as an inspector | window.level = .floating | Does not cover other apps aggressively |
| CGShieldingWindowLevel | Highest | Shielding layer, such as notch UI | window.level = CGShieldingWindowLevel() | Covers everything; use carefully |
Limitation: this module is macOS-only and does not cover iOS. If you need cross-platform patterns, use another skill such as the cross-platform module in claude-swift-skills.
Common FAQ: how do I toggle the Dock icon? Use NSApplication.setActivationPolicy() dynamically. How do I handle multiple displays? Use NSScreen.screens to list screens, and use visibleFrame to get the usable area after excluding Dock/menu bar. What about Y-axis flipping? macOS coordinates start at the lower-left corner, while web coordinates usually start at the upper-left, so the agent needs explicit conversion.
settings-ui module: settings windows and Liquid Glass
settings-ui solves two problems: implementing a proper macOS settings window, and configuring Liquid Glass, the new macOS 26 material. In other words, it helps the agent build a settings window that follows macOS conventions instead of guessing with a plain SwiftUI Window scene.
The pain point is specific: SwiftUI’s Window scene does not support fullSizeContentView, so the settings window cannot extend a transparent background correctly. Misconfigured Liquid Glass also causes the material to render incorrectly. If the agent does not know this, it produces a settings window that feels unlike the system Settings app.
Typical usage: NSWindowController + .fullSizeContentView + NavigationSplitView. The skill provides a complete Swift file that can be copied into a project. Flow:
- Create an NSWindowController
- Configure fullSizeContentView
- Add NavigationSplitView (sidebar + detail)
- Set a transparent background
- Integrate Liquid Glass for macOS 26+
Code example, with the full file provided by the skill:
// SettingsWindowController.swift
class SettingsWindowController: NSWindowController {
    convenience init() {
        let window = NSWindow(
            contentRect: NSRect(x: 0, y: 0, width: 600, height: 400),
            styleMask: [.titled, .closable, .resizable],
            backing: .buffered,
            defer: false
        )
        window.title = "Settings"
        window.fullSizeContentView = true // Key setting
        self.init(window: window)
    }
}
Limitation: Liquid Glass requires macOS 26+. Older systems fall back to ordinary materials. If you do not need Liquid Glass, skip that part and use a standard SwiftUI WindowGroup.
FAQ: how do older systems degrade? The skill provides fallback code that checks the system version and chooses different materials. How do you add a sidebar? Use NavigationSplitView; the skill includes a complete example.
auto-update module: Sparkle auto-update integration
auto-update addresses the timing trap in Sparkle integration. SPUStandardUpdaterController must be created before applicationDidFinishLaunching returns, or update checks can fail. This detail exists in Sparkle’s documentation, but agents often miss it, and users never see update prompts.
Typical usage: UpdaterManager singleton + Info.plist configuration + EdDSA key generation. The skill provides UpdaterManager.swift for direct reuse.
Flow:
- Add the SPM dependency for Sparkle
- Create the UpdaterManager singleton
- Configure Info.plist (
SUFeedURL,SUPublicEDKey) - Generate an EdDSA key with Sparkle
sign_update - Add UI controls, such as a settings toggle and a menu bar button
Code example, with the full file provided by the skill:
// UpdaterManager.swift
class UpdaterManager {
    static let shared = UpdaterManager()
    private var updaterController: SPUStandardUpdaterController!

    init() {
        // Must be created before applicationDidFinishLaunching returns
        updaterController = SPUStandardUpdaterController(
            startingUpdater: true,
            updaterDelegate: nil,
            userDriverDelegate: nil
        )
    }
}
Limitation: this is for distribution outside the Mac App Store. If you ship through the App Store, you cannot use Sparkle; use the App Store’s built-in update mechanism instead.
FAQ: how do I generate an EdDSA key? Use Sparkle’s sign_update tool; the skill includes the detailed steps. How do I test updates? Run a local feed server or trigger an update check after a release.
notch-ui module: Dynamic Island-style UI around the notch
notch-ui handles a Dynamic Island-style floating UI around the MacBook notch. In plain terms, it helps the agent write something closer to the iPhone 14 Pro interaction pattern instead of placing a random normal window at the top of the screen.
The pain points are specific NSPanel settings (borderless, CGShieldingWindowLevel), screen geometry math for notch positioning, and custom shape drawing with concave Bezier “ear” curves. Without those details, the agent produces the wrong position or the wrong shape. Many Notch UI macOS SwiftUI projects hit these problems.
Typical usage: borderless NSPanel + CGShieldingWindowLevel + NotchShape. The skill provides NotchWindow.swift and NotchShape.swift for direct reuse.
Flow:
- Create a borderless NSPanel
- Set CGShieldingWindowLevel
- Implement NotchShape with concave Bezier “ear” curves
- Add spring animation
- Provide a fallback pill mode for Macs without a notch
Code example, with the full file provided by the skill:
// NotchWindow.swift
class NotchWindow: NSPanel {
    init() {
        super.init(
            contentRect: calculateNotchFrame(),
            styleMask: [.borderless],
            backing: .buffered,
            defer: false
        )
        level = CGShieldingWindowLevel() // Key setting
        backgroundColor = .clear
    }
}
Limitation: it only fits MacBooks with a notch. Other Macs, such as iMacs and Mac minis, should use the fallback pill mode. If you do not need notch UI, ignore this module.
FAQ: what happens on a Mac without a notch? The skill provides a fallback pill mode centered at the top. How do I adjust position? Calculate it from screen size and notch position; the skill includes the math.
release module: the full macOS release pipeline
release handles the complexity of macOS distribution. The 8+ manual steps are easy to miss or run in the wrong order: version bump, archive, notarize, export, DMG creation, EdDSA signing, appcast.xml update, and GitHub release. If the agent does not know the full flow, one missing step can break the release or prevent update delivery.
Typical usage: add release.json and run the Go CLI. The skill provides a Go CLI that you can use directly.
Flow, in 8 steps:
- Version bump: update the version in Info.plist and project files
- Archive: package with
xcodebuild archive - Notarize: submit with
notarytool - Export: export the
.appwithxcodebuild -exportArchive - DMG creation: build an installer with
create-dmg - EdDSA signing: sign with Sparkle
sign_update - appcast.xml update: update the feed with Sparkle
generate_appcast - GitHub release: publish with
gh release create
Command example:

# Go CLI
go run github.com/fayazara/macos-app-skills/release/cli@latest
Or run each step manually; the skill includes a full command list:
# Archive
xcodebuild -project MyApp.xcodeproj -scheme MyApp archive

# Notarize
notarytool submit MyApp.zip --apple-id YOUR_ID --password YOUR_PASSWORD --team-id YOUR_TEAM

# Export
xcodebuild -exportArchive -archivePath MyApp.xcarchive -exportOptionsPlist ExportOptions.plist -exportPath .

# DMG
create-dmg --volname "MyApp" --volicon "icon.icns" MyApp.app MyApp.dmg

# EdDSA signing
sign_update MyApp.dmg

# appcast.xml
generate_appcast MyApp.app

# GitHub release
gh release create v1.0.0 MyApp.dmg --title "v1.0.0" --notes "Release notes"
Limitation: you need GitHub CLI and a Sparkle EdDSA key. Without gh, the final step stalls. Without an EdDSA key, signing stalls.
FAQ: how do I configure release.json? The skill provides a template with version, notarization credentials, DMG settings, and related fields. How do I handle notarization failure? Read the notarytool error log; the skill includes a troubleshooting checklist.
Submodule breakdown
| Submodule | What it is | What it solves | Typical usage | Command | Flow | Limitation | FAQ |
|---|---|---|---|---|---|---|---|
| What it is | Full release pipeline + Go CLI | Automates the 8-step macOS release flow | release.json + Go CLI | go run github.com/fayazara/macos-app-skills/release/cli@latest | Version bump → Archive → Notarize → Export → DMG → EdDSA → appcast → GitHub | Requires GitHub CLI and Sparkle key | No GitHub CLI? Publish manually to GitHub |
| What it solves | 8+ manual steps that are easy to miss | Missing steps can break the release | Load the skill and follow the flow | No specific command; use the step checklist | Execute each step → inspect errors → iterate | Do not skip steps | Step failed? Use the troubleshooting checklist |
| Typical usage | release.json + Go CLI | Standard release implementation | Add release.json, run CLI | See code block above | Configure → run → inspect result | release.json needs manual configuration | How to write release.json? Use the skill template |
| CLI | Go CLI tool | Automates the release process | One command for the release | go run github.com/.../cli@latest | Run CLI → wait → inspect result | Go environment | No Go? Run each step manually |
| Flow | 8-step release process | Clear release checklist | Follow the steps manually or via CLI | No specific command; this is logic | bump → Archive → Notarize → Export → DMG → EdDSA → appcast → GitHub | Keep the order | Can I change the order? Not recommended |
| Limitation | GitHub CLI + Sparkle key | States required prerequisites | Check gh and key setup | gh --version, sign_update --help | Check → configure → execute | Missing tools block the flow | How to configure the Sparkle key? Use sign_update |
| FAQ | release.json configuration and notarization failure | Answers common questions | Use the template and troubleshooting list | No specific command | Read template → configure → handle errors | Notarization can fail repeatedly | Notarization failed? Read the notarytool log |
Three comparable projects: which skill pack should you choose?
Besides macos-app-skills, two similar skill packs are worth comparing: fireworks-macapp-creator and claude-swift-skills. Their positioning is different enough that the right choice depends on the project.
Positioning differences
| Project | Positioning | Module count | Traits |
|---|---|---|---|
| macos-app-skills | Modular features focused on macOS-specific scenarios | 7 modules | build, macos-patterns, settings-ui, auto-update, notch-ui, release, installation |
| fireworks-macapp-creator | Architecture + style system + scaffold tool | 8 styles | Python scaffold tool, SwiftUI-first + AppKit interop, style-driven UI |
| claude-swift-skills | Full-stack Swift + iOS/macOS + WWDC 2025 | 22 skills | Swift 6.2, SwiftUI, SwiftData, Liquid Glass, Foundation Models, iOS/macOS cross-platform |
Use-case comparison
| Scenario | macos-app-skills | fireworks-macapp-creator | claude-swift-skills |
|---|---|---|---|
| macOS-only app | Recommended | Usable | Too heavy; includes iOS |
| macOS + iOS cross-platform | Does not support iOS | Does not support iOS | Recommended |
| Need a release pipeline | Has release module | Has some coverage, less detailed than macos-app-skills | Has macos-distribution |
| Need a style system | No style system | 8 preset styles | No style system |
| Need WWDC 2025 features | Partial coverage, such as Liquid Glass | Partial coverage | Broad WWDC 2025 coverage |
| Need a scaffold tool | No scaffold | Python tool generates SwiftPM projects | No scaffold |
Recommendation
The choice mainly depends on three factors: platform scope, feature needs, and WWDC coverage.
macOS-only apps: choose macos-app-skills or fireworks-macapp-creator. If you need a release pipeline and notch UI, choose macos-app-skills. If you need a full scaffold and style system, choose fireworks.
macOS + iOS cross-platform: choose claude-swift-skills. It is the only one here that covers iOS, and it includes Foundation Models for local LLM work, a tech-stack validator, PRD architecture tooling, and 22 skills.
WWDC 2025 features: choose claude-swift-skills. It covers WWDC 2025 more broadly, including Liquid Glass, Swift 6.2, and newer SwiftData features.
I have tried all three packs, and the trade-offs are clear. macos-app-skills is the lightest and easiest to start with. fireworks-macapp-creator is the most complete for new projects. claude-swift-skills is the broadest option for cross-platform work and WWDC features. The final choice still comes down to your exact project.
Conclusion
macos-app-skills is a practical toolkit for AI agents building native macOS apps. It turns 7 modules, build, macos-patterns, settings-ui, auto-update, notch-ui, release, and installation, into fine-grained contract tables so the agent has fewer chances to stumble on the first pass. In real projects, you still need to check your local Xcode, Swift version, signing, notarization, Sparkle keys, and the agent model itself. Do not treat skills as an automatic release guarantee.
Selection advice: for macOS-only apps, choose macos-app-skills or fireworks; for macOS + iOS cross-platform apps, choose claude-swift-skills; for a release pipeline, choose macos-app-skills; for a style system, choose fireworks; for WWDC 2025 features, choose claude-swift-skills.
Next step: install macos-app-skills with npx skills add fayazara/macos-app-skills -g -y, compare it with the alternatives based on your project needs, and review AGENTS.md best practices. If something breaks, start with the FAQ and troubleshooting checklist inside the skill.
How to connect macos-app-skills to an AI coding agent
A minimal workflow from installation and agent reload to module-level usage and troubleshooting.
⏱️ Estimated time: 20 min
- 1
Step 1: Check your local environment
Confirm macOS 14+, Xcode 15+, and Swift 5.9+, then verify versions with `sw_vers`, `xcodebuild -version`, and `swift --version`. - 2
Step 2: Install the skill pack
Run `npx skills add fayazara/macos-app-skills -g -y`, or manually copy the repository's skill directory into your agent's skills path. - 3
Step 3: Restart and verify loading
Restart the agent, ask it to list loaded skills, or directly ask whether modules such as build, macos-patterns, and settings-ui are available. - 4
Step 4: Load the right module for the task
Use build for compilation, macos-patterns for menu bar/window/hotkey work, and the dedicated modules for settings windows, auto update, notch UI, or release. - 5
Step 5: Keep a human review step
Manually verify signing, notarization, Sparkle keys, permissions, third-party scripts, and release actions. A skill gives the agent patterns and checklists; it does not absorb release risk for you.
FAQ
What is macos-app-skills?
Why do agents often get macOS apps wrong?
Which module should I start with?
Can it replace Xcode and manual release checks?
What should I check before installing a third-party skill?
18 min read · Published on: Jul 17, 2026 · Modified on: Jul 27, 2026

AI Agent Toolbox: Codex, Claude Code, Skills, and Gateways
If you landed here from search, the fastest way to build context is to jump to the previous or next post in this same series.
Previous
How to Use LazyCodex for Codex Memory, Planning, and Verification
See how LazyCodex adds hierarchical AGENTS.md context, durable plan execution, and evidence-based verification to Codex, with setup steps and Codex Light boundaries.
Part 2 of 7
Next
guizang-social-card-skill: Generate Social Cards with Claude Code
A practical guide to using guizang-social-card-skill in Claude Code or Codex to batch-generate Rednote cards and WeChat covers, covering installation, canvas sizes, rendering, validation, asset licensing, and AGPL-3.0 risk.
Part 4 of 7


Comments
Sign in with GitHub to leave a comment