Astro i18n Configuration Guide: Build a Multilingual Site in 30 Minutes (with Language Switcher)
Introduction
Have you ever experienced this? You spent two weeks building a beautiful Astro blog, ready to launch it to the international market, only to realize you don’t know how to add multilingual support. You open astro.config.mjs and see locales, defaultLocale, prefixDefaultLocale… these configuration options make no sense. When it comes to organizing multilingual content, you’re not sure whether to organize by pages or by languages. What the heck are Content Collections? The most frustrating part is the language switcher - you have absolutely no idea where to start.
To be honest, when I first configured Astro i18n, I spent an entire afternoon trying to figure out whether prefixDefaultLocale should be true or false. Later I discovered that Astro’s i18n configuration isn’t that complicated; it’s just that the official documentation is too technical.
In this article, I’ll walk you through the entire Astro i18n configuration process using plain language. From basic configuration to language switcher, every step comes with complete code. You’ll be able to make your website support multiple languages in 30 minutes. Whether you want to create a bilingual blog or a product website for the global market, this guide will help you.
Astro i18n Basic Configuration (Done in 10 Minutes)
Understanding astro.config.mjs Configuration
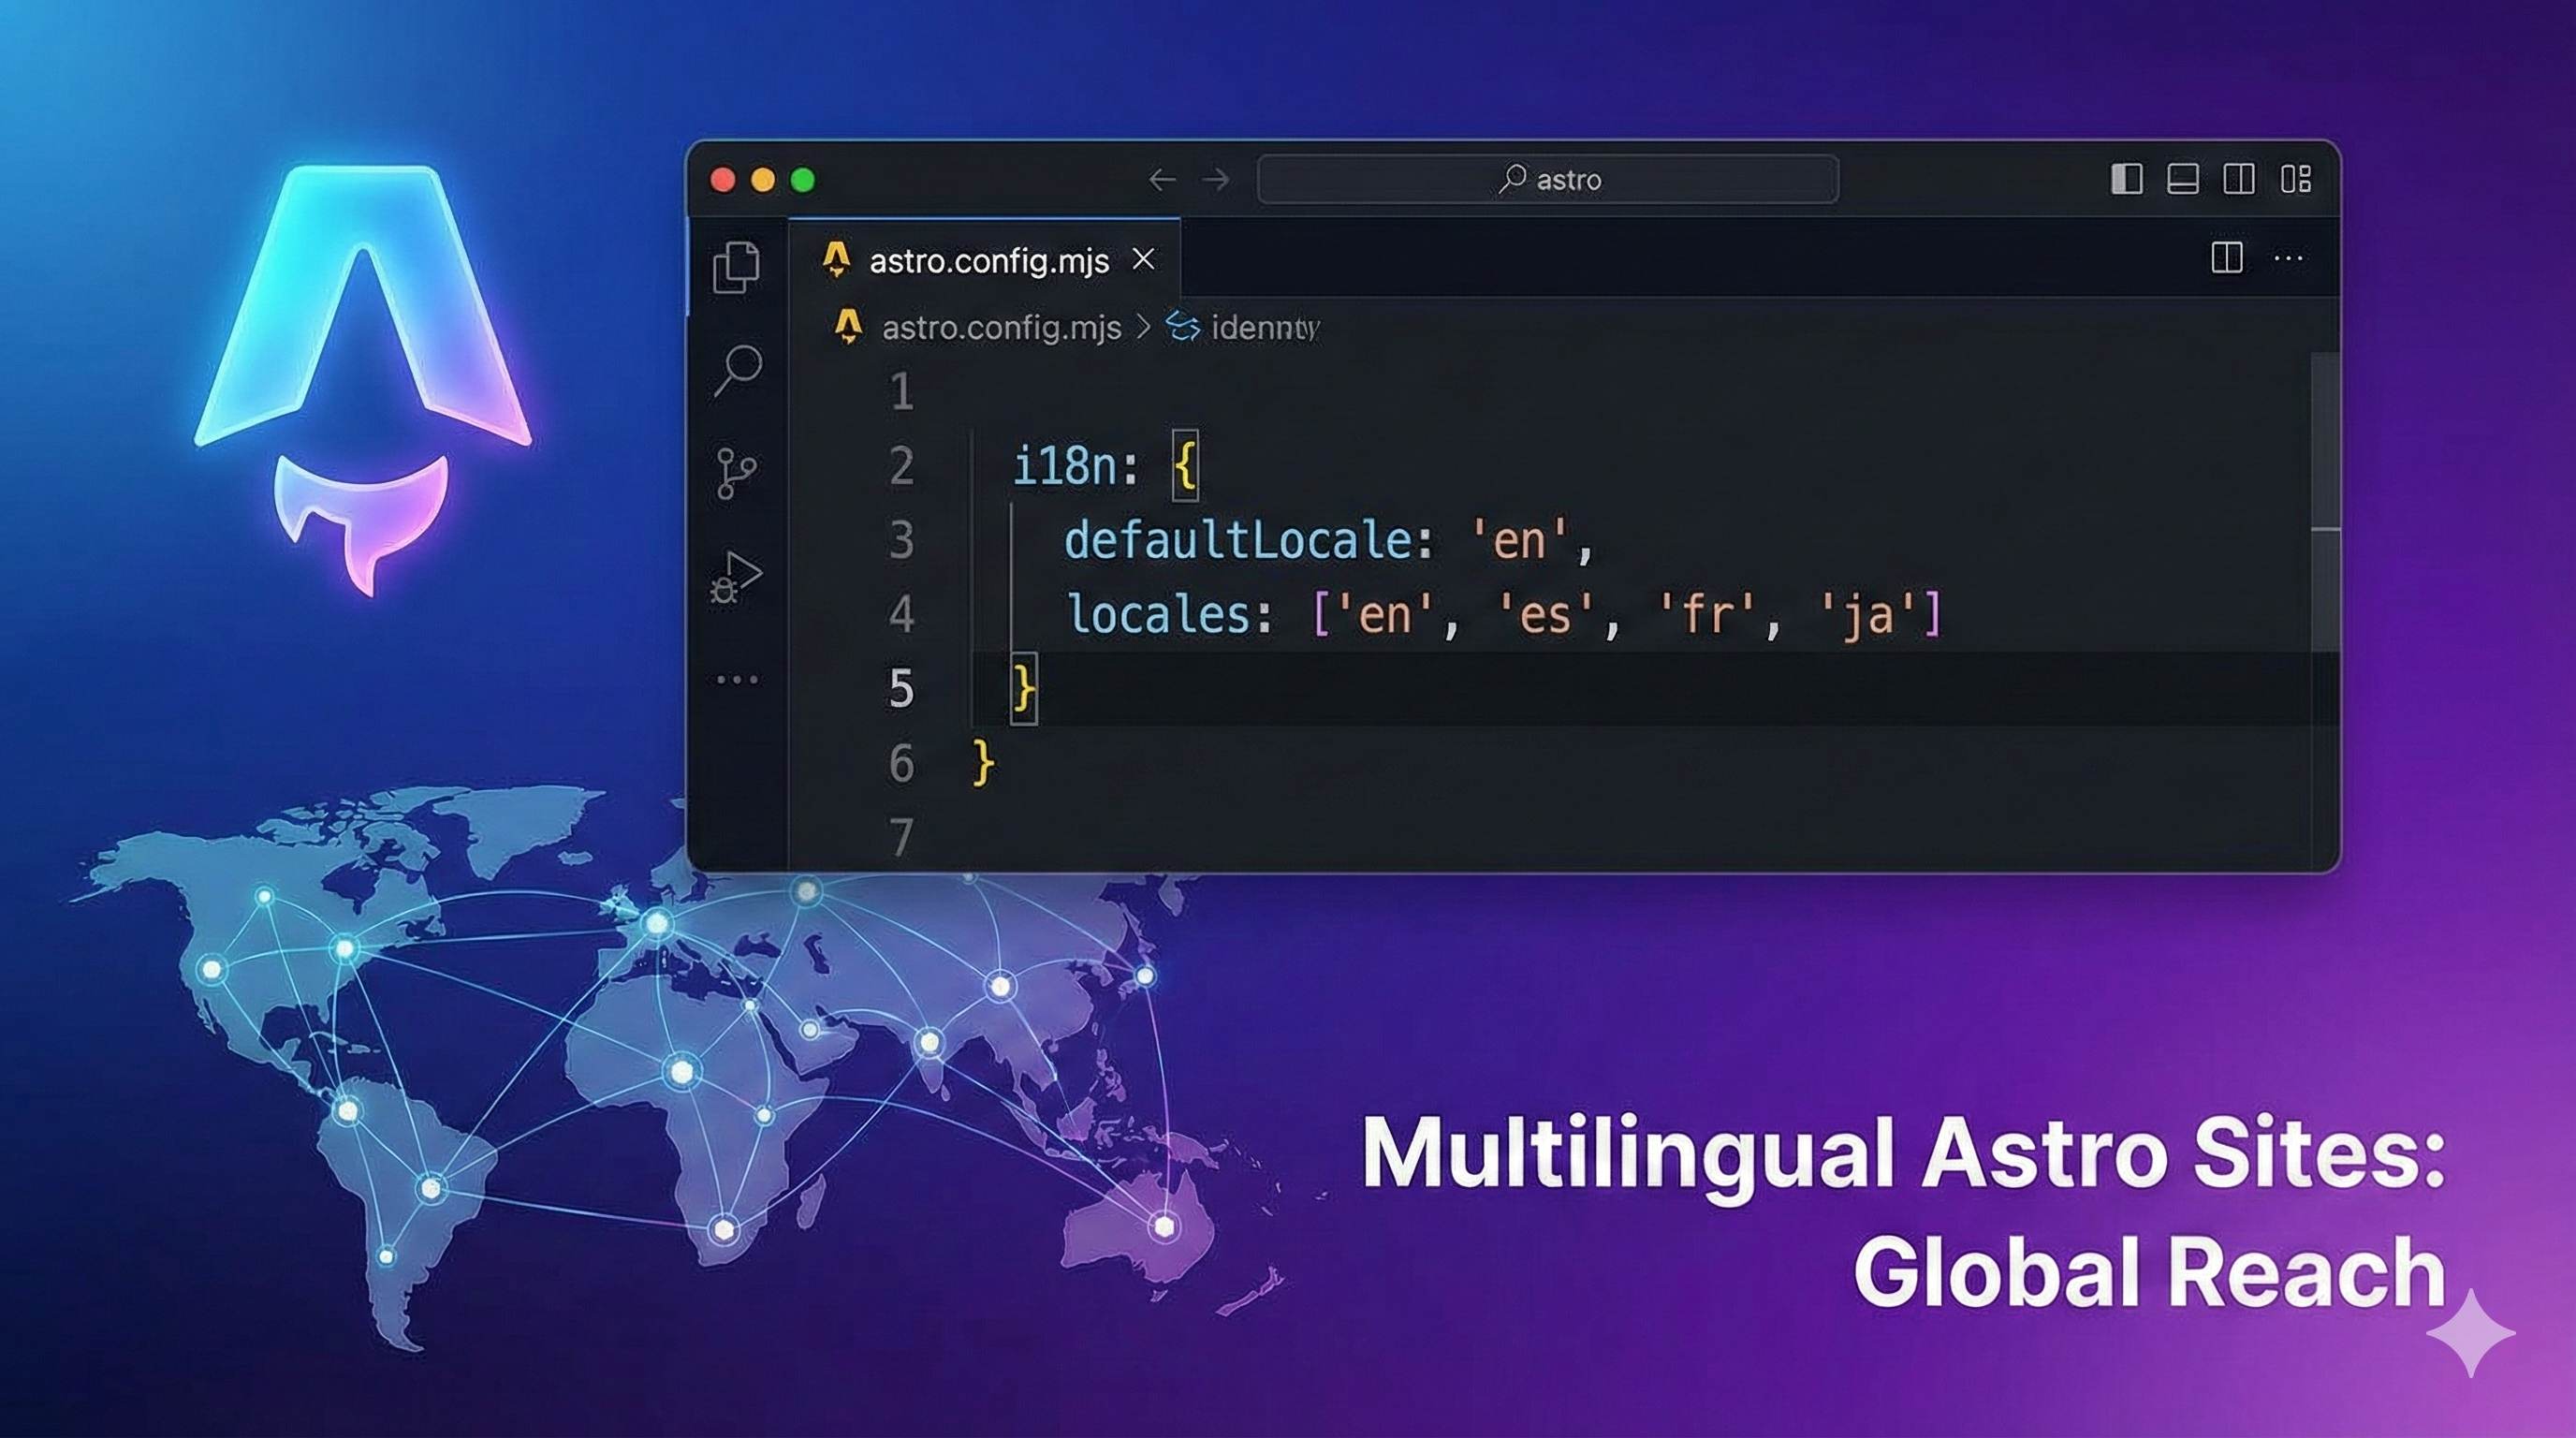
Let’s start with the most important part - the configuration file. Astro v4.0 introduced built-in i18n support, and it’s pretty simple to configure. Open your astro.config.mjs and add these lines:
// astro.config.mjs
import { defineConfig } from 'astro/config';

export default defineConfig({
  i18n: {
    // Tell Astro which languages your site supports
    locales: ['en', 'zh-cn', 'ja'],

    // Default language (must be one from the locales array)
    defaultLocale: 'en',

    // Whether to add path prefix for default language
    prefixDefaultLocale: false,
  }
});
Let’s go through these configuration options one by one:
locales - The languages your website supports. Use standard language codes like 'en' (English), 'zh-cn' (Simplified Chinese), 'ja' (Japanese). If you need more granular language distinctions, you can write them as 'en-US', 'en-GB'.
defaultLocale - The default language, what visitors see when they first come to your site. This value must be one of the locales in the array, otherwise Astro will throw an error.
prefixDefaultLocale - This is a configuration I struggled with for a long time. When set to false, the default language’s URL doesn’t have a language prefix (like /about), while other languages do (like /zh-cn/about, /ja/about). When set to true, all languages have prefixes (/en/about, /zh-cn/about).
In most cases, false is enough as it makes the default language’s URLs more concise. If you particularly care about URL consistency or have special SEO needs, consider true.
Comparing Three Routing Strategies
Astro’s i18n routing actually has three strategies. Let’s compare them in a table to see which one suits you:
| Strategy | Configuration | URL Examples | Use Cases | Pros & Cons |
|---|---|---|---|---|
| Strategy 1: No Prefix for Default | prefixDefaultLocale: false | /about/zh-cn/about/ja/about | Most websites (recommended) | ✅ Clean URLs for default language ❌ Inconsistent URL format |
| Strategy 2: Prefix for All | prefixDefaultLocale: true | /en/about/zh-cn/about/ja/about | Need URL consistency or special SEO requirements | ✅ Consistent URL format ✅ Simpler language switching logic ❌ Slightly longer default language URLs |
| Strategy 3: Manual Mode | routing: 'manual' | Fully customizable | Complex multilingual needs Need complete routing control | ✅ Highly flexible ❌ Complex configuration, many things to handle yourself |
My recommendation is: if your project is relatively simple (like a blog or documentation site), just use strategy 1. If you want neater URLs, use strategy 2. Strategy 3 is for projects with special needs, like dynamically selecting language based on user behavior or using different subdomains for different languages.
At this point, you might be thinking: I just want to create a bilingual Chinese-English blog, can I just copy the config above and modify it? Exactly, it’s that simple. Change locales to ['zh-cn', 'en'], set defaultLocale to 'zh-cn' (assuming your main audience is Chinese users), and you’re done.
Organizing Multilingual Content (Choose Your Approach)
With configuration done, the next step is organizing multilingual content. This is where many people get stuck - how should files be arranged? Astro actually gives you two paths; it’s up to which one you prefer.
Approach 1: Organize by Language Folders (Recommended for Beginners)
This is the most intuitive way, one folder per language, like this:
src/pages/
├── about.astro        # Default language (assume Chinese)
├── blog.astro
├── index.astro
├── en/                # English version
│   ├── about.astro
│   ├── blog.astro
│   └── index.astro
└── ja/                # Japanese version
    ├── about.astro
    ├── blog.astro
    └── index.astro
Note that if you’re using prefixDefaultLocale: false (no prefix for default language), then default language files go directly in the pages root directory. Only other languages need corresponding subfolders.
The advantage of this approach is clear structure - each language’s pages are independent and won’t affect each other when modified. The downside is if you have many pages, you’ll have lots of duplicate files and code. For example, with 20 pages supporting 5 languages, you’d need to maintain 100 files - just thinking about it is overwhelming.
Approach 2: Dynamic Routing (Recommended for Advanced Users)
If you find approach 1 too cumbersome, try dynamic routing. Just one file can handle all languages:
src/pages/
└── [lang]/
    └── [...slug].astro
Then in [...slug].astro, dynamically render content based on the lang parameter:
---
// src/pages/[lang]/[...slug].astro
export function getStaticPaths() {
  const locales = ['zh-cn', 'en', 'ja'];
  const slugs = ['about', 'blog', 'contact'];

  return locales.flatMap((lang) =>
    slugs.map((slug) => ({
      params: { lang, slug },
    }))
  );
}

const { lang, slug } = Astro.params;
// Load corresponding content based on lang and slug
---
This approach has high code reusability and low maintenance costs, but requires understanding Astro’s dynamic routing logic. If you’re new to Astro, I suggest starting with approach 1 and considering approach 2 once you’re comfortable.
Content Collections Multilingual Approach (Essential for Blogs)
Having talked so much about page files, actually for blogs, Content Collections is the key. This is Astro’s recommended content management approach, especially suitable for content-focused websites like blogs and documentation.
The directory structure looks like this:
src/content/
└── blog/
    ├── en/
    │   ├── post-1.md
    │   └── post-2.md
    ├── zh-cn/
    │   ├── post-1.md
    │   └── post-2.md
    └── ja/
        ├── post-1.md
        └── post-2.md
Then define the schema in src/content/config.ts:
// src/content/config.ts
import { defineCollection, z } from 'astro:content';

const blogCollection = defineCollection({
  schema: z.object({
    title: z.string(),
    author: z.string(),
    date: z.date(),
    lang: z.enum(['en', 'zh-cn', 'ja']),  // Language field
  }),
});

export const collections = {
  blog: blogCollection,
};
In pages, get articles for the corresponding language:
---
// src/pages/blog/index.astro
import { getCollection } from 'astro:content';

const currentLang = Astro.currentLocale;  // Get current language
const posts = await getCollection('blog', ({ data }) => {
  return data.lang === currentLang;  // Only get articles for current language
});
---
This way, articles will automatically display in the user’s selected language. Astro’s official documentation website uses this approach to manage multilingual content, so reliability isn’t an issue.
UI Translation File Management
Besides content files, you need to translate some fixed UI text, like navigation, buttons, form labels. I recommend creating a translation dictionary:
// src/i18n/ui.ts
export const ui = {
  'en': {
    'nav.home': 'Home',
    'nav.about': 'About',
    'nav.blog': 'Blog',
    'btn.readMore': 'Read More',
  },
  'zh-cn': {
    'nav.home': '首页',
    'nav.about': '关于',
    'nav.blog': '博客',
    'btn.readMore': '阅读更多',
  },
  'ja': {
    'nav.home': 'ホーム',
    'nav.about': '概要',
    'nav.blog': 'ブログ',
    'btn.readMore': '続きを読む',
  },
} as const;
Write two helper functions:
// src/i18n/utils.ts
import { ui } from './ui';

// Get current language from URL
export function getLangFromUrl(url: URL) {
  const [, lang] = url.pathname.split('/');
  if (lang in ui) return lang as keyof typeof ui;
  return 'zh-cn';  // Default language
}

// Get translation function
export function useTranslations(lang: keyof typeof ui) {
  return function t(key: keyof typeof ui[typeof lang]) {
    return ui[lang][key] || ui['zh-cn'][key];
  }
}
Use it in components:
---
// Some component
import { getLangFromUrl, useTranslations } from '@/i18n/utils';

const lang = getLangFromUrl(Astro.url);
const t = useTranslations(lang);
---

<nav>
  <a href="/">{t('nav.home')}</a>
  <a href="/about">{t('nav.about')}</a>
  <a href="/blog">{t('nav.blog')}</a>
</nav>
This approach is simple and practical - all translations are concentrated in one file, making it easy to modify. Of course, if you have many translation texts, you can split them into multiple JSON files organized by module.
Implementing Language Switcher (Complete Code Included)
Configuration and content organization are done. Now comes the most crucial part - the language switcher. To be honest, this was the part that gave me the most headaches initially. I studied implementations on several websites before figuring it out. But once you understand Astro’s helper functions, it’s actually quite simple.
Understanding Astro i18n Helper Functions
Astro provides several super useful functions specifically for handling multilingual URLs. Let’s get familiar with them:
getRelativeLocaleUrl(locale, path) - Get relative path for a language.
import { getRelativeLocaleUrl } from 'astro:i18n';

// Get URL for English about page
const url = getRelativeLocaleUrl('en', 'about');
// Returns: '/en/about' or '/about' (depends on your config)
getAbsoluteLocaleUrl(locale, path) - Get absolute path (full URL with domain).
import { getAbsoluteLocaleUrl } from 'astro:i18n';

const url = getAbsoluteLocaleUrl('en', 'about');
// Returns: 'https://example.com/en/about'
Astro.currentLocale - Get current page’s language.
---
const currentLang = Astro.currentLocale;
// Returns: 'zh-cn', 'en', etc.
---
Astro.preferredLocale - Get user’s browser preferred language (if your site supports it).
---
const browserLang = Astro.preferredLocale;
// Returns: user's browser language setting (if in your locales)
---
With these tools, we can start building the language switcher.
Building Language Switcher Component
I created a simple and practical language switcher that you can directly copy and paste:
---
// src/components/LanguageSwitcher.astro
import { getRelativeLocaleUrl } from 'astro:i18n';

// All supported languages (better to read from config file, hardcoded here for demo)
const locales = {
  'zh-cn': '简体中文',
  'en': 'English',
  'ja': '日本語',
};

// Get current language and current path
const currentLang = Astro.currentLocale || 'zh-cn';
const currentPath = Astro.url.pathname
  .replace(`/${currentLang}/`, '/')  // Remove language prefix
  .replace(/^\//, '');  // Remove leading slash
---

<div class="language-switcher">
  <button class="lang-button">
    {locales[currentLang]} ▼
  </button>
  <div class="lang-dropdown">
    {Object.entries(locales).map(([lang, label]) => {
      const url = getRelativeLocaleUrl(lang, currentPath);
      return (
        <a
          href={url}
          class={lang === currentLang ? 'active' : ''}
        >
          {label}
        </a>
      );
    })}
  </div>
</div>

<style>
  .language-switcher {
    position: relative;
    display: inline-block;
  }

  .lang-button {
    padding: 8px 16px;
    background: #f3f4f6;
    border: 1px solid #d1d5db;
    border-radius: 6px;
    cursor: pointer;
  }

  .lang-button:hover {
    background: #e5e7eb;
  }

  .lang-dropdown {
    display: none;
    position: absolute;
    top: 100%;
    right: 0;
    margin-top: 4px;
    background: white;
    border: 1px solid #d1d5db;
    border-radius: 6px;
    box-shadow: 0 4px 6px rgba(0, 0, 0, 0.1);
    min-width: 150px;
  }

  .language-switcher:hover .lang-dropdown {
    display: block;
  }

  .lang-dropdown a {
    display: block;
    padding: 10px 16px;
    color: #374151;
    text-decoration: none;
    transition: background 0.2s;
  }

  .lang-dropdown a:hover {
    background: #f3f4f6;
  }

  .lang-dropdown a.active {
    background: #dbeafe;
    color: #1e40af;
    font-weight: 500;
  }
</style>

<script>
  // Mobile tap toggle
  document.querySelector('.lang-button')?.addEventListener('click', (e) => {
    e.stopPropagation();
    const dropdown = document.querySelector('.lang-dropdown');
    dropdown?.classList.toggle('show');
  });

  // Close on outside click
  document.addEventListener('click', () => {
    document.querySelector('.lang-dropdown')?.classList.remove('show');
  });
</script>
To use it, import it in your Layout or navigation:
---
// src/layouts/Layout.astro
import LanguageSwitcher from '@/components/LanguageSwitcher.astro';
---

<header>
  <nav>
    <!-- Other nav items -->
    <LanguageSwitcher />
  </nav>
</header>
The core logic of this component is:
- Get current language and current path
- Generate corresponding URL for each supported language
- Highlight current language
- Switch to corresponding language’s page on click
Did you notice I used getRelativeLocaleUrl(lang, currentPath) to generate URLs? This ensures that after switching languages, users stay on the same page’s different language version, rather than jumping back to the homepage.
Browser Language Detection (Optional but Recommended)
Sometimes you want users to automatically jump to their browser’s set language on first visit. This can be implemented using middleware:
// src/middleware.ts
import { defineMiddleware } from 'astro:middleware';

export const onRequest = defineMiddleware((context, next) => {
  const url = context.url;
  const currentLocale = context.currentLocale;
  const preferredLocale = context.preferredLocale;

  // If accessing root path and browser language differs from current, auto redirect
  if (url.pathname === '/' && preferredLocale && preferredLocale !== currentLocale) {
    return context.redirect(`/${preferredLocale}/`);
  }

  return next();
});
This way, users will automatically jump to their familiar language on first visit. However, be careful not to force redirect every time, or users will be redirected back after manually switching languages, which is a terrible experience.
A better approach is combining with Cookie to remember user choice:
// Improved middleware
export const onRequest = defineMiddleware((context, next) => {
  const url = context.url;
  const currentLocale = context.currentLocale;
  const preferredLocale = context.preferredLocale;
  const savedLang = context.cookies.get('user-lang')?.value;

  // Prioritize user's saved language preference
  if (savedLang && savedLang !== currentLocale && url.pathname === '/') {
    return context.redirect(`/${savedLang}/`);
  }

  // Otherwise use browser language
  if (!savedLang && url.pathname === '/' && preferredLocale && preferredLocale !== currentLocale) {
    context.cookies.set('user-lang', preferredLocale, {
      path: '/',
      maxAge: 31536000,  // 1 year
    });
    return context.redirect(`/${preferredLocale}/`);
  }

  return next();
});
Then in the language switcher, also update Cookie when switching languages:
<script>
  document.querySelectorAll('.lang-dropdown a').forEach((link) => {
    link.addEventListener('click', (e) => {
      const lang = e.target.getAttribute('data-lang');
      document.cookie = `user-lang=${lang}; path=/; max-age=31536000`;
    });
  });
</script>
This way, user’s language preference is remembered and will directly display their chosen language on next visit.
Advanced Techniques (fallback, Domain Mapping, SEO)
Basic features are done. Now let’s talk about some advanced techniques. If your project is relatively simple, you can skip this part and come back when needed.
Fallback Strategy Configuration
Suppose you’re gradually translating website content, and some Japanese pages haven’t been translated yet. If users access non-existent Japanese pages, you want to display the English version as fallback. This is the fallback strategy:
// astro.config.mjs
export default defineConfig({
  i18n: {
    locales: ['en', 'zh-cn', 'ja'],
    defaultLocale: 'en',
    fallback: {
      ja: 'en',      // Show English if Japanese not found
      'zh-cn': 'en', // Show English if Chinese not found too
    },
  }
});
With this configuration, if /ja/some-page doesn’t exist, Astro will automatically display /en/some-page content instead of a 404 page. This feature is especially useful for websites whose content is still being translated.
Custom Domain Mapping
Some internationalized products configure different domains for different languages, like:
- English:
example.com - Chinese:
example.cn - Japanese:
example.jp
Astro also supports this configuration, but note that domain mapping only works in SSR (Server-Side Rendering) mode:
// astro.config.mjs
export default defineConfig({
  output: 'server',  // Must enable SSR
  adapter: node(),   // Need adapter configuration
  i18n: {
    locales: ['en', 'zh-cn', 'ja'],
    defaultLocale: 'en',
    domains: {
      'zh-cn': 'https://example.cn',
      ja: 'https://example.jp',
    },
  }
});
After configuration, Chinese content will automatically deploy to example.cn, Japanese content to example.jp. If your project is a static website (default mode), you can’t use this feature.
SEO Optimization Points
For multilingual website SEO optimization, the main thing is telling search engines “what language versions this page has”. The most important is the hreflang tag.
Good news is, Astro’s i18n SEO support is friendly. As long as you configure correctly, much work is automatic. But there are a few things you need to handle manually:
1. Add hreflang Tags in Layout
---
// src/layouts/Layout.astro
import { getAbsoluteLocaleUrl } from 'astro:i18n';

const locales = ['en', 'zh-cn', 'ja'];
const currentPath = Astro.url.pathname
  .replace(/^\/(en|zh-cn|ja)\//, '')
  .replace(/^\//, '');
---

<html>
<head>
  <!-- Add hreflang tag for each language -->
  {locales.map((lang) => (
    <link
      rel="alternate"
      hreflang={lang}
      href={getAbsoluteLocaleUrl(lang, currentPath)}
    />
  ))}

  <!-- Add default language tag -->
  <link
    rel="alternate"
    hreflang="x-default"
    href={getAbsoluteLocaleUrl('en', currentPath)}
  />

  <!-- Localized meta description -->
  <meta name="description" content={description[currentLang]} />

  <!-- Canonical URL -->
  <link rel="canonical" href={getAbsoluteLocaleUrl(currentLang, currentPath)} />
</head>
</html>
2. sitemap.xml Multilingual Configuration
If you’re using the @astrojs/sitemap plugin, it will automatically generate sitemaps for each language. Just ensure you’ve configured the site parameter:
// astro.config.mjs
import sitemap from '@astrojs/sitemap';

export default defineConfig({
  site: 'https://example.com',  // Must configure
  integrations: [sitemap()],
});
3. Localized meta Information
Don’t forget to translate title, description, keywords and other meta information to corresponding languages:
---
const meta = {
  'en': {
    title: 'Welcome to My Blog',
    description: 'A blog about web development',
  },
  'zh-cn': {
    title: '欢迎来到我的博客',
    description: '一个关于 Web 开发的博客',
  },
};

const currentLang = Astro.currentLocale || 'en';
---

<head>
  <title>{meta[currentLang].title}</title>
  <meta name="description" content={meta[currentLang].description} />
</head>
Do these points well, and your multilingual website will be correctly indexed by search engines.
Conclusion
After all this, let’s review the entire Astro i18n configuration process:
Step 1: Configure astro.config.mjs (5 minutes)
- Set
localesarray (supported languages) - Set
defaultLocale(default language) - Choose
prefixDefaultLocalestrategy based on needs
Step 2: Organize Multilingual Content (choose approach that fits you)
- Beginners recommended: organize by language folders
- Advanced recommended: dynamic routing + Content Collections
- Don’t forget to configure UI translation dictionary
Step 3: Implement Language Switcher (copy and paste ready to use)
- Use
getRelativeLocaleUrlto generate URLs - Use
Astro.currentLocaleto get current language - Optional: add browser language detection and Cookie memory function
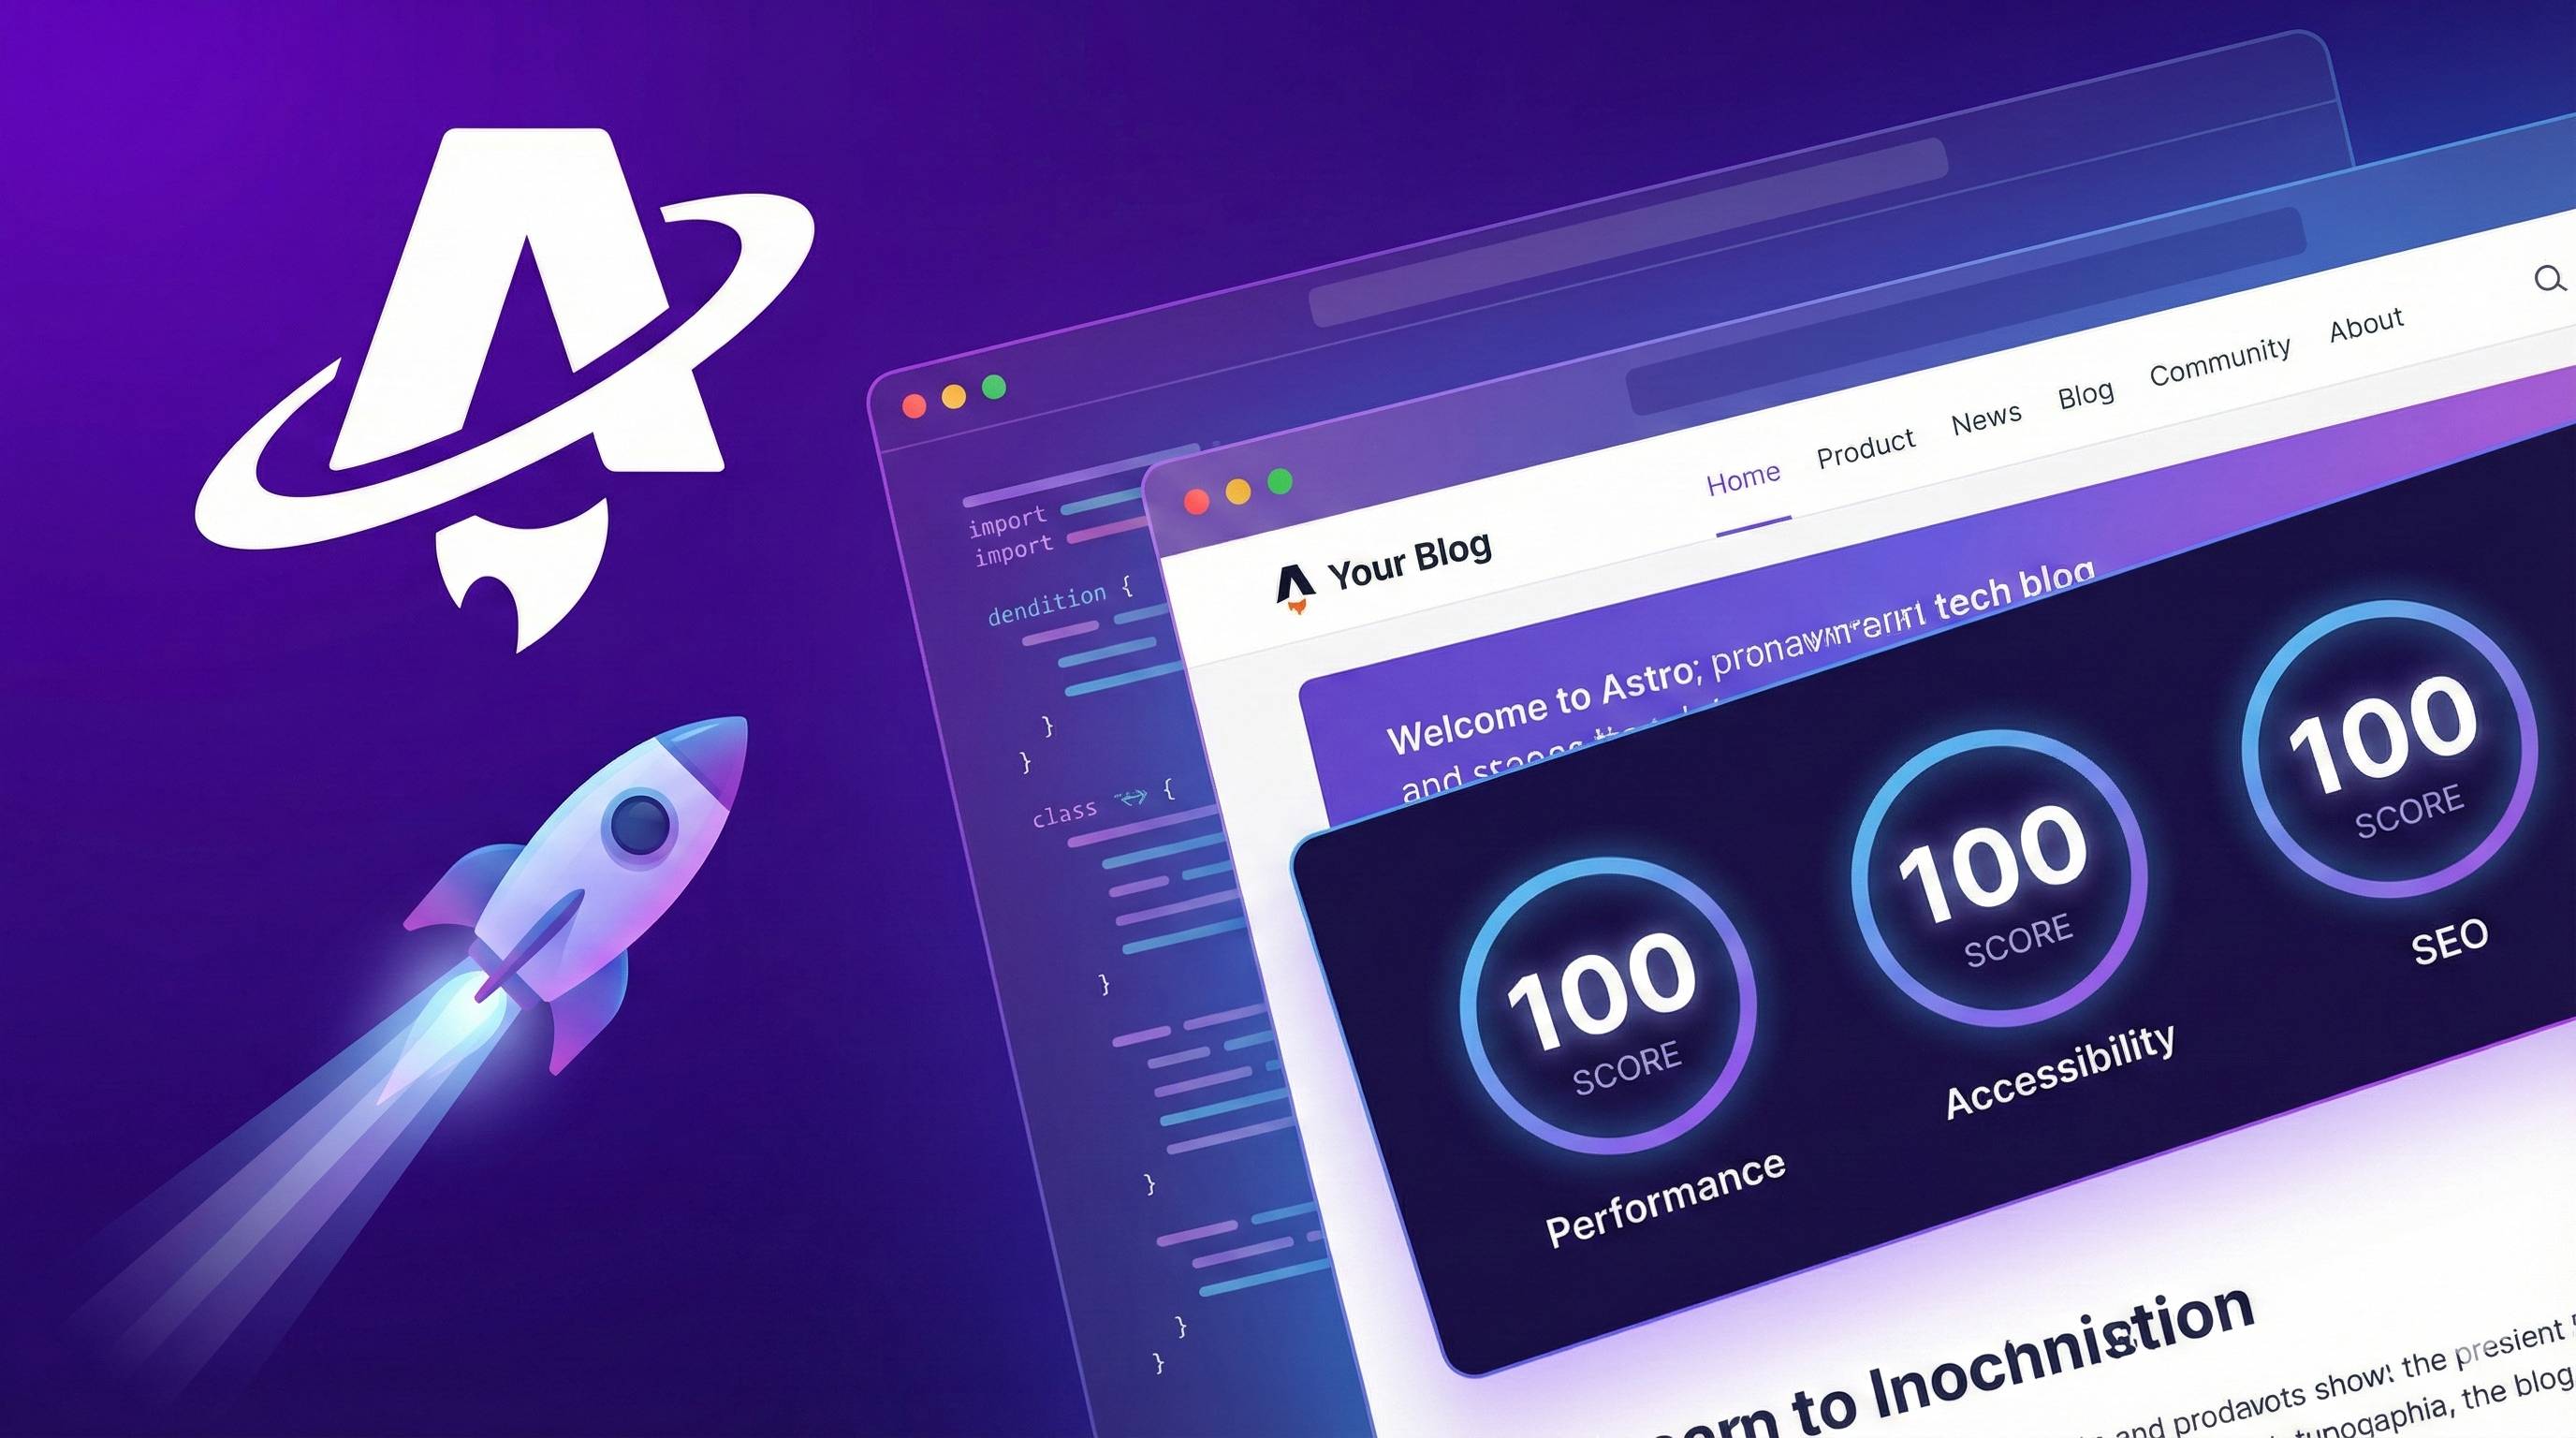
After using Astro i18n for a while, I find it really convenient. Simple configuration, handy helper functions, and great performance (all language routes are pre-generated at build time). If your website needs multilingual support, Astro’s built-in solution is definitely worth trying.
Go ahead and add multilingual support to your Astro website now! If you encounter problems, check out the Astro official i18n documentation, where there are more detailed API explanations.
If you have any practical experience or lessons learned, feel free to share in the comments - let’s learn together.
Published on: Dec 2, 2025 · Modified on: Dec 4, 2025
Related Posts

Complete Guide to Deploying Astro on Cloudflare: SSR Configuration + 3x Speed Boost for China
Building an Astro Blog from Scratch: Complete Guide from Homepage to Deployment in 1 Hour