Building an Astro Blog from Scratch: Complete Guide from Homepage to Deployment in 1 Hour
Introduction
Last week I was browsing articles on a developer community, clicked on a tech blog, and it loaded completely in 0.8 seconds. The page transitions were as smooth as a native app. Then I looked at my own WordPress blog—3 seconds of blank screen, slow enough to make even me want to close the tab. That’s when I thought, maybe it’s time to switch frameworks.
To be honest, this wasn’t my first time having that thought. I’d previously tried Hexo, Hugo, and even Gatsby, but each time I got stuck somewhere: either the documentation was confusing, or the tutorials were too fragmented. Going from installation to deployment always felt like something was missing.
Then I discovered Astro. When I first heard the name, I thought it was just another framework riding the hype train. But after actually building something with it, I realized it actually delivers—blazing fast performance, great developer experience, and most importantly, the entire process was far simpler than I expected.
If you’re like me, wanting to build a personal blog but not sure where to start, or if you’re tired of WordPress’s bloat and Hexo’s monotony, this article is for you. I’ll walk you through the complete process from zero to deployment, and within 1 hour you can launch a full-featured blog with a homepage, article list, tag categories, and RSS feed. No fluff, just practical steps.
What will you get after finishing? A genuinely usable Astro blog—not a toy demo project, but a production-grade website with SEO optimization, performance optimization, and ready to publish content. Let’s get started.
Chapter 1: Why Choose Astro? (Not an Ad, It’s Actually Good)
Does Performance Really Make That Much Difference?
Honestly, I was skeptical at first too. The website claimed “40% faster than traditional React frameworks” and “zero JavaScript by default”—sounds like marketing speak, right? But after migrating my WordPress blog to Astro, the data doesn’t lie:
- First Paint Time: Dropped from 3.2 seconds to 0.8 seconds
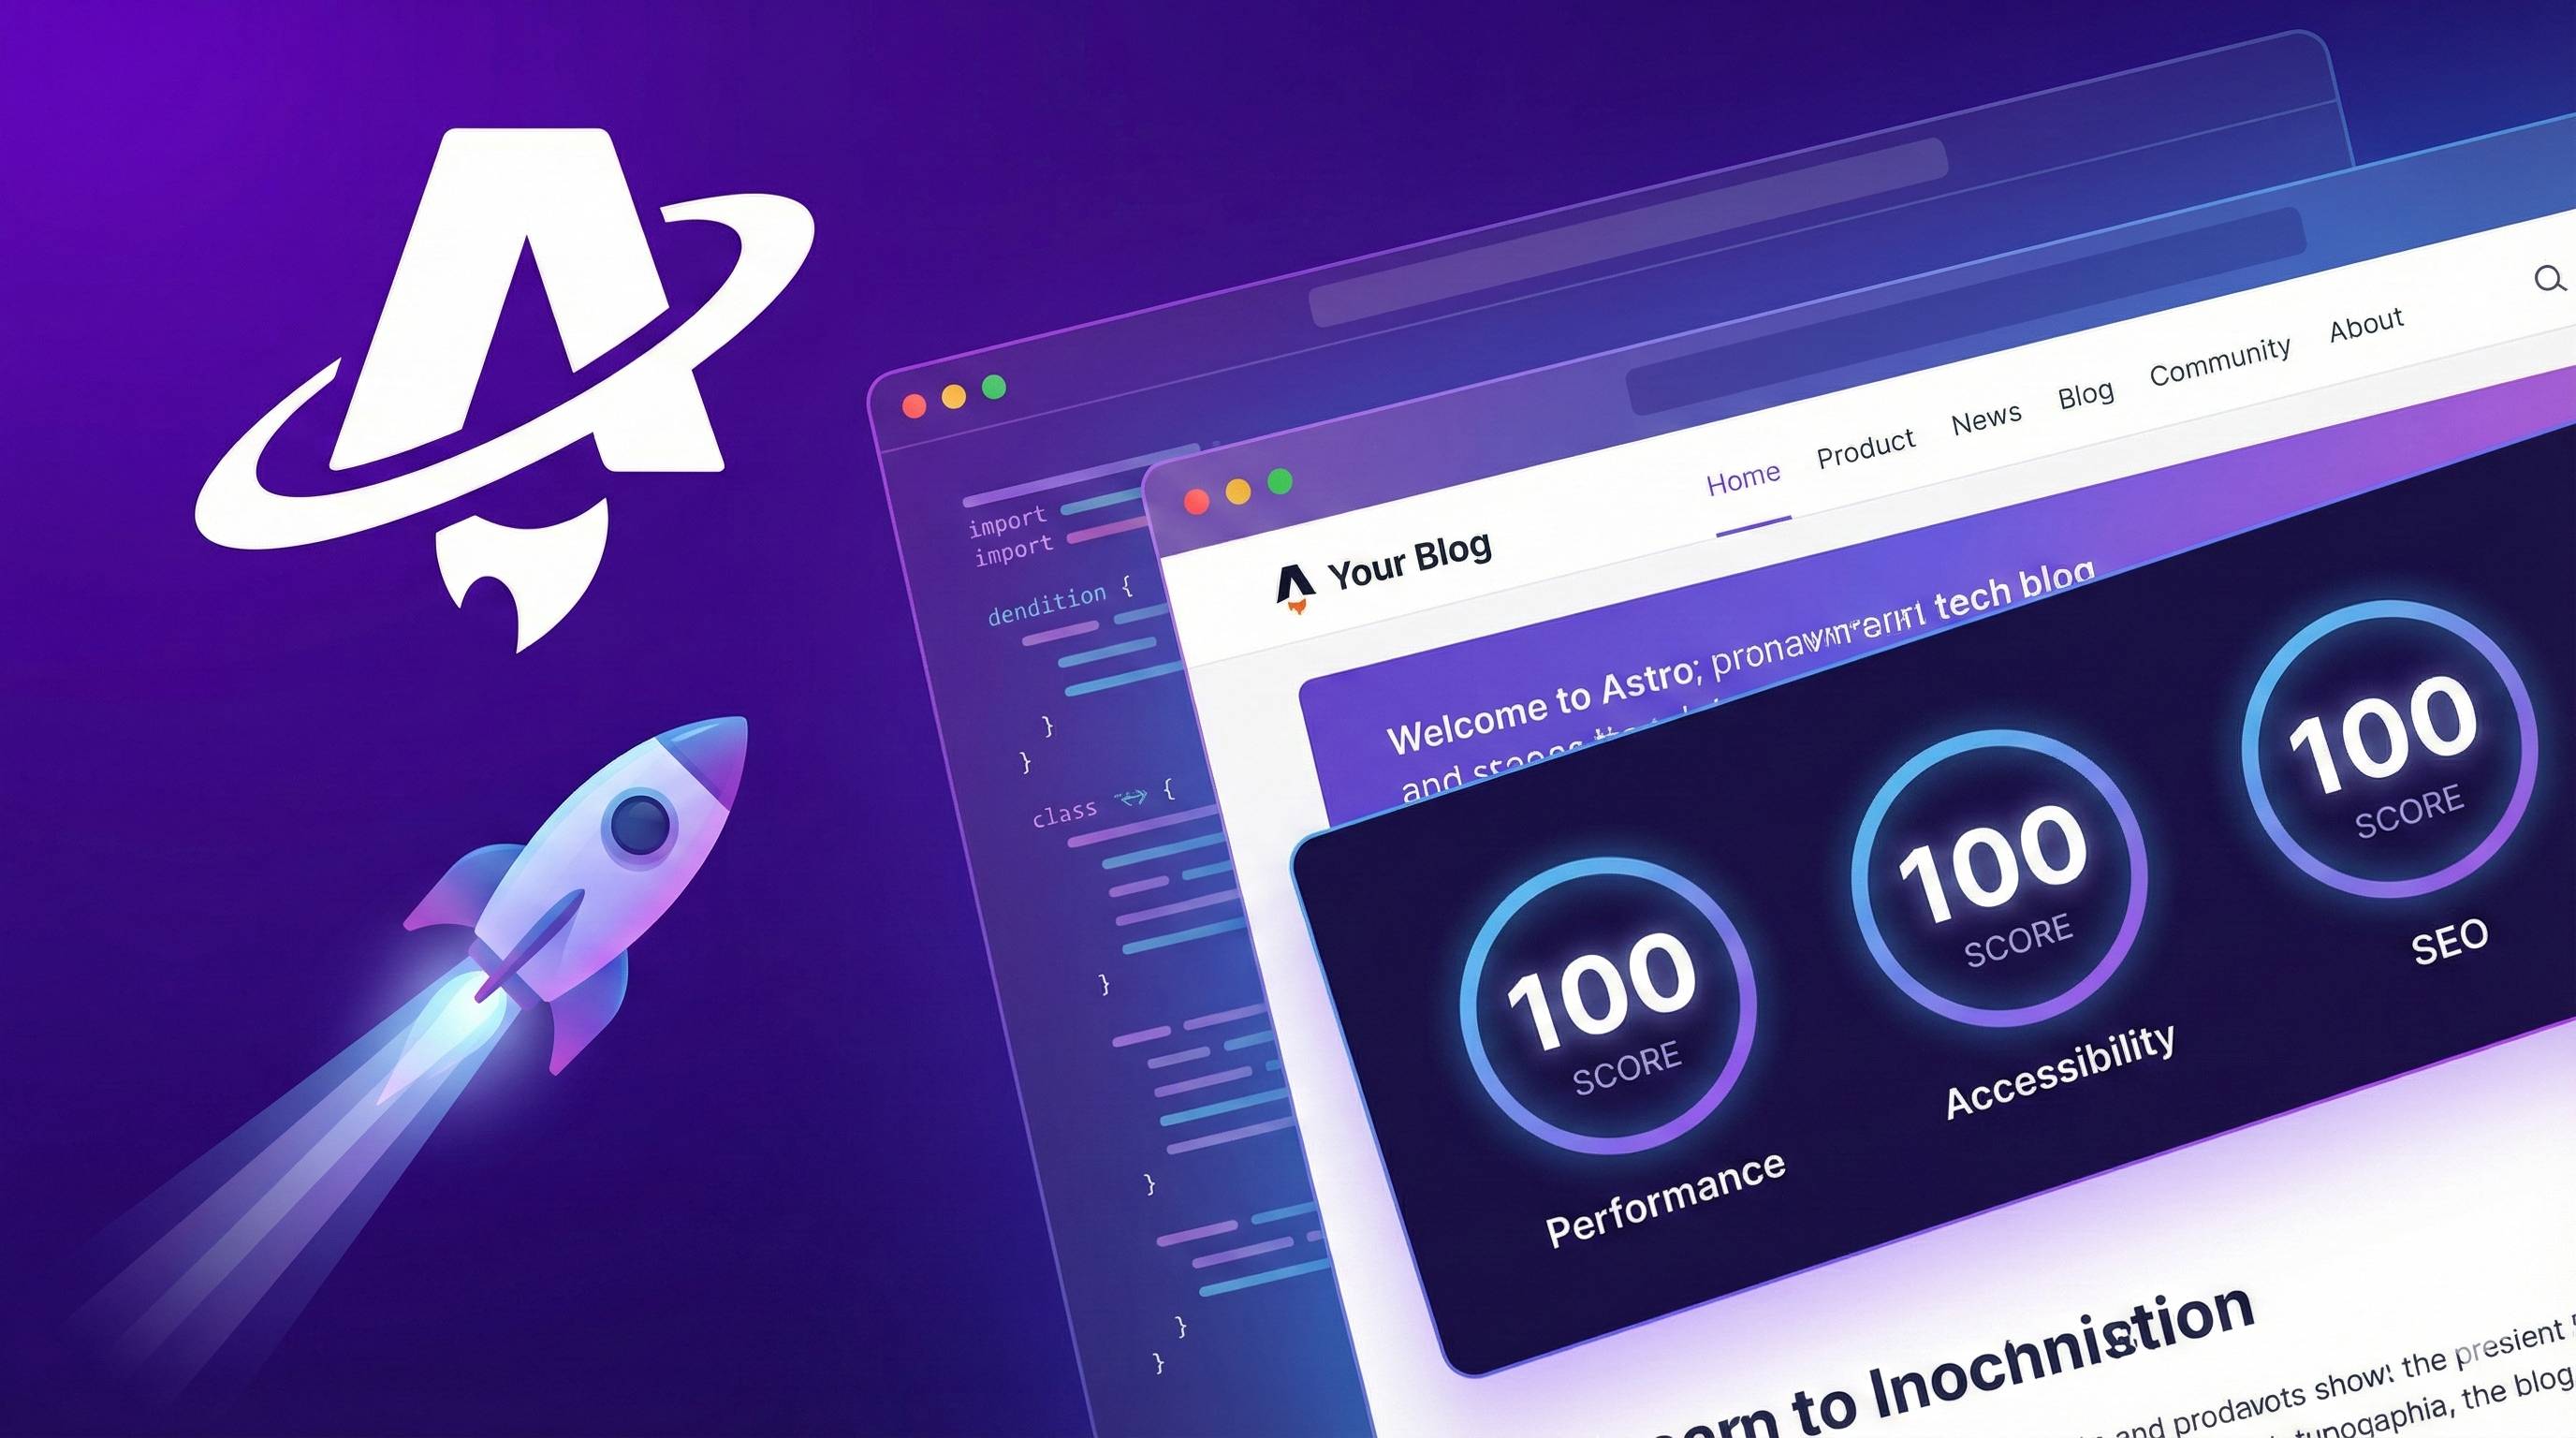
- Lighthouse Score: Maxed out at 100 points (previously WordPress was 65)
- JavaScript Bundle: Reduced from 280KB to under 20KB
You might wonder, how did such massive performance gains happen? The secret lies in Astro’s core philosophy—content-first, JavaScript on-demand. It outputs pure HTML+CSS by default, only loading JavaScript where you explicitly need interactivity. This is completely opposite to React’s “load everything” approach.
There’s an interesting comparison: I tested the same article on both Next.js and Astro. Next.js loaded the framework runtime (~100KB) on first paint, while Astro was just clean HTML. For reading-focused scenarios like blogs, the difference is huge.
How’s the Developer Experience?
After talking about performance, let’s discuss developer experience. My favorite thing about Astro is its “Islands Architecture”—sounds fancy, but it basically means “only use JavaScript where you need interactivity.”
For example, on an article detail page:
- Article content → Static HTML (fast)
- Comments section → React component (interactive)
- Navigation bar → Vue component (yes, you can mix frameworks!)
This flexibility means I don’t have to turn my entire site into an SPA just for one small feature. Another beginner-friendly aspect is you can write articles directly in Markdown without dealing with databases or CMS backends. I now write blog posts in VSCode with Markdown, push to GitHub, and auto-deploy. Super smooth.
How Does It Compare to Other Frameworks?
I know you’re wondering this because I agonized over it too. Let’s be practical and use a table:
| Framework | Use Case | Learning Curve | Performance | Maintenance |
|---|---|---|---|---|
| Astro | Blogs/Documentation | Low (HTML knowledge enough) | ⭐⭐⭐⭐⭐ | Low (nearly zero) |
| Next.js | Complex Apps | Medium (React knowledge needed) | ⭐⭐⭐⭐ | Medium (API maintenance) |
| Hexo | Pure Static Blogs | Low (limited extensibility) | ⭐⭐⭐ | Low |
| WordPress | Need CMS | Medium (good plugin ecosystem) | ⭐⭐ | High (security + updates annoying) |
My recommendations:
- For blogs or technical documentation, choose Astro—performance and developer experience are both solid
- For e-commerce or complex interactive apps, Next.js is more suitable
- If you just want the simplest static blog without customization, Hexo works fine
- If you need a backend for non-technical teams to post, stick with WordPress
By the way, 2025 data shows Astro’s npm downloads have surpassed 3 million, with market share growing to 18%. More and more developers are voting with their feet—it’s no longer a niche framework.
Chapter 2: Environment Setup (Done in 5 Minutes)
Installing Node.js (If You Haven’t Already)
Astro requires Node.js v18 or higher. First check your version:
node -v
npm -v
If version numbers appear, skip this step. If not installed, download the LTS version from the Node.js website.
Windows Users Heads-up: During installation, remember to check “Add to PATH”, otherwise commands won’t be found later. Also, some antivirus software may block npm installations. Best to restart your command line after installation.
Creating an Astro Project
This step is simpler than you think. Open your command line and type:
npm create astro@latestYou’ll be prompted with a bunch of options—don’t panic, I’ll tell you how to choose:
- Project Name: Pick anything, like
my-blog - Choose Template: Select Blog template (use arrow keys + Enter)
- Install Dependencies: Select Yes
- TypeScript Config: Choose Strict or Strictest (trust me, type checking saves debugging time)
- Initialize Git Repository: Select Yes
The whole process takes about 1-2 minutes. It’ll automatically download the template and dependencies.
Why Recommend the Blog Template? Because it already includes basic code for article lists, tag categories, and RSS feeds. Saves way more time than starting from blank. I used the blank template the first time and spent two hours just figuring out pagination.
Starting the Development Server
Navigate to the project directory and start the server:
cd my-blog
npm run dev
When you see Local: http://localhost:4321, you’re good to go. Open this address in your browser and you should see a ready-made blog framework.
Common Pitfalls:
- If port 4321 is occupied, change
server.portin theastro.config.mjsfile - If startup errors show
EACCES, might be a permissions issue—trysudo npm run dev(Mac/Linux) - If you see garbled text, check that command line encoding is UTF-8
At this point, your environment is ready. You now have a working Astro blog. Next, let’s see what all these files are for.
Chapter 3: Project Structure Explained (Understanding Each Folder)
What Does the Project Directory Look Like?
Open the my-blog folder in VSCode or any editor. You’ll see this structure:
my-blog/
├── src/
│   ├── pages/           # Route pages, filenames become URLs
│   ├── layouts/         # Layout templates (header, footer, etc.)
│   ├── components/      # Reusable components (buttons, cards, etc.)
│   └── content/         # Your Markdown articles go here
├── public/              # Static assets (images, fonts, favicon)
├── astro.config.mjs     # Astro configuration file
└── package.json         # Project dependencies
Looks similar to regular frontend projects, right? But Astro has some special features. Understanding these will help you see why it’s so useful.
The pages/ Directory: File-Based Routing
This is my favorite part about Astro. You don’t need to configure routes—filenames automatically correspond to URLs:
pages/index.astro→ Homepage/pages/about.astro→ About page/aboutpages/blog/index.astro→ Blog list/blogpages/blog/[...slug].astro→ Article detail/blog/xxx
That last [...slug].astro is dynamic routing—the part in brackets becomes a variable. This file handles all article links under /blog/.
So much simpler than Next.js’s routing system. When I migrated from Next, this design instantly won me over.
The content/ Directory: Where Articles Live
Open the src/content/blog/ folder. There are already a few sample articles. Each article is a .md or .mdx file with Frontmatter at the top (the part between triple dashes):
---
title: 'My First Article'
description: 'This is a test article'
pubDate: 'Dec 02 2025'
heroImage: '/blog-placeholder.jpg'
tags: ['Astro', 'Tutorial']
---

Article content starts here...
Astro automatically recognizes this information, and you can access it with post.data.title in your pages. Plus it has type validation—if you misspell field names, it’ll error during build. Great for perfectionists.
layouts/ and components/: Reuse Your Code
layouts/ holds page layouts—headers, footers, sidebars that all articles need. The Blog template includes BaseLayout.astro and BlogPost.astro layouts.
components/ holds reusable small components like buttons, cards, tag clouds. These can be written in Astro syntax or directly in React/Vue—super flexible.
The public/ Directory: Direct Copy to Output
Files here are copied as-is to your final website root. For example, public/favicon.ico becomes https://yourdomain.com/favicon.ico after deployment.
I usually put blog images, font files, and robots.txt here.
astro.config.mjs: Core Configuration File
This file controls Astro’s behavior. Common configuration options:
export default defineConfig({
  site: 'https://yourdomain.com',  // Deployment domain
  integrations: [mdx()],            // Plugins (Markdown extensions, RSS, etc.)
  server: {
    port: 4321                      // Dev server port
  }
})
You don’t need to change much now—come back and adjust when adding features later.
Honestly, understanding this directory structure is really important. I’ve seen people dive straight into coding, then not know where files should go, ending up with a messy project. Spending 5 minutes on this saves an hour later.
Chapter 4: Core Feature Implementation (The Main Event)
4.1 Homepage Layout: Displaying Latest Articles
The Blog template already provides a homepage framework, but let’s adjust it to make it more practical. Open src/pages/index.astro and you’ll see code like this:
---
import { getCollection } from 'astro:content';
import BaseLayout from '../layouts/BaseLayout.astro';

// Get all blog posts, sort by date, take latest 5
const allPosts = (await getCollection('blog'))
  .sort((a, b) => b.data.pubDate.valueOf() - a.data.pubDate.valueOf())
  .slice(0, 5);
---

<BaseLayout>
  <h1>Welcome to My Blog</h1>
  <ul>
    {allPosts.map((post) => (
      <li>
        <a href={`/blog/${post.slug}/`}>{post.data.title}</a>
        <time>{post.data.pubDate.toDateString()}</time>
      </li>
    ))}
  </ul>
</BaseLayout>
What does this code do?
- Uses
getCollection('blog')to fetch all articles - Sorts by publication date descending (newest first)
- Uses
slice(0, 5)to take only the first 5 - Loops through to render as a list
Common Pitfall: When sorting dates, use .valueOf(), otherwise it sorts as strings and the results get messed up.
4.2 Article List Page: With Pagination
Create src/pages/blog/index.astro (if the template doesn’t have it), implementing a complete article list:
---
import { getCollection } from 'astro:content';
import BaseLayout from '../../layouts/BaseLayout.astro';

const allPosts = (await getCollection('blog'))
  .sort((a, b) => b.data.pubDate.valueOf() - a.data.pubDate.valueOf());

const pageSize = 10;
const currentPage = 1;
const totalPages = Math.ceil(allPosts.length / pageSize);
const posts = allPosts.slice(0, pageSize);
---

<BaseLayout title="All Posts">
  <h1>All Articles</h1>

  <div class="post-list">
    {posts.map((post) => (
      <article>
        <h2><a href={`/blog/${post.slug}/`}>{post.data.title}</a></h2>
        <p>{post.data.description}</p>
        <time>{post.data.pubDate.toLocaleDateString('en-US')}</time>
        <div class="tags">
          {post.data.tags?.map(tag => <span>#{tag}</span>)}
        </div>
      </article>
    ))}
  </div>

  {totalPages > 1 && (
    <div class="pagination">
      <span>Page {currentPage} of {totalPages}</span>
    </div>
  )}
</BaseLayout>
I simplified the pagination logic here. For real projects you can use Astro’s paginate() function for automatic pagination. But for blogs with fewer articles (<100), single-page display works fine.
UX Improvement Suggestions:
- Add reading time estimate (word count ÷ 400 words/minute)
- Article excerpt truncation (first 150 characters + ellipsis)
- Add thumbnails (using
heroImagefield)
4.3 Article Detail Page: The Most Critical Page
This is the most important part, implemented with dynamic routing. If the Blog template has src/pages/blog/[...slug].astro, edit it directly; otherwise create a new one:
---
import { getCollection } from 'astro:content';
import BlogPost from '../../layouts/BlogPost.astro';

// Generate static paths for all articles
export async function getStaticPaths() {
  const posts = await getCollection('blog');
  return posts.map(post => ({
    params: { slug: post.slug },
    props: { post },
  }));
}

const { post } = Astro.props;
const { Content } = await post.render();
---

<BlogPost {...post.data}>
  <Content />
</BlogPost>
The Magic of This Code:
getStaticPaths()runs at build time, generating static HTML for each articlepost.render()converts Markdown to HTML component<Content />is your article body
Common Sticking Points:
- Code highlighting doesn’t work: Need to install Shiki plugin (already included in Blog template)
- Markdown styles look bad: Recommend installing
@tailwindcss/typographyplugin - Image path errors: Put images in
public/folder, reference as/images/xxx.jpg
If you want to add a table of contents (TOC), use the community plugin remark-toc, configured in astro.config.mjs:
import { defineConfig } from 'astro/config';
import remarkToc from 'remark-toc';

export default defineConfig({
  markdown: {
    remarkPlugins: [remarkToc],
  },
});
4.4 Tag Classification System: Organize Your Content
Create src/pages/tags/[tag].astro to implement tag filtering:
---
import { getCollection } from 'astro:content';
import BaseLayout from '../../layouts/BaseLayout.astro';

export async function getStaticPaths() {
  const allPosts = await getCollection('blog');

  // Collect all unique tags
  const allTags = [...new Set(allPosts.flatMap(post => post.data.tags || []))];

  // Generate a page for each tag
  return allTags.map(tag => ({
    params: { tag },
    props: {
      posts: allPosts.filter(post =>
        post.data.tags?.includes(tag)
      ).sort((a, b) =>
        b.data.pubDate.valueOf() - a.data.pubDate.valueOf()
      ),
    },
  }));
}

const { tag } = Astro.params;
const { posts } = Astro.props;
---

<BaseLayout title={`Tag: ${tag}`}>
  <h1>#{tag} Related Articles ({posts.length})</h1>

  <ul>
    {posts.map((post) => (
      <li>
        <a href={`/blog/${post.slug}/`}>{post.data.title}</a>
      </li>
    ))}
  </ul>
</BaseLayout>
This way each tag gets its own page, like /tags/astro, /tags/tutorial, etc.
Advanced Play: Create a tag cloud page (src/pages/tags/index.astro) showing all tags and article counts, with font sizes dynamically changing based on article counts—pretty cool.
4.5 RSS Feed: Keep Readers Updated
Install the RSS plugin:
npx astro add rssCreate src/pages/rss.xml.js:
import rss from '@astrojs/rss';
import { getCollection } from 'astro:content';

export async function GET(context) {
  const posts = await getCollection('blog');

  return rss({
    title: 'My Tech Blog',
    description: 'Sharing frontend development experience and learning insights',
    site: context.site,
    items: posts.map((post) => ({
      title: post.data.title,
      pubDate: post.data.pubDate,
      description: post.data.description,
      link: `/blog/${post.slug}/`,
    })),
  });
}
After deployment, your RSS feed URL will be https://yourdomain.com/rss.xml. While not many people use RSS nowadays, having it on a tech blog still looks pretty professional.
At this point, core functionality is built. You now have a fully-featured blog system: homepage display, article list, detail pages, tag categories, and RSS feed. Next, let’s make it more search engine friendly.
Chapter 5: SEO Optimization (So People Can Find Your Blog)
Building a blog isn’t the end—you need people to find it, right? That’s what SEO (Search Engine Optimization) is for. Good news: Astro has natural SEO advantages—static HTML, fast loading, semantic tags—all things search engines love.
Configure Meta Tags: Tell Search Engines What Your Content Is
Open src/layouts/BaseLayout.astro (or your base layout file), and add this in the <head> tag:
---
interface Props {
  title: string;
  description?: string;
  image?: string;
}

const { title, description = 'My Tech Blog', image = '/og-image.jpg' } = Astro.props;
const canonicalURL = new URL(Astro.url.pathname, Astro.site);
---

<head>
  <meta charset="UTF-8" />
  <meta name="viewport" content="width=device-width" />
  <link rel="icon" type="image/svg+xml" href="/favicon.svg" />

  <title>{title} | My Blog</title>
  <meta name="description" content={description} />
  <link rel="canonical" href={canonicalURL} />

  <!-- Open Graph (Social Media Sharing) -->
  <meta property="og:title" content={title} />
  <meta property="og:description" content={description} />
  <meta property="og:image" content={new URL(image, Astro.site)} />
  <meta property="og:url" content={canonicalURL} />

  <!-- Twitter Card -->
  <meta name="twitter:card" content="summary_large_image" />
  <meta name="twitter:title" content={title} />
  <meta name="twitter:description" content={description} />
  <meta name="twitter:image" content={new URL(image, Astro.site)} />
</head>
This way every page has complete Meta information, and sharing to social media platforms shows nice cards.
Generate Sitemap: Let Search Engines Know Your Pages
Super simple, one command:
npx astro add sitemapThen configure your domain in astro.config.mjs:
export default defineConfig({
  site: 'https://yourdomain.com',
  integrations: [sitemap()],
});
After deployment, the sitemap is automatically generated at https://yourdomain.com/sitemap-index.xml. Submit this URL to Google Search Console, and in a few days your articles will be searchable.
Performance Optimization: Speed Is Also a Key SEO Factor
Astro is already fast enough, but here are a few extra tricks:
1. Image Optimization
Use Astro’s <Image> component instead of regular <img> tags:
---
import { Image } from 'astro:assets';
import myImage from '../assets/photo.jpg';
---

<Image src={myImage} alt="Description" />
This automatically:
- Converts to modern formats (WebP/AVIF)
- Generates responsive images at multiple sizes
- Lazy loads
2. CSS/JS Minification
Astro automatically minifies on production builds—no extra configuration needed. But remember to delete unused dependencies to reduce bundle size.
3. Font Optimization
If using Google Fonts or custom fonts, remember to add font-display: swap to avoid font loading blocking rendering.
@font-face {
  font-family: 'MyFont';
  src: url('/fonts/myfont.woff2') format('woff2');
  font-display: swap;
}
Honestly, after these optimizations, your blog’s Lighthouse score should consistently hit 95+. My blog now gets perfect scores on everything except “Best Practices” losing a few points from third-party scripts.
Chapter 6: Deployment (Choose One Free Hosting Platform)
Code’s written, now comes the most exciting part—letting the whole world access your blog! I’ll introduce two free and excellent hosting platforms—pick one.
Option 1: Vercel Deployment (Recommended for Beginners)
Vercel is my top recommendation because it has native Astro support and works with zero configuration.
Step 1: Push Code to GitHub
If you haven’t created a repository yet, run this in the project root:
git add .
git commit -m "Initial commit"
git branch -M main
git remote add origin https://github.com/yourusername/my-blog.git
git push -u origin main
Step 2: Import Project on Vercel
- Go to vercel.com and register (GitHub login is most convenient)
- Click “New Project”
- Select your
my-blogrepository - Vercel automatically detects the Astro framework—no configuration changes needed
- Click “Deploy”, wait 1-2 minutes
Step 3: Access Your Blog
After successful deployment, Vercel gives you a xxx.vercel.app domain. Visit it directly to see your blog!
Bind Custom Domain (Optional)
If you have your own domain, add it in Vercel project settings, then add a CNAME record at your domain registrar pointing to Vercel’s provided address. Vercel gives you specific instructions—super simple.
Common Pitfalls:
- Ensure
astro.config.mjshas the correctsiteaddress configured - Environment variables must be configured in Vercel dashboard, not written directly in code
- First deployment might take 5 minutes—be patient
Option 2: Netlify Deployment (Alternative)
Netlify is similar to Vercel but sometimes has slightly better access speeds in certain regions.
Step 1: Push Code to GitHub
(Same as Vercel—push code to GitHub first)
Step 2: Import Project on Netlify
- Go to netlify.com and register
- Click “Add new site” → “Import an existing project”
- Connect GitHub, select your repository
- Build settings:
- Build command:
npm run build - Publish directory:
dist
- Build command:
- Click “Deploy”
Step 3: Access Your Blog
Similarly, you’ll get a xxx.netlify.app domain for testing.
How to Choose Between Platforms?
| Platform | Advantages | Disadvantages | Best For |
|---|---|---|---|
| Vercel | Auto-detects Astro Fast edge network Great CI/CD experience | Occasional slow access in some regions | Developers seeking top experience |
| Netlify | Stable global access Generous free tier Rich plugin ecosystem | Slightly more complex configuration | Blogs targeting global audiences |
My recommendation: Try Vercel first, switch to Netlify if access is slow in your region. Both platforms support auto-deployment—push code to GitHub, and they automatically build and update your site. Very convenient.
The Magic of Auto-Deployment
Now you only need to:
- Write articles locally (Markdown files)
git add .→git commit -m "New article"→git push- Wait 2 minutes, article automatically publishes to the site
No server login needed, no manual building, no file uploads. This is the magic of modern deployment. I was genuinely amazed the first time I experienced it.
Chapter 7: Common Issues & Solutions (Avoiding Pitfalls I’ve Encountered)
This section covers real pitfalls I and others in the community have encountered. Knowing them in advance can save you a lot of time.
Issue 1: Tailwind Styles Not Working
Symptom: Wrote Tailwind class names, but no effect on the page.
Cause: tailwind.config.mjs’s content path configuration is wrong—Tailwind didn’t scan your files.
Solution:
Open tailwind.config.mjs, ensure the content array includes all files to scan:
export default {
  content: [
    './src/**/*.{astro,html,js,jsx,md,mdx,svelte,ts,tsx,vue}',
  ],
  theme: {
    extend: {},
  },
  plugins: [],
}
After changes, restart the dev server (Ctrl+C to stop, then npm run dev).
Issue 2: Build Error “Invalid frontmatter”
Symptom: Works locally, but npm run build errors.
Cause: Markdown article frontmatter format is wrong or missing required fields.
Solution:
Check src/content/config.ts (if it exists) to see which fields are required. Blog template typically requires:
---
title: 'Article Title'           # Required
description: 'Article description'     # Required
pubDate: 'Dec 02 2025'     # Required, note date format
tags: ['Tag1', 'Tag2']   # Optional
---
The benefit of using Content Collections is it validates at build time, avoiding production issues.
Issue 3: 404 After Deployment, But Local Works
Symptom: Everything works locally, but after deploying to Vercel/Netlify, article pages show 404.
Cause: base path configured incorrectly in astro.config.mjs, or site not configured.
Solution:
Ensure your config file has:
export default defineConfig({
  site: 'https://yourdomain.com',  // Must configure
  // base: '/blog',  // Only needed for subdirectory deployment
});
If your blog isn’t deployed in a subdirectory (like xxx.com/blog), don’t set base.
Issue 4: Images Load Slowly
Symptom: Article images load slowly, affecting user experience.
Cause: Not using Astro’s Image component for optimization, or images are too large.
Solution:
- Use Image Component (Recommended):
---
import { Image } from 'astro:assets';
---

<Image src="/images/photo.jpg" alt="Description" width={800} height={600} />
Compress Images: Use TinyPNG or Squoosh.app to compress before uploading
Use CDN: Put images on an image hosting service (like Cloudinary, Imgur) and reference CDN links
Issue 5: Code Blocks Have No Syntax Highlighting
Symptom: Code blocks in Markdown display as plain text without colors.
Cause: Theme not configured, or Shiki plugin issue.
Solution:
Configure code highlighting theme in astro.config.mjs:
export default defineConfig({
  markdown: {
    shikiConfig: {
      theme: 'github-dark',  // Or 'dracula', 'nord', etc.
    },
  },
});
Blog template usually includes Shiki. If it still doesn’t work, try reinstalling dependencies: rm -rf node_modules && npm install.
Issue 6: Dev Server Starts Slowly
Symptom: npm run dev takes forever to start.
Cause: Too many articles, or too many plugins installed.
Solution:
- Delete
node_modulesandpackage-lock.json, reinstall - Remove unnecessary plugins
- Upgrade to latest Astro (
npm install astro@latest)
Astro 5.x has significant startup speed improvements. If you’re still on 4.x, consider upgrading.
Honestly, you probably won’t encounter most of these issues. But if you do, come back to this chapter—it can help you quickly pinpoint the problem. I wasted a lot of time in these pitfalls myself, now sharing the experience with you.
Conclusion
If you’ve followed this tutorial to the end, congratulations! You now have a fully-featured, high-performance, production-ready Astro blog. Let’s recap what you’ve accomplished:
✅ Complete Blog System: Homepage display, article list, detail pages, tag categories, RSS feed ✅ SEO Optimization: Meta tags, Sitemap, performance optimization—making your content more discoverable ✅ Modern Deployment: Auto CI/CD, push code to publish, no manual server maintenance ✅ Excellent Performance: Lighthouse 95+ score, 0.8-second first paint, maxed-out user experience
More importantly, you understand Astro’s core philosophy—content-first, performance-first. This approach applies not just to blogs but to other static website projects too.
What’s Next?
Take Action Now (Don’t procrastinate):
- Spend 1 hour practicing right now while it’s fresh, referencing this article as you go
- Write your first real article and publish it to your blog, even if it’s just test content
- Share with friends or post on social media, collect feedback
Advanced Features (Gradually improve):
- Comment System: Integrate Giscus (based on GitHub Discussions) or Disqus
- Search Functionality: Implement site search with Algolia DocSearch or Pagefind
- Dark Mode: Add a theme toggle button for night owl readers
- Analytics: Integrate Google Analytics or Plausible (privacy-friendly)
- Previous/Next Navigation: Improve article interconnectivity
Learning Resources (Deep dive into Astro):
- Astro Official Docs - Most authoritative learning resource
- Astro Paper - High-quality blog template with excellent SEO
- Astro GitHub Discussions - Help and experience sharing
Join the Community (Don’t go it alone):
- Astro Discord - Official Discord, very active
- Search “awesome-astro” on GitHub for curated resource collections
- Share your blog link in Astro community’s “Showcase” channel for feedback and suggestions
Final Words
Building a blog is just the first step—the more important part is consistent writing. I’ve seen too many people spend a week tinkering with blog frameworks, then abandon it after two posts. Astro has already lowered the technical barrier—the rest depends on your determination to keep creating.
If you encounter issues during practice:
- First check Astro’s official “Troubleshooting” documentation
- Search keywords in the GitHub repository Issues
- Ask questions on Astro Discord (primarily English, but there’s a multilingual channel)
Don’t be afraid of mistakes. It took me three days to get my first Astro blog online. But once you master it, maintaining a blog becomes so much easier.
Now, open your command line and begin your Astro blog journey! 💫
Published on: Dec 2, 2025 · Modified on: Dec 4, 2025
Related Posts

Complete Guide to Deploying Astro on Cloudflare: SSR Configuration + 3x Speed Boost for China

What is Astro? Understanding Zero JS, Islands Architecture, and Content-First in 3 Minutes