Next.js Engineering Setup: ESLint + Prettier + Husky All-in-One Guide
Friday Night Nightmare
Remember last Friday evening? I was about to shut down my laptop and head home when I got a Slack message from our tech lead: “Your PR has too many formatting issues. Can you clean it up before we review?” I opened GitHub, and the diff was a sea of red—all because of inconsistent quotes here and indentation there.
Honestly, it felt pretty frustrating. I could’ve sworn I ran npm run lint before committing. Why were there still problems? Even worse, a teammate ran into the same issue. His code logic was perfectly fine, but his formatting didn’t match mine, causing a bunch of meaningless merge conflicts.
Have you ever been there? Your code works great, but you’re stuck in review hell over formatting issues, wasting everyone’s time. I kept thinking: isn’t there a once-and-for-all solution to let machines handle this tedious stuff for us?
The answer is yes: ESLint + Prettier + Husky.
Why You Need These Three Tools
To be honest, when I first heard these three names, I thought it seemed complicated. But after using them for a while, there’s no going back. Let me break down their value.
ESLint: Your Code Quality Guardian
Many people think ESLint is just for checking code format, but its more important role is catching potential code issues.
For example, Next.js recommends using the <Image> component instead of the HTML <img> tag because the former has automatic optimization. If you accidentally write <img>, ESLint will immediately flag it:
Error: Do not use <img>. Use Image from 'next/image' instead.This kind of early warning during development helps you avoid performance pitfalls, which is much better than discovering slow image loading after deployment and then scrambling to optimize.
Next.js 15 enables ESLint by default, but you need proper configuration to unlock its full potential.
Prettier: The Ultimate Formatting Solution
ESLint focuses on code logic and quality, while Prettier focuses on code format. They have clear responsibilities and shouldn’t be confused.
Our team used to argue about formatting: some people prefer single quotes, others double quotes; some indent with 2 spaces, others with 4. Every code review devolved into discussions about these irrelevant details. What a time sink.
After configuring Prettier, these problems vanished. You just need to agree on rules with your team at the project start (like using single quotes and 2-space indentation), and Prettier will automatically format all code. Configure once, benefit forever.
Husky: The Automation Key
No matter how good the tools are, if they require manual execution, someone will forget.
I’ve experienced this several times: I forgot to run npm run lint during local development, committed directly, and then the CI pipeline failed, blocking the entire team’s deployment. That embarrassment? Never want to experience it again.
Husky’s job is to automatically run checks before you commit code. It intercepts your commit at the Git pre-commit stage, runs ESLint and Prettier first, and only allows the commit if the code meets standards.
Combined with lint-staged, Husky only checks files you’ve modified instead of scanning the entire project, so it’s super fast. You don’t need to worry about pre-commit hooks slowing down your development rhythm.
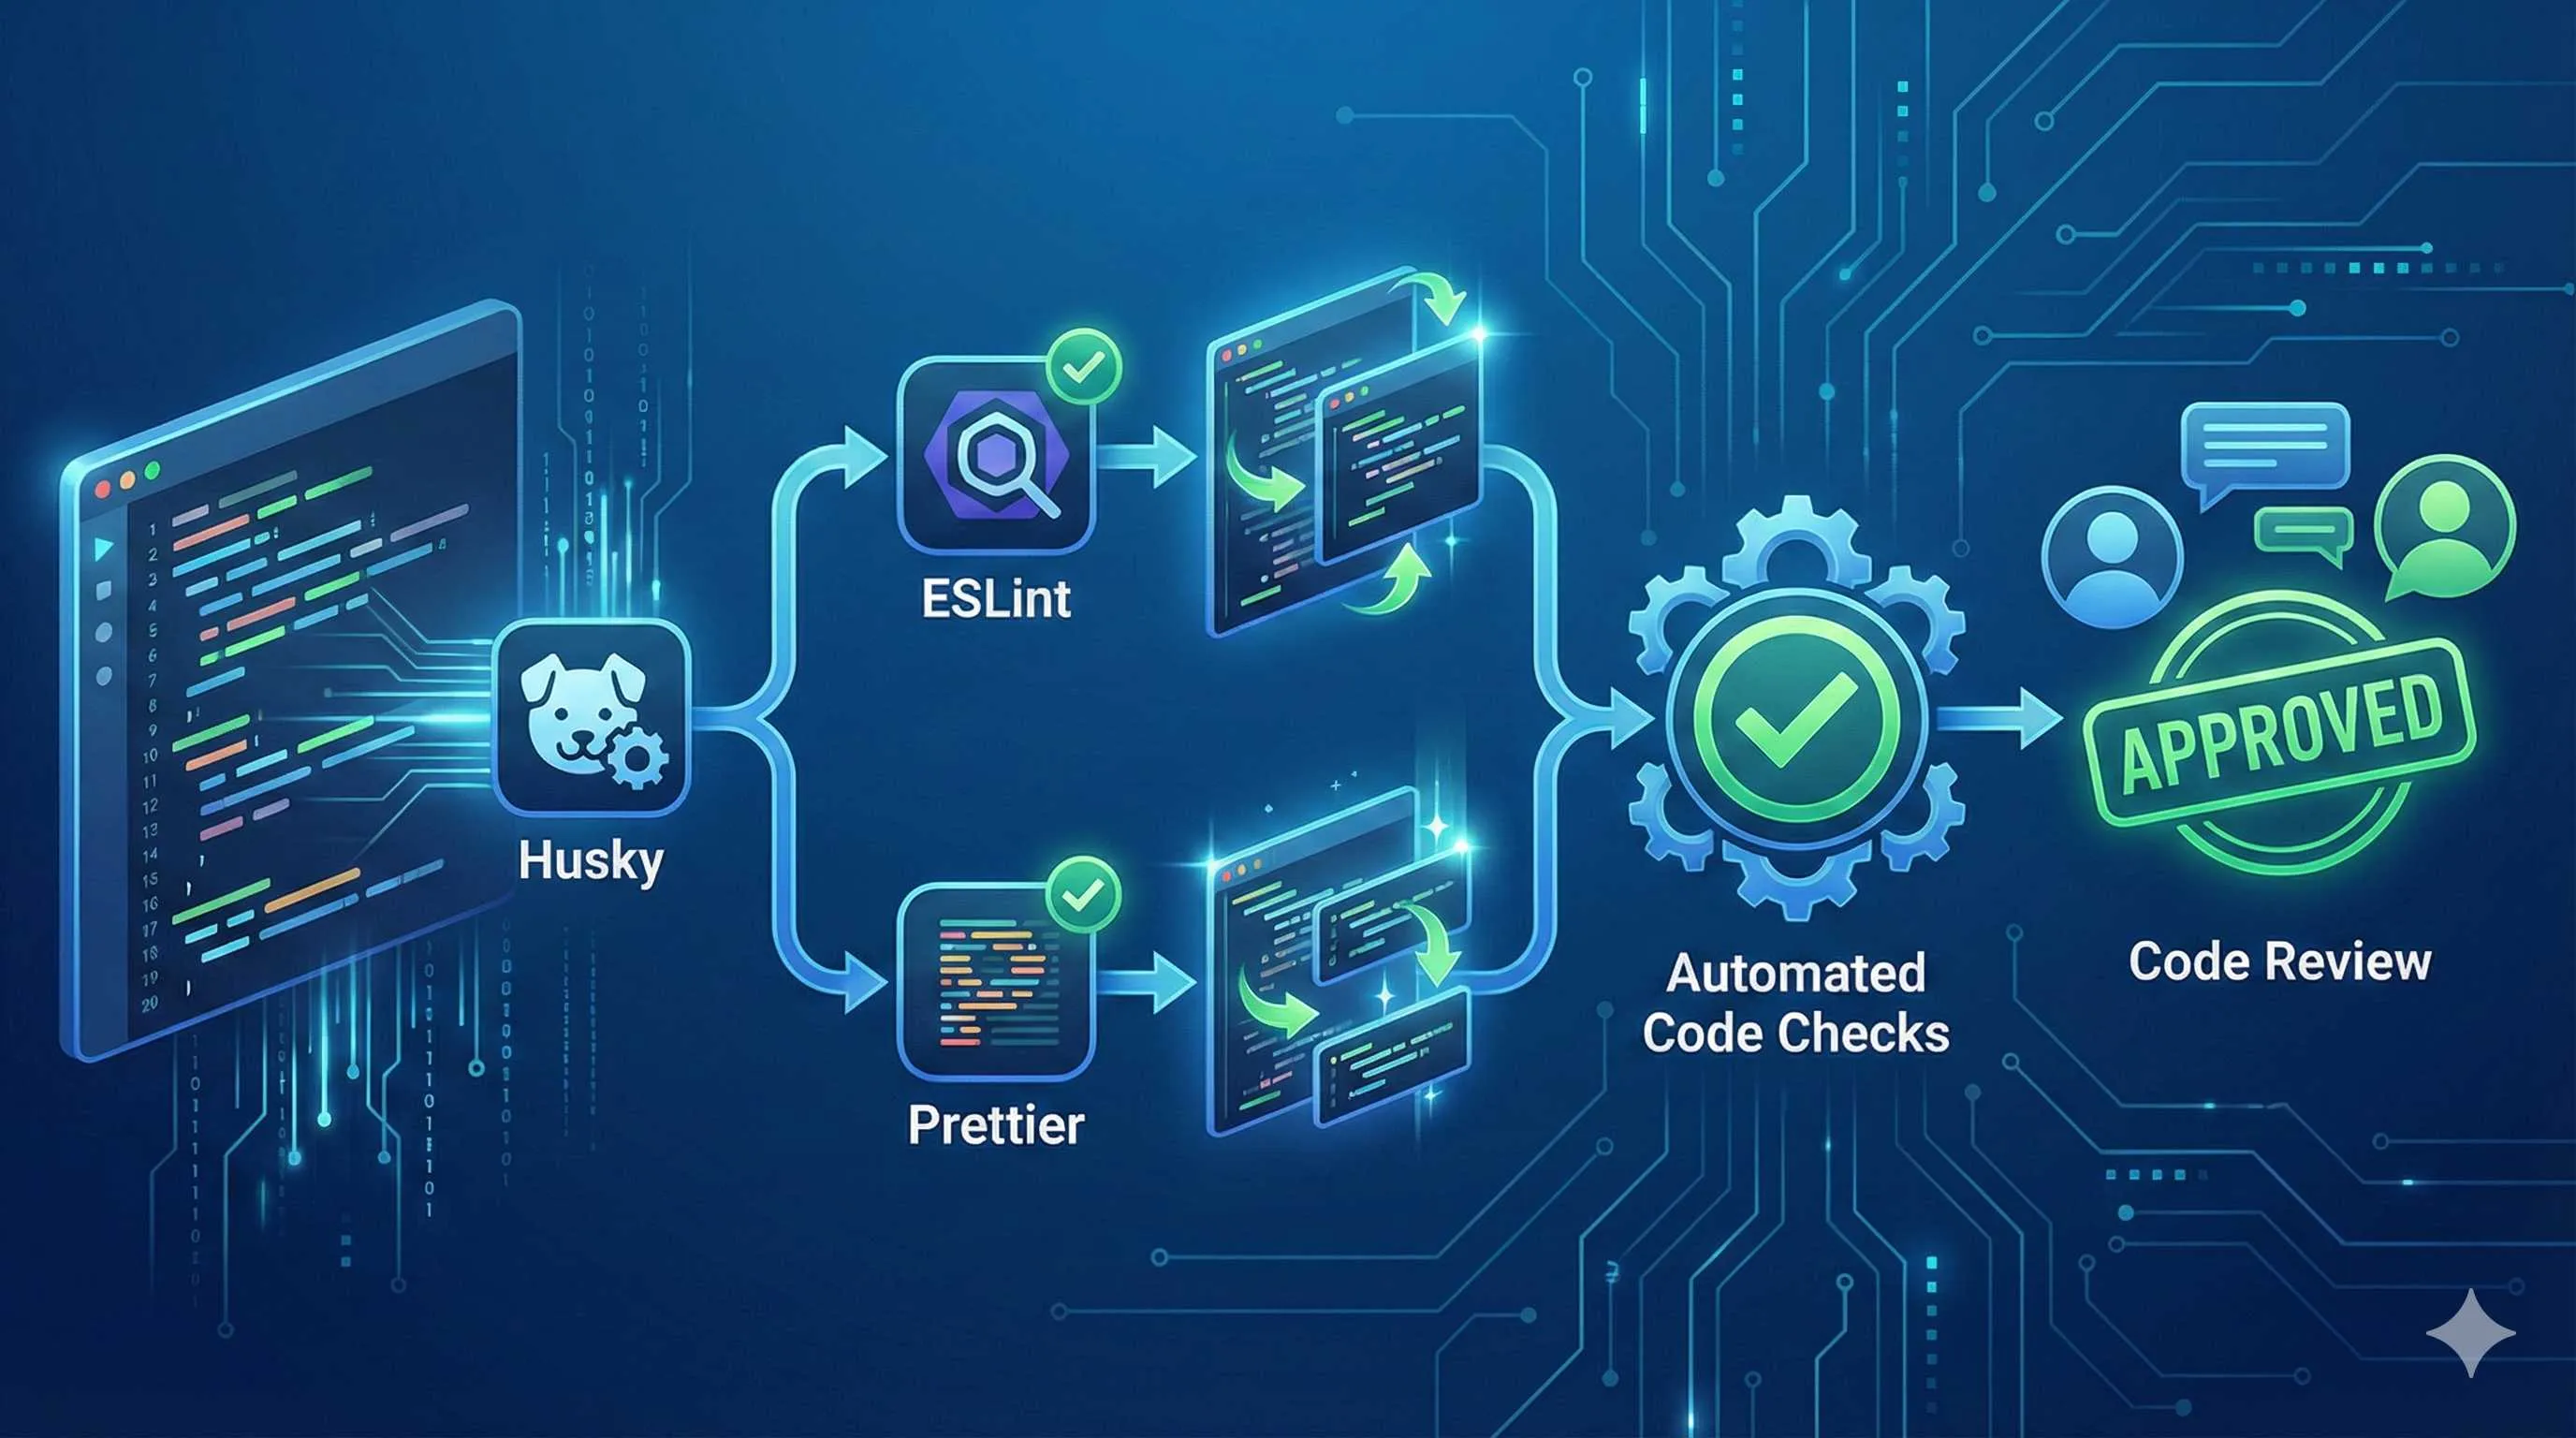
The Power of Their Synergy
The workflow when these three tools work together looks like this:
- ESLint defines code quality rules (like no
var, must useconstorlet) - Prettier unifies code format (like all strings use single quotes)
- Husky automatically runs checks before commits, ensuring no one skips them
The team benefits are obvious:
- PR reviews no longer get bogged down in formatting issues, focusing on business logic instead
- Fewer merge conflicts (because formatting is unified)
- Lower CI failure rate (because checks happen before commits)
Complete Configuration Process
Alright, let’s dive into the practical part. I’ll walk you through configuring this toolchain step by step, avoiding pitfalls as much as possible.
Step 1: Initialize Next.js Project
If you already have a project, skip this step. For new projects, run:
npx create-next-app@latest my-app
cd my-app
When creating the project, remember to select TypeScript and ESLint. Next.js 15 will enable ESLint by default, which saves some effort.
Step 2: Install Dependencies
Run the following command (I use pnpm, but you can use npm or yarn):
pnpm add -D eslint eslint-config-next prettier eslint-config-prettier husky lint-stagedHere’s a quick explanation of each package:
eslint: ESLint coreeslint-config-next: Next.js official ESLint configuration (includes Next.js-specific rules)prettier: Prettier coreeslint-config-prettier: Disables ESLint format rules that conflict with Prettierhusky: Git hooks management toollint-staged: Only runs checks on staged files
Note: Don’t install eslint-plugin-prettier. Many tutorials recommend this package, but it makes Prettier run as an ESLint rule, causing performance issues. The correct approach is to run ESLint and Prettier separately.
Step 3: Configure ESLint
This step is where most people stumble, especially after Next.js 15 upgraded to ESLint 9, which changed the configuration format.
Using ESLint 9’s Flat Config Format (Recommended)
Create eslint.config.mjs in your project root:
// eslint.config.mjs
import { FlatCompat } from '@eslint/eslintrc';
import nextPlugin from '@next/eslint-plugin-next';

const compat = new FlatCompat();

export default [
  ...compat.extends('next/core-web-vitals'),
  {
    plugins: {
      '@next/next': nextPlugin,
    },
    rules: {
      '@next/next/no-img-element': 'error',
      'react/no-unescaped-entities': 'off',
      // Add your custom rules here
    },
  },
  {
    ignores: ['.next/', 'node_modules/', 'out/'],
  },
];
Key Points:
- ESLint 9 no longer uses
.eslintrc.json, but instead uses the flat config format (eslint.config.mjs) - If you encounter “The Next.js plugin was not detected” error after upgrading to Next.js 15, it’s likely a configuration format issue
- Next.js 16 will remove the
next lintcommand, so adapting to the new format early is wise
Fallback Option (If You Encounter Compatibility Issues)
If you don’t want to deal with flat config yet, you can set an environment variable to downgrade to ESLint 8’s configuration format:
ESLINT_USE_FLAT_CONFIG=falseThen continue using .eslintrc.json:
{
  "extends": ["next/core-web-vitals", "prettier"],
  "rules": {
    "@next/next/no-img-element": "error"
  }
}
However, I recommend migrating to flat config sooner rather than later, as it’s the future direction.
Step 4: Configure Prettier
Create .prettierrc.json in your project root:
{
  "semi": true,
  "singleQuote": true,
  "trailingComma": "es5",
  "tabWidth": 2,
  "printWidth": 80,
  "arrowParens": "avoid"
}
These settings are my personal preferences, but you can adjust them based on your team’s habits:
singleQuote: true: I prefer single quotes, they look cleanerprintWidth: 80: Max 80 characters per line, good for side-by-side editor windowstrailingComma: 'es5': Add trailing commas to the last item in objects and arrays, making Git diffs cleaner
Also create .prettierignore to tell Prettier which files to skip:
.next
out
node_modules
public
*.lock
VSCode Integration (Optional but Recommended)
If you use VSCode, create .vscode/settings.json to enable format-on-save:
{
  "editor.formatOnSave": true,
  "editor.defaultFormatter": "esbenp.prettier-vscode"
}
This way, every time you press Ctrl + S to save, Prettier automatically formats your code. It’s really satisfying.
Step 5: Configure Husky + lint-staged
This step is the heart of the entire configuration process and brings the biggest boost to team collaboration efficiency.
Initialize Husky
Run:
pnpm dlx husky initThis command automatically creates a .husky/ folder and adds a prepare script to package.json:
{
  "scripts": {
    "prepare": "husky install"
  }
}
The prepare script ensures that when team members run pnpm install, Husky hooks are automatically installed. This way, new teammates don’t need extra steps—they get automated check protection right after cloning the project.
Configure pre-commit Hook
Edit the .husky/pre-commit file:
pnpm lint-stagedThat’s it. Every time you run git commit, Husky will execute pnpm lint-staged first.
Configure lint-staged
Create .lintstagedrc.mjs in your project root:
export default {
  '*.{js,jsx,ts,tsx}': [
    'eslint --fix',
    'prettier --write',
  ],
  '*.{json,md,css}': [
    'prettier --write',
  ],
};
This configuration means:
- For
.js,.jsx,.ts,.tsxfiles, first runeslint --fix(auto-fix issues), then runprettier --write(format) - For
.json,.md,.cssfiles, only runprettier --write
Performance Optimization Tips:
- Only check staged files: lint-staged automatically filters files from
git add, it won’t scan the entire project - Avoid global checks: Never run
pnpm lintin pre-commit (this checks the whole project and is very slow) - Skip tests: pre-commit should only do format checks and basic code quality checks; leave complex tests for CI
- Skip in emergencies: If you really need to bypass checks (like emergency production fixes), use
git commit --no-verify
Common Troubleshooting
Husky Not Working on Windows
If you’re on Windows, make sure your Git configuration uses Git Bash, not CMD or PowerShell. Also check if the .husky/pre-commit file has execute permissions:
chmod +x .husky/pre-commitHook Execution Too Slow
If the pre-commit hook takes more than 10 seconds, check your lint-staged configuration to ensure you haven’t misconfigured a full project scan. Normally, lint-staged checking just a few files should complete in 2-3 seconds.
Verifying Your Configuration
After configuration, let’s verify it works.
Test Steps
- Modify any file and deliberately introduce formatting issues (like changing single quotes to double quotes, or removing some semicolons)
- Run
git add . - Run
git commit -m "test" - Observe the terminal output
Success Indicators
If configured correctly, you’ll see output like this:
✔ Preparing lint-staged...
✔ Running tasks for staged files...
✔ Applying modifications from tasks...
✔ Cleaning up temporary files...
Then open the file you modified, and you’ll find the formatting issues have been automatically fixed. This is the magic of automation.
If It Fails
- Check if the
.husky/pre-commitfile exists and has correct content - Check if the
.lintstagedrc.mjsfile is in the project root - Try manually running
pnpm lint-stagedto see if there are error messages
Advanced Configuration
The basic configuration already satisfies most needs, but if you want stricter code quality management, consider these advanced configurations.
Adding commitlint (Standardize Commit Messages)
Besides code format, commit message standards are also important. commitlint ensures all team members follow a unified commit message format (like Conventional Commits).
Install dependencies:
pnpm add -D @commitlint/cli @commitlint/config-conventionalCreate commitlint.config.mjs:
export default {
  extends: ['@commitlint/config-conventional'],
};
Add commit-msg hook:
echo "pnpm commitlint --edit \$1" > .husky/commit-msgNow, if your commit message doesn’t follow the standard (like git commit -m "fix bug" instead of git commit -m "fix: bug"), the commit will be blocked.
Adding TypeScript Type Checking
If you want automatic TypeScript type checking before commits, modify .lintstagedrc.mjs:
export default {
  '*.{ts,tsx}': [
    () => 'tsc --noEmit', // Type checking
    'eslint --fix',
    'prettier --write',
  ],
  '*.{js,jsx}': [
    'eslint --fix',
    'prettier --write',
  ],
  '*.{json,md,css}': [
    'prettier --write',
  ],
};Note: tsc --noEmit checks types across the entire project and is relatively slow. If your project is large, it might slow down the pre-commit hook. I personally suggest leaving type checking for CI and only doing format and basic checks in pre-commit.
Monorepo Configuration
If your project is a Monorepo (like using pnpm workspace or Turborepo), the configuration is slightly more complex:
- Install Husky and lint-staged in the root directory
- Create independent
.lintstagedrc.mjsin each package - Avoid configuration “leaking” into other packages
Check lint-staged’s official documentation for specific configuration details.
Common Issues and Solutions
During configuration, you might encounter some problems. Here are a few common pitfalls and solutions.
Q1: ESLint and Prettier Rules Conflict?
Symptom: ESLint errors say code format is wrong, but after Prettier formatting it reverts back.
Solution:
Make sure you’ve installed eslint-config-prettier and extend prettier last in your ESLint config:
export default [
  ...compat.extends('next/core-web-vitals'),
  ...compat.extends('prettier'), // Put this last
];
eslint-config-prettier disables all ESLint format rules that conflict with Prettier, letting Prettier focus on formatting and ESLint focus on code quality.
Q2: ESLint Error “plugin not detected” After Next.js 15 Upgrade
Symptom: Running pnpm lint gives this error:
Error: The Next.js plugin was not detected in your ESLint configuration.Solution:
This usually happens because the ESLint 9 flat config format is incorrect. Check if your eslint.config.mjs properly imports @next/eslint-plugin-next:
import nextPlugin from '@next/eslint-plugin-next';

export default [
  {
    plugins: {
      '@next/next': nextPlugin,
    },
  },
];
If you really can’t figure it out, temporarily set ESLINT_USE_FLAT_CONFIG=false to downgrade to the old format.
Q3: Pre-commit Hook Too Slow?
Symptom: Every commit takes 10+ seconds, seriously impacting development efficiency.
Solution:
- Confirm lint-staged only checks staged files (should be automatic normally)
- Remove test scripts from pre-commit (tests should run during CI)
- If the project is large, consider only running ESLint on
.tsand.tsxfiles, and only Prettier on other files
Q4: Team Members Haven’t Installed Husky Hooks
Symptom: New colleagues clone the project but don’t have pre-commit hooks triggered when committing.
Solution:
Make sure there’s a prepare script in package.json:
{
  "scripts": {
    "prepare": "husky install"
  }
}
Tell colleagues to run pnpm install once, and Husky hooks will be automatically installed.
Q5: Husky Not Working on Windows
Symptom: Windows users don’t have pre-commit hooks running when committing code.
Solution:
- Make sure Git is configured to use Git Bash (not CMD)
- Check
.husky/pre-commitfile permissions, try manually adding execute permission:
chmod +x .husky/pre-commit- If it still doesn’t work, try reinitializing Husky:
rm -rf .husky
pnpm dlx husky init
Summary and Best Practices
Configuring this toolchain took me about half an hour, but the value it brings to the team is long-term.
Core Benefits
- Improved code quality: ESLint catches potential issues during development, avoiding production incidents
- Efficient team collaboration: Unified code format reduces meaningless PR debates and merge conflicts
- Automation guarantee: Husky ensures every commit meets standards; no more worrying about forgetting checks
Best Practice Recommendations
- Progressive configuration: Don’t start with very strict rules. Use default configuration for a while, then gradually adjust as you discover issues.
- Team consensus: Prettier configuration (like single vs double quotes) needs team discussion and agreement, not one person’s decision.
- Performance first: Pre-commit hooks should only do necessary checks; leave complex tests for CI.
- Regular updates: Follow Next.js and ESLint version changes, especially with Next.js 16 removing the
next lintcommand.
Next Steps
If you haven’t configured this toolchain in your project yet, I recommend trying it now. Follow this article step by step, and you can finish in half an hour.
Then share the configuration with team members to unify everyone’s development environment.
Finally, adjust Prettier and ESLint rules based on your team’s specific situation. Remember, tools serve people—don’t let tools control you.
Personal Experience
Honestly, configuring this toolchain does feel tedious at first, especially when dealing with ESLint 9’s flat config migration—I struggled with it for a while too. But once you start using it, there’s no going back.
Now when I commit code, I don’t worry about formatting at all, and I don’t worry about forgetting to run lint. The pre-commit hook automatically checks everything for me, and that peace of mind feels amazing.
Our team’s PR review efficiency has also noticeably improved. We used to debate “should this use single quotes or double quotes” in PRs, but now that never happens because Prettier already standardized everything. We can spend our time discussing business logic and architecture design instead of arguing over formatting details.
The efficiency boost from this automation is truly worth the time spent on configuration.
I hope this article helps you. If you run into issues during configuration, feel free to leave a comment, and I’ll do my best to help.
Good luck with your setup!
11 min read · Published on: Jan 6, 2026 · Modified on: Mar 3, 2026
Related Posts
AI Keeps Writing Wrong Code? Master These 5 Prompt Techniques to Boost Efficiency by 50%

AI Keeps Writing Wrong Code? Master These 5 Prompt Techniques to Boost Efficiency by 50%
Cursor Advanced Tips: 10 Practical Methods to Double Development Efficiency (2026 Edition)

Cursor Advanced Tips: 10 Practical Methods to Double Development Efficiency (2026 Edition)
Complete Guide to Fixing Bugs with Cursor: An Efficient Workflow from Error Analysis to Solution Verification

Comments
Sign in with GitHub to leave a comment