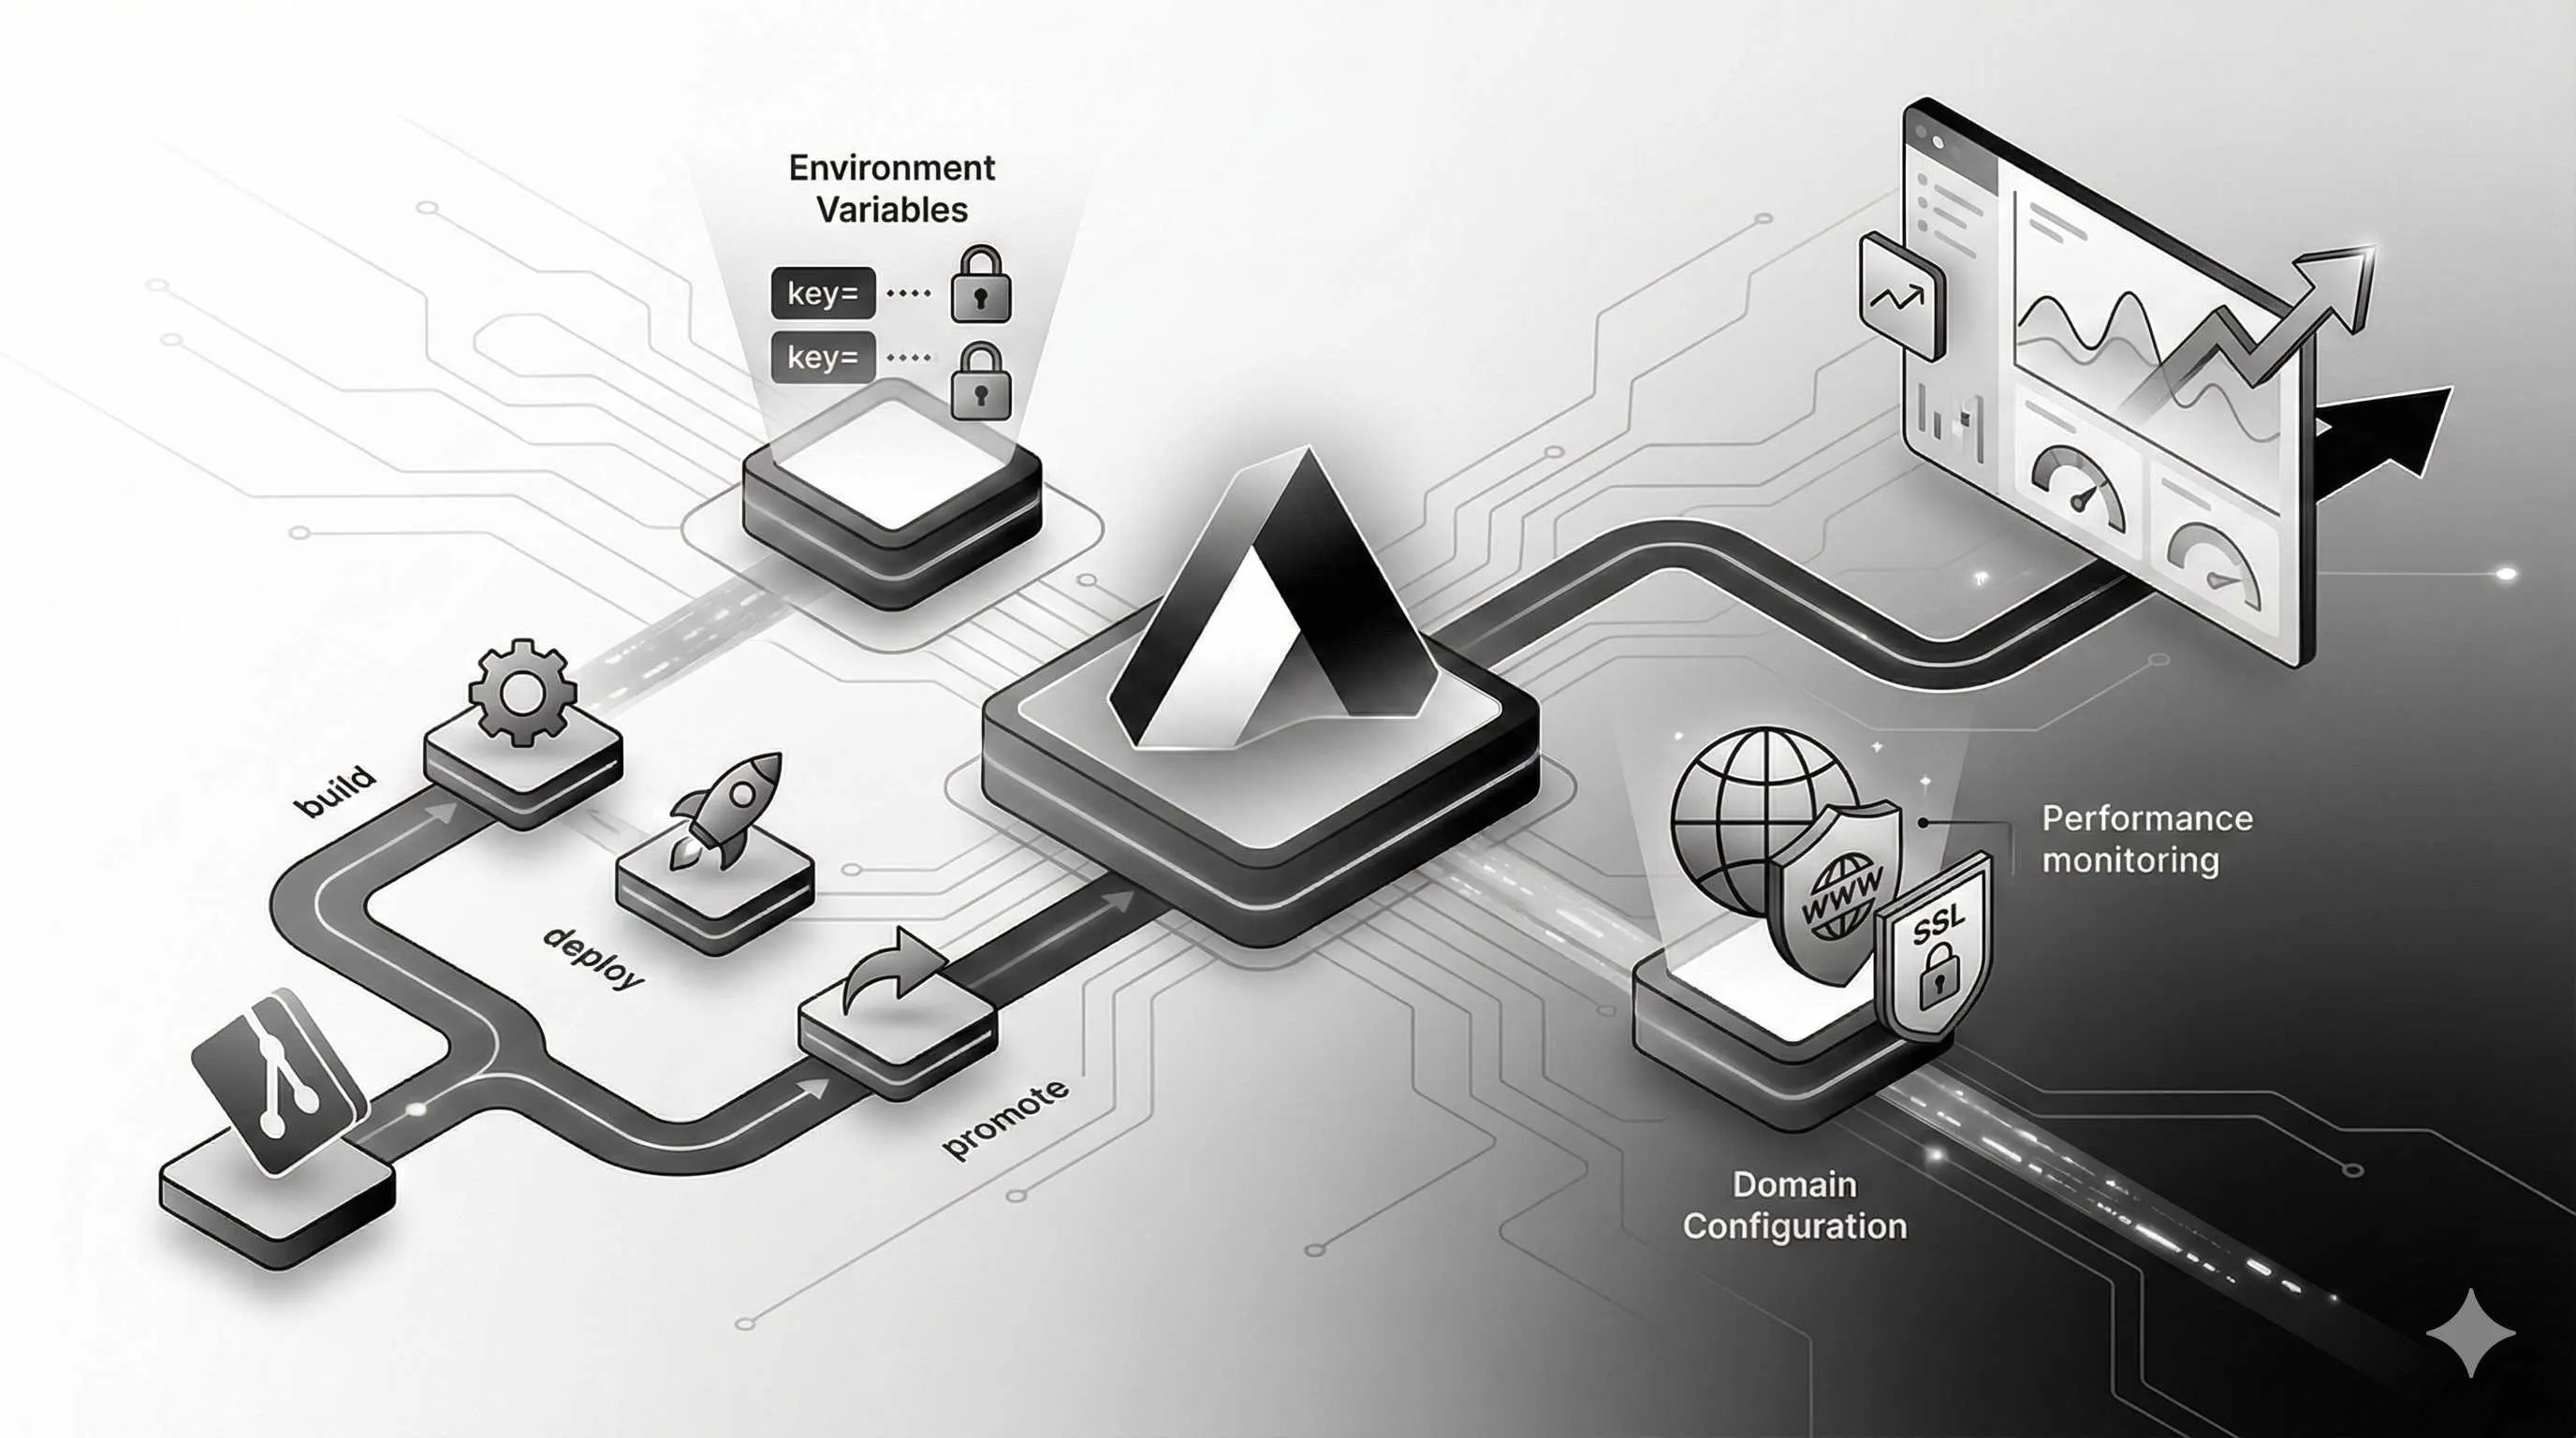
Complete Guide to Deploying Next.js on Vercel: Environment Variables, Custom Domains & Performance Monitoring
3 AM. I’m staring at a Vercel 500 error page in my browser, internally screaming.
The environment variables are clearly configured in the Vercel Dashboard, so why is the API still returning undefined? I’ve checked .env.local three times, redeployed twice, even cleared my browser cache—nothing works.
Half an hour later, I finally figured it out: the NEXT_PUBLIC_ prefix. That moment, I wanted to slap my past self for not reading the docs.
Ever been in a similar situation? Your Next.js project runs perfectly locally, but once deployed to Vercel, everything goes wrong. Environment variables don’t work, custom domains throw 404s, SSL certificates cause infinite redirects…
To be honest, Vercel’s deployment process is simple, but “simple” doesn’t mean “painless.” Those configuration traps hiding in the details can drive you crazy at 3 AM.
This article walks you through the complete Next.js deployment process on Vercel, from basic one-click deployment to proper environment variable configuration, custom domain binding, and performance monitoring. Most importantly, I’ll highlight all the pitfalls the docs don’t tell you about—but you’ll definitely encounter.
After reading this, you’ll save yourself at least three 3 AM debugging sessions.
Basic Deployment (5 Minutes to Launch)
One-Click Deployment Done Right
Vercel’s deployment process is indeed simple: push code to GitHub, connect Vercel, click a few buttons—done. But there are details hiding behind this “simplicity.”
Let’s start with the basics. Your Next.js project needs to be pushed to a Git repository (GitHub, GitLab, or Bitbucket all work). Then open vercel.com, sign in with your GitHub account, and click “Import Project.”
Vercel will automatically scan your repository, detect the Next.js project, and configure build commands and output directories. You barely need to touch anything:
Build Command: next build
Output Directory: .next
Install Command: npm install
Click Deploy, wait a minute or two, and you’ll get a your-project.vercel.app URL. At this point, Vercel has already distributed your static assets (JS, CSS, images) to the Edge Network—global CDN acceleration, out of the box.
But here’s a detail newcomers often miss: check your package.json.
If your build script isn’t next build, or if dependencies are missing next, react, react-dom, deployment will fail outright. I’ve seen people set the build script to webpack, then wonder why deployment fails—turns out Vercel never found Next.js.
Then there’s the DPS workflow—Develop, Preview, Ship. Sounds fancy, but it’s just:
- Develop: Local development,
npm run dev - Preview: When you create a Pull Request or push to a non-main branch, Vercel auto-generates a preview URL for testing
- Ship: Merge to main branch, Vercel auto-deploys to production
This mechanism is super useful. Say you’re building a new feature and create a PR—Vercel automatically generates a your-project-git-feature-branch.vercel.app link you can share with your product manager or QA team, without touching production.
First Thing After Deployment: Check Build Logs
Don’t celebrate just yet after deployment succeeds. Open the Vercel Dashboard, enter your project, find the “Deployments” tab, and click into the latest deployment.
You’ll see detailed build logs. This log tells you:
- How long dependency installation took: If it’s over 1 minute,
node_modulesmight be too large, or network is slow - Build warnings: Like TypeScript type errors, ESLint rule warnings
- How many static pages were generated: Next.js will tell you which pages are SSG (Static Site Generation) and which are SSR (Server-Side Rendering)
My first deployment had a bunch of TypeScript errors in the build log, but deployment somehow succeeded. Later I learned Vercel doesn’t block deployments for TypeScript errors by default—unless you enable typescript.ignoreBuildErrors: false in next.config.js.
Another easily overlooked point: successful build doesn’t mean pages work.
I’ve seen deployments succeed, but pages throw 500 errors. Turned out the API route used Node.js’s fs module to read local files—Edge Functions don’t support file system operations at all. Vercel’s Serverless Functions are isolated; each request runs in an independent environment. You can’t expect files to persist.
Environment Variables Configuration (The Trickiest Part)
Three Tiers of Environment Variables
Alright, here comes the main event. Environment variables can be confusing—I was stuck here for half an hour my first time.
Vercel divides environments into three types: Production, Preview, and Development. Simply put:
- Production: The live environment users access, corresponding to your main branch
- Preview: The test environment Vercel auto-generates when you submit a PR or push to other branches
- Development: Your local
npm run devenvironment
You can configure different variables for these three environments. For example, database connection strings: production uses the real database, preview uses test database, development uses local database.
How to configure local development?
Create .env.local or .env.development in your project root:
# .env.local
DATABASE_URL=postgresql://localhost:5432/mydb
API_KEY=your-api-key-here
.env.local will be Git-ignored (remember to add to .gitignore), so your API keys won’t leak to the code repository.
How to configure Vercel deployment?
Open Vercel Dashboard → Enter your project → Settings → Environment Variables.
You’ll see three checkboxes: Production, Preview, Development. Check whichever environment you want the variable to apply to.
For example, to configure a database connection string for production only:
Name: DATABASE_URL
Value: postgresql://prod-server:5432/prod-db
Environment: ✅ Production
After saving, redeploy, and the variable takes effect.
Common pitfall: Not redeploying after configuration.
Vercel won’t automatically redeploy. After changing environment variables, you need to manually trigger a deployment (or push code once) for variables to update in the runtime environment.
Client-Side vs Server-Side Variables
This is the most painful part. This is the exact trap I fell into at 3 AM.
Next.js environment variables come in two flavors:
- Server-side variables: Only accessible in server code (API routes,
getServerSideProps,getStaticProps) - Client-side variables: Need the
NEXT_PUBLIC_prefix, get inlined into browser JS code
For example:
# Server-side variables (secure)
DATABASE_URL=postgresql://...
API_SECRET_KEY=abc123

# Client-side variables (exposed)
NEXT_PUBLIC_API_BASE_URL=https://api.example.com
NEXT_PUBLIC_SITE_NAME=My Site
DATABASE_URL and API_SECRET_KEY are only accessible server-side; browsers can’t access them. But NEXT_PUBLIC_API_BASE_URL gets directly compiled into JS files—anyone can open browser DevTools and see it.
Here’s how I messed up:
I had an API key needed for calling a third-party API on the client side. Initially, I didn’t add the NEXT_PUBLIC_ prefix, and the browser kept throwing undefined.
Later I added the prefix, and the API key worked—but it was directly exposed in browser code. Anyone opening DevTools and searching for NEXT_PUBLIC_ could see my key plain as day.
What’s the right approach?
Don’t call third-party APIs directly from the client. Put requests in Next.js API routes:
// app/api/data/route.ts (server-side)
export async function GET() {
  const res = await fetch('https://api.example.com', {
    headers: {
      'Authorization': `Bearer ${process.env.API_SECRET_KEY}` // Secure
    }
  })
  return res.json()
}

// app/page.tsx (client-side)
const data = await fetch('/api/data') // Call your own API, don't expose key
This way, the API key only lives server-side and never leaks to the browser.
One more detail: NEXT_PUBLIC_ variables are inlined at build time, not runtime. Meaning if you change a variable, you must rebuild for it to take effect.
Environment Variable Sync Tips
In team collaboration, environment variables are a hassle. You can’t commit .env.local to Git, but after new teammates clone the code, they don’t know which variables to configure.
Vercel provides a command:
vercel env pull .env.localThis command pulls environment variables (Development type) configured on Vercel to your local .env.local file.
First you need to install Vercel CLI:
npm i -g vercel
vercel link  # Link your project
vercel env pull
Note this command only pulls Development environment variables. Production and Preview variables won’t be pulled (for security).
Another tip: use .env.example as a template.
Create .env.example in project root, listing all required variable names (without values):
# .env.example
DATABASE_URL=
API_KEY=
NEXT_PUBLIC_API_BASE_URL=
Commit this file to Git. After new teammates clone the code, they copy it to .env.local and fill in their own values.
Vercel’s total environment variable size limit is 64KB, with Edge Function single variable limit of 5KB. Most projects won’t hit this, but if you’re storing JWT public keys, base64-encoded images, etc., you might hit this trap.
Custom Domain Configuration
Domain Binding in Three Steps
your-project.vercel.app looks too amateur, plus *.vercel.app is blocked in mainland China. If you want Chinese users to access normally, binding your own domain is mandatory.
Step 1: Add Domain in Vercel
Open Vercel Dashboard → Enter your project → Settings → Domains.
Click “Add,” enter your domain (like example.com or blog.example.com), click Add.
Vercel will detect your domain and tell you which DNS records to configure.
Step 2: Configure DNS
There are two approaches: A records and CNAME records.
If binding root domain (example.com):
Type: A
Name: @
Value: 76.76.21.21
If binding subdomain (blog.example.com):
Type: CNAME
Name: blog
Value: cname.vercel-dns.com
Special configuration for Chinese users:
If your users are mainly in China, use cname-china.vercel-dns.com instead of cname.vercel-dns.com. This is Vercel’s CNAME address optimized for mainland China.
Type: CNAME
Name: blog
Value: cname-china.vercel-dns.com
Or use an A record pointing to China-friendly IPs:
Type: A
Name: @
Value: 76.223.126.88 or 76.76.21.98
After configuring DNS, wait a few minutes to tens of minutes (depending on your DNS provider), and Vercel will automatically detect the configuration taking effect.
Step 3: Verify
Return to Vercel Dashboard and refresh the page. If the domain shows green “Valid Configuration,” configuration succeeded.
Open your browser, visit your domain, and you should see your Next.js project.
Common pitfall: Incorrect DNS configuration.
I’ve seen people write the full domain (blog.example.com) as the CNAME Name instead of just blog. Result: DNS resolution fails, domain never works.
Others entered the wrong A record IP, or DNS provider cache didn’t refresh, leading to 404s after half an hour of waiting.
Automatic SSL Certificate Configuration
Good news: Vercel automatically requests SSL certificates (Let’s Encrypt) for you. You don’t need any extra configuration for HTTPS to work.
After domain configuration takes effect, Vercel will automatically request a certificate, taking a few minutes. You’ll see “Certificate Status: Provisioning” on the Domains page, which will change to “Active” after a bit.
Once the certificate request succeeds, visit https://example.com and you’ll see the green lock.
But there’s a trap: certificate mismatch causing infinite redirects.
If your domain is configured with both root domain (example.com) and www subdomain (www.example.com), Vercel will redirect one to the other by default.
But if your DNS configuration has issues, or the SSL certificate was only requested for one domain, infinite redirects occur—the browser keeps bouncing between http://example.com and https://www.example.com.
Solution: Make sure you’ve added both example.com and www.example.com in Vercel, with DNS configured correctly for both.
Also, some DNS providers’ SSL/TLS settings need “Full Encryption” mode enabled. If set to “Flexible Encryption,” it might cause certificate mismatch.
How to check if SSL configuration works?
Open browser, visit https://example.com, click the lock icon in the address bar, view certificate details. If you see “Issued by: Let’s Encrypt,” certificate configuration succeeded.
Or check via command line:
curl -I https://example.comCheck if the HTTP status code is 200 and if there’s a Strict-Transport-Security header (HSTS).
Subdomain and Multi-Domain Strategies
Bidirectional www and Root Domain Configuration
Many people configure both example.com and www.example.com, then redirect one to the other.
Vercel’s approach: you add both domains in the Domains page, and Vercel automatically handles redirection. You can select “Primary Domain” in Settings, and the other will auto-redirect to the primary domain.
Multi-Language Site Domain Strategy
If your Next.js project supports multiple languages (i18n), you can bind different subdomains for different languages:
en.example.com→ English versionzh.example.com→ Chinese versionja.example.com→ Japanese version
In Vercel’s Settings → Domains, add these subdomains separately, then configure i18n in next.config.js:
module.exports = {
  i18n: {
    locales: ['en', 'zh', 'ja'],
    defaultLocale: 'en',
    domains: [
      { domain: 'en.example.com', defaultLocale: 'en' },
      { domain: 'zh.example.com', defaultLocale: 'zh' },
      { domain: 'ja.example.com', defaultLocale: 'ja' },
    ],
  },
}
Binding Independent Domains to Preview Branches
If you want to bind an independent domain to your preview environment (like a staging branch), add staging.example.com on the Domains page, then select “Git Branch” as staging.
This way, every time you push code to the staging branch, Vercel will auto-deploy to staging.example.com without affecting production.
Performance Monitoring and Optimization
Vercel Analytics and Speed Insights
After going live, you’ll definitely want to know: Is the page loading fast? How’s the user experience? Any performance bottlenecks?
Vercel provides two free analytics tools: Analytics (user behavior analysis) and Speed Insights (performance analysis).
Quick Speed Insights Setup
If you’re using Next.js App Router (Next.js 13+), setup is super simple:
npm install @vercel/speed-insightsThen add one line to your root layout:
// app/layout.tsx
import { SpeedInsights } from '@vercel/speed-insights/next'

export default function RootLayout({ children }) {
  return (
    <html>
      <body>
        {children}
        <SpeedInsights />
      </body>
    </html>
  )
}
After deployment, the “Speed Insights” tab in Vercel Dashboard will start collecting data.
Core Web Vitals Monitoring
Speed Insights automatically tracks three core performance metrics defined by Google:
- FCP (First Contentful Paint): Time for first content render. Ideal value < 1.8s
- LCP (Largest Contentful Paint): Largest content paint time. Ideal value < 2.5s
- CLS (Cumulative Layout Shift): Page layout stability. Ideal value < 0.1
This data comes from real user browsers (Real User Monitoring), not lab data. You can see performance across different regions, devices, and browsers.
How to Use Speed Insights for Performance Tuning?
Here’s an example. I had a project where Speed Insights showed LCP consistently around 4s, way over the ideal 2.5s.
I opened the details and found the issue was the Hero image on the homepage—a 2MB PNG image, uncompressed, not using Next.js’s <Image> component.
I switched the image to WebP format, used the next/image component for automatic handling, and LCP dropped straight to 1.8s. Speed Insights score jumped from 60 to 95.
That’s the value of real user data. Lab scores can be high, but nothing beats real user experience data for accuracy.
Analytics for User Behavior
Vercel Analytics tells you:
- Which pages have the most traffic
- Where users come from (traffic sources)
- Traffic distribution across regions
- Which pages have high bounce rates
This feature is free for personal projects (up to 100K views per month), but requires payment for commercial projects.
Advanced Configuration
Custom Build Commands
If your project has a special build process, you can customize build commands in Vercel Dashboard → Settings → Build & Development Settings.
For example, if you use pnpm instead of npm:
Build Command: pnpm build
Install Command: pnpm install
Or if you need to run scripts before building:
Build Command: npm run prebuild && npm run buildEdge Functions and Edge Middleware
Vercel supports running code at global edge nodes (Edge Functions), with much faster response times than traditional Serverless Functions.
If your Next.js project uses Middleware, Vercel will automatically deploy it as Edge Middleware. Things like authentication, redirects, A/B testing can all be completed at edge nodes without going back to origin.
// middleware.ts
import { NextResponse } from 'next/server'

export function middleware(request) {
  if (!request.cookies.get('token')) {
    return NextResponse.redirect(new URL('/login', request.url))
  }
}
Serverless Functions Timeout Configuration
Vercel’s Serverless Functions have a default timeout of 10 seconds (free tier). If your API routes need to handle time-consuming operations (like calling third-party APIs, generating PDFs), they might timeout.
Paid tiers can extend to 60 seconds. Or you can move time-consuming operations to background queues (like using Inngest, Trigger.dev), without blocking HTTP requests.
Deployment Protection: Password-Protect Preview Environments
If you don’t want your preview environment (Preview) publicly accessible, you can enable password protection in Settings → Deployment Protection.
Check “Password Protection for Previews” and set a password. Afterward, accessing preview URLs will require password entry.
This feature is especially useful for protecting sensitive data or unfinished features.
Conclusion
After all this, you should now have a clear understanding of the complete Next.js deployment process on Vercel.
From basic one-click deployment to three-tier environment variable configuration, custom domain binding and SSL certificates, to performance monitoring and advanced configuration—these are all issues you’ll definitely encounter in real projects.
Environment variables are indeed tricky, but remember the core principle: server-side variables don’t need a prefix, client-side variables need NEXT_PUBLIC_ prefix, and API keys should never be exposed to the client. I’ve already stepped on that landmine for you.
Domain configuration seems simple, but DNS details can go wrong. Especially for Chinese users, remember to use cname-china.vercel-dns.com or 76.76.21.21—these China-optimized addresses, or your site might get blocked.
For performance monitoring, Speed Insights is genuinely useful. Real user data is way more accurate than lab scores. If you see LCP over 2.5 seconds, check images, fonts, first-screen rendering—often one tweak can boost your score by 30 points.
Now you’ve mastered the complete Next.js deployment process on Vercel. Open your terminal, push your first project to GitHub, connect Vercel, and watch that automatic deployment complete—trust me, that sense of achievement will make this ten-minute read totally worth it.
Feel free to comment with questions, I’ll try to reply. Happy deploying!
FAQ
Environment variables not working in Vercel?
1) Did client-side variables add NEXT_PUBLIC_ prefix?
2) Did server-side variables not add prefix?
3) Are environment variables set in correct environment (Production/Preview/Development)?
4) Did you redeploy after modifying environment variables?
Remember: client-side variables must add NEXT_PUBLIC_ prefix to be accessible in browser.
Custom domain shows 404 after configuration?
1) DNS records haven't propagated yet (wait minutes to hours)
2) DNS configuration error (check CNAME or A record)
3) Domain not added in Vercel
4) SSL certificate not generated yet
Check method: Use nslookup or dig command to check DNS records, check domain status in Vercel Dashboard.
Vercel deployment failed?
1) Is build command correct? (package.json build script)
2) Are environment variables missing?
3) Is Node.js version compatible?
4) Did dependency installation succeed?
View Vercel deployment logs—errors usually clearly indicate the problem.
Common issues: missing environment variables, wrong build command, incompatible dependency versions.
How do I use different environment variables for different environments?
• Production (production environment)
• Preview (preview environment, PR deployments)
• Development (development environment)
Same variable name can have different values in different environments, Vercel automatically selects based on deployment environment.
Is Vercel's free tier enough?
• 100GB bandwidth/month
• 100 builds/day
• Unlimited requests
If you exceed limits, consider:
1) Upgrade to Pro plan ($20/month)
2) Optimize build count (reduce unnecessary deployments)
3) Use CDN to reduce bandwidth consumption
How do I view Vercel deployment logs?
1) Go to project
2) Click Deployments
3) Select specific deployment
4) View Build Logs and Function Logs
Build Logs show build process, Function Logs show runtime logs.
You can also use Vercel CLI: vercel logs to view real-time logs.
Which databases does Vercel support?
• PostgreSQL (recommend Vercel Postgres, Supabase, Neon)
• MySQL
• MongoDB (MongoDB Atlas)
• Redis (Upstash)
Set database connection string as environment variable in Vercel Dashboard.
13 min read · Published on: Dec 20, 2025 · Modified on: Mar 3, 2026
Related Posts
AI Keeps Writing Wrong Code? Master These 5 Prompt Techniques to Boost Efficiency by 50%

AI Keeps Writing Wrong Code? Master These 5 Prompt Techniques to Boost Efficiency by 50%
Cursor Advanced Tips: 10 Practical Methods to Double Development Efficiency (2026 Edition)

Cursor Advanced Tips: 10 Practical Methods to Double Development Efficiency (2026 Edition)
Complete Guide to Fixing Bugs with Cursor: An Efficient Workflow from Error Analysis to Solution Verification

Comments
Sign in with GitHub to leave a comment