Dockerfile Optimization: 5 Techniques to Reduce Image Size by 80%
3 AM. I was staring at the terminal progress bar, stuck on “Pushing to registry” for 30 minutes.
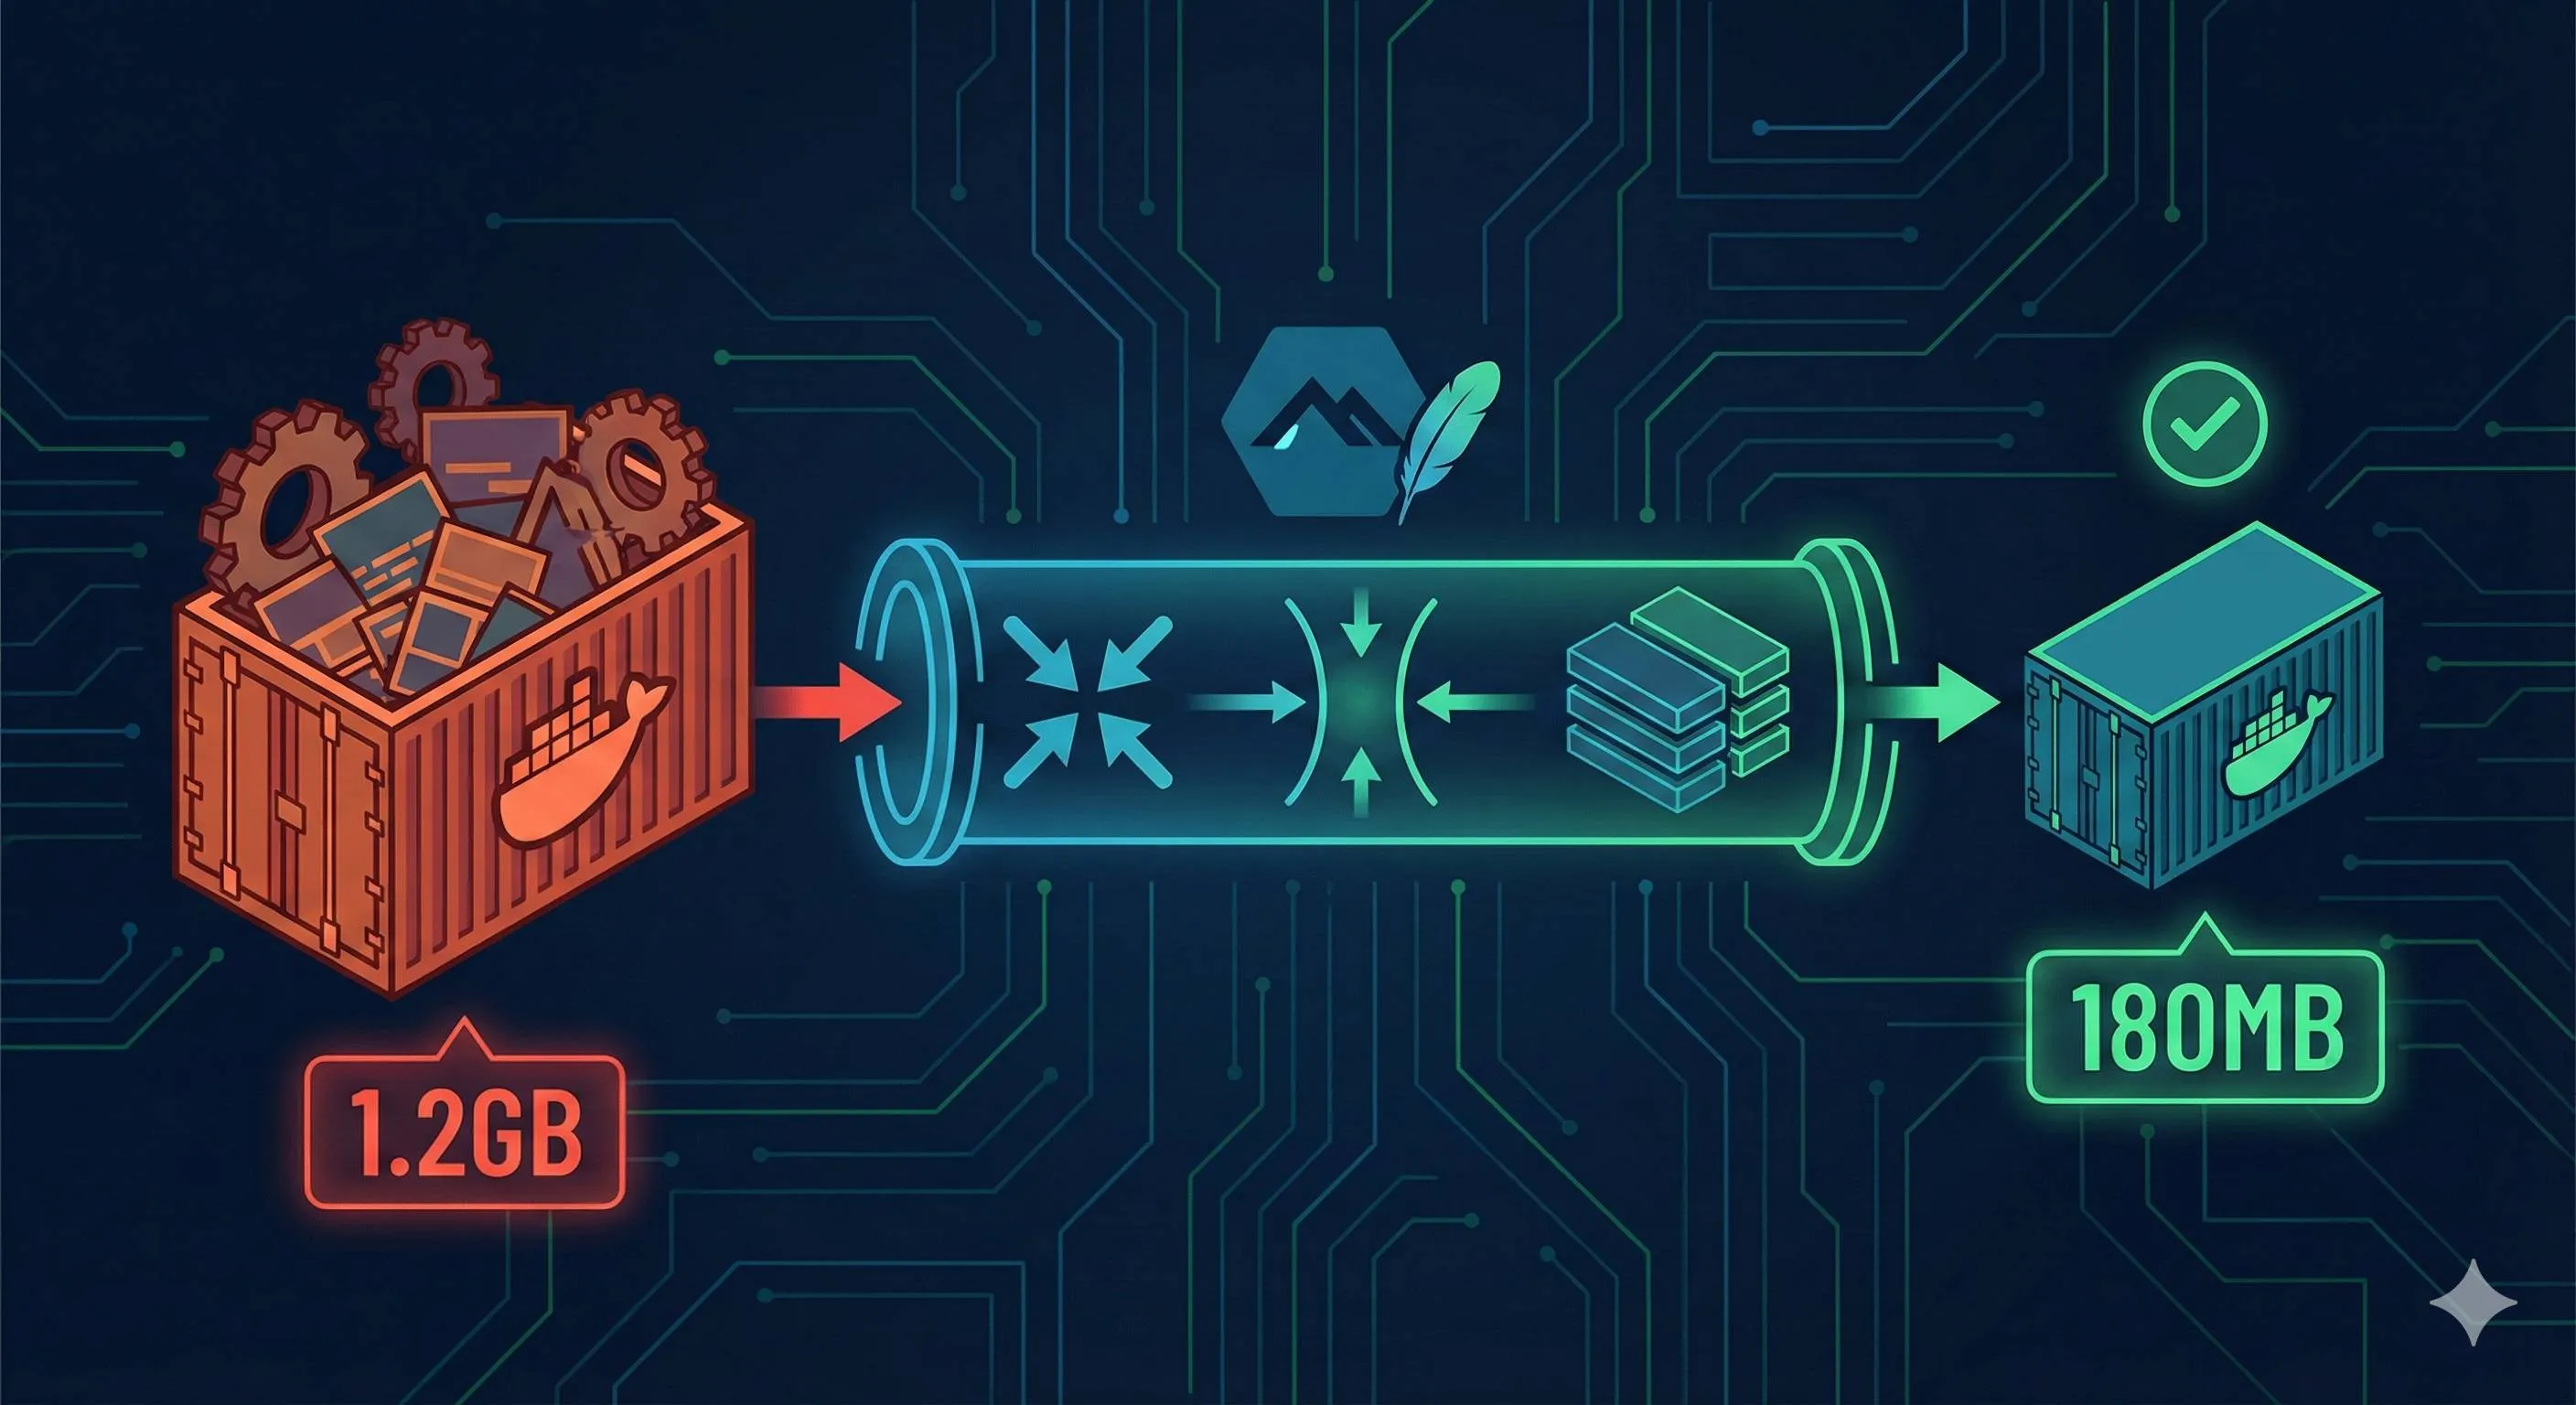
3.2GB.
My first Node.js application Docker image. I followed the tutorials step by step, the Dockerfile built successfully, but the size… completely unexpected. Even more embarrassing was when a colleague messaged me on Slack the next morning: “Did you pack the entire operating system into that image? My laptop’s hard drive is almost full.”
Honestly, I had no idea what went wrong. Ubuntu base image? node_modules? Build tools? Whatever it was, the result was clear: a simple API service with an image 50 times larger than the project code itself.
I spent days digging through Docker official docs and best practices, finally managing to shrink that 3.2GB monster down to 180MB. A 94% reduction.
This article will walk you through the 5 most effective techniques I discovered. Not just telling you what to do, but explaining why it works - understanding the principles matters more than memorizing commands.
Understanding Why Docker Images Get So Large
Before diving into optimization techniques, we need to understand the root cause.
Docker images are layered. Each RUN, COPY, or ADD instruction creates a new filesystem layer. These layers stack up to form the final image. The key point: each layer only adds, never removes.
For example, if you write this in your Dockerfile:
RUN apt-get update
RUN apt-get install -y build-essential
RUN rm -rf /var/lib/apt/lists/*
On the surface, the last line deletes the apt cache. But in reality, that cache was permanently saved in the second layer. The third layer only marks “these files are deleted,” but the data still sits in the image taking up space.
It’s like taking photos every time you organize your room when moving. Even if you eventually throw away the trash, all those photos with trash in them still get packed. Seems silly, but that’s how Docker’s copy-on-write mechanism works.
Run docker history on an unoptimized image, and you’ll see the combined size of all layers far exceeds what you actually need.
Another easily overlooked point: your base image choice directly sets your size floor. ubuntu:20.04 alone is 72MB, while node:16 weighs in at 1.09GB - because it’s based on a complete Debian system with all sorts of system tools you’ll probably never use.
With this understanding, the optimization path becomes clear: reduce layers, choose lighter base images, and complete installation + cleanup in the same layer.
Technique 1: Choose the Right Base Image - Start Strong
Choosing a base image is like picking a location when buying property. Get it wrong, and there’s only so much you can do with renovations.
Let’s look at some numbers:
node:16→ 1.09GBnode:16-slim→ 240MBnode:16-alpine→ 174MBalpine:latest→ 5.6MB
The difference is obvious. When I switched from node:16 to node:16-alpine, the image dropped from 1.2GB to 400MB without changing any code.
What is Alpine Linux?
It’s a Linux distribution specifically designed for container environments. Minimalist philosophy, keeping only core components. Uses musl libc instead of standard glibc, and apk instead of apt as the package manager.
Clear advantages:
- Small size (5MB vs Ubuntu’s 72MB)
- Secure (minimal attack surface)
- Fast startup
But there are gotchas.
Alpine Compatibility Trap
Because it uses musl libc, some precompiled binary programs might not run. I encountered this once: a project dependency on a C++-written Node.js native module threw “library not found” errors on Alpine. Spent half a day figuring out it was the libc issue.
So the pragmatic recommendation is:
- Try Alpine variants first (
-alpinesuffix) - If you hit compatibility issues, switch to
-slimvariants (Debian-based but stripped down) - Fall back to standard images only if necessary, though this is actually rare
The code change is super simple:
# Before optimization
FROM node:16

# After optimization
FROM node:16-alpine
Just this one line saves 800MB.
How to Verify the Effect
After building, run:
docker images your-image-nameCheck the SIZE column. If it’s still large, the problem isn’t just the base image - keep reading.
Technique 2: Merge RUN Instructions to Reduce Layers
This technique is simple to understand but often overlooked in practice.
As mentioned earlier, each RUN instruction creates a layer. And the key is: file deletion only works within the same layer.
Here’s a bad example:
# Wrong approach (creates 3 layers)
RUN apt-get update
RUN apt-get install -y python3 gcc
RUN rm -rf /var/lib/apt/lists/*
Written this way, the apt cache (typically tens of MBs) gets saved in the second layer. The third layer’s deletion just marks “these files are gone,” but the actual data remains in the image.
The right approach is to chain them with &&:
# Correct approach (creates 1 layer)
RUN apt-get update && \
    apt-get install -y python3 gcc && \
    rm -rf /var/lib/apt/lists/*
This way, installation and cleanup happen in the same layer, and deletion truly deletes.
The Role of Backslashes
Notice the \. It lets you split long commands across multiple lines for readability and maintainability. Without it, cramming everything on one line gets ugly.
How to Decide What to Merge
Not all RUNs should be merged. Here’s a simple guideline:
- Do merge: install+cleanup, download+extract+delete archive
- Don’t merge: logically unrelated operations, frequently changing steps (breaks build cache)
For example:
# Good layering
RUN apt-get update && apt-get install -y curl && rm -rf /var/lib/apt/lists/*
RUN npm install
RUN npm run build
System dependencies are one layer, npm install is another (because package.json changes often), and build is a third. This way, when you modify package.json, the system dependencies layer can use cache without re-running.
Real-world result: I had a project with 12 RUN instructions. After merging, it went down to 4, and the image shrank from 520MB to 320MB.
Technique 3: Multi-stage Builds - Take Only What You Need
Multi-stage builds are the most powerful weapon for Docker image optimization. No contest.
The core idea is incredibly simple: separate build from runtime.
Think about it - compiling a Go program requires the entire Go toolchain (hundreds of MBs), but the compiled binary might only be 10MB. If you pack the Go toolchain into the final image, that’s pure waste.
Multi-stage builds solve this problem. You can define multiple stages in one Dockerfile: the first stage for building, the second stage only copies build artifacts.
Here’s a Node.js example:
# === Build Stage ===
FROM node:16-alpine AS builder
WORKDIR /app

# Copy dependency files
COPY package*.json ./
RUN npm install

# Copy source code and build
COPY . .
RUN npm run build

# === Runtime Stage ===
FROM node:16-alpine
WORKDIR /app

# Only copy necessary files
COPY --from=builder /app/dist ./dist
COPY --from=builder /app/node_modules ./node_modules
COPY package*.json ./

EXPOSE 3000
CMD ["node", "dist/index.js"]
The key is that COPY --from=builder. It copies files from the first stage (builder) to the second stage. The final image only contains the second stage content - all intermediate artifacts from the first stage get discarded.
When to Use Multi-stage Builds
Several typical scenarios:
- Compiled languages: Go, Rust, C++ that need compilers
- Frontend projects: TypeScript compilation, Webpack bundling
- Build tools needed: Like Python projects requiring gcc to compile certain libraries
My Node.js project was a typical TypeScript-to-JavaScript scenario. Source code 400MB (including @types in node_modules), compiled dist folder only 2MB. Using multi-stage builds dropped it from 400MB to 220MB.
A Common Pitfall
Some people will also npm install in the runtime stage, thinking “need to install dependencies anyway.” Don’t! That way, devDependencies (development dependencies) also get installed, wasting space.
The right approach is to use npm install in the build stage (includes dev dependencies because you need to compile), then copy the entire node_modules to the runtime stage. Or more precisely:
# Build stage
RUN npm install

# Runtime stage
RUN npm install --production
Install only production dependencies, and you can save another 30-40% in size.
Multi-stage builds might look confusing at first, but once you get it, you’ll appreciate how elegant the design is. It’s like packing for a trip: at home (build stage) you spread everything out to organize, but on the plane (runtime stage) you only bring what fits in the suitcase.
Technique 4: Use .dockerignore to Exclude Unnecessary Files
.dockerignore works like .gitignore, but many people overlook it.
When you write COPY . . in your Dockerfile, Docker sends the entire directory to the Docker daemon as the build context. If your project directory has hundreds of MBs of node_modules, .git history, test files, and logs, they all get sent and copied.
Even if you don’t end up using these files, the build process slows down, and you risk accidentally packaging things that shouldn’t be in the image (like API keys in .env files).
The solution: create a .dockerignore file in the project root.
# .dockerignore
node_modules
npm-debug.log
.git
.gitignore
.env
.env.local
README.md
.vscode
.idea
*.md
.DS_Store
coverage/
.pytest_cache/
__pycache__/
*.pyc
dist-local/
Key Principles
Add these items:
- Existing dependency directories: node_modules, vendor, target etc. (they’ll be reinstalled during build anyway)
- Dev tool configs: .vscode, .idea, .editorconfig
- Git-related: .git, .gitignore (.git folder often tens of MBs)
- Documentation: README, CHANGELOG, docs/
- Sensitive info: .env, credentials.json, *.pem
I once forgot to add .git to a project, and every build transferred 500MB of .git history. After adding .dockerignore, build time dropped from 2 minutes to 30 seconds, and the image size also decreased.
A Practical Tip
If you’re not sure which files get copied, build once and then inspect the container:
docker run --rm -it your-image sh
ls -lah
If you find files that shouldn’t be there, add them to .dockerignore.
This technique seems simple but has immediate impact. Especially for frontend projects, dist directory, node_modules, and .cache can easily add up to GBs.
Technique 5: Clean Package Manager Caches
Various package managers (npm, pip, apt, apk) leave behind caches after installing packages. These caches speed up subsequent installs during local development, but in Docker images they’re just taking up space.
The problem is, many people know they should clean up, but do it wrong.
Must Clean in the Same RUN Instruction
Emphasizing this key point again: cleanup must happen in the same layer as installation.
# ❌ Ineffective cleanup
RUN apt-get update
RUN apt-get install -y curl
RUN rm -rf /var/lib/apt/lists/*  # This line is pointless

# ✅ Effective cleanup
RUN apt-get update && \
    apt-get install -y curl && \
    rm -rf /var/lib/apt/lists/*
Different package managers have different cleanup methods. Here’s a cheatsheet:
Node.js (npm/yarn)
# npm - traditional way
RUN npm install && \
    npm cache clean --force

# npm - simpler way (disable cache)
RUN npm install --no-cache

# yarn
RUN yarn install && \
    yarn cache clean
Python (pip)
# Most direct: don't generate cache during install
RUN pip install --no-cache-dir -r requirements.txt

# Or clean up after install
RUN pip install -r requirements.txt && \
    rm -rf ~/.cache/pip
Alpine (apk)
# apk has a super convenient option
RUN apk add --no-cache package-name

# Or manually clean
RUN apk add package-name && \
    rm -rf /var/cache/apk/*
Debian/Ubuntu (apt)
RUN apt-get update && \
    apt-get install -y package-name && \
    apt-get clean && \
    rm -rf /var/lib/apt/lists/*
Real-world Data
I tested a Python project with the same dependencies:
- No cache cleanup: 450MB
- Cache cleanup: 320MB
- Using
--no-cache-dir: 310MB (cleanest)
A 140MB difference! Just from adding one parameter.
Development vs Production Environment
One detail: production environment images should use --production or --no-dev to install only necessary packages. Development dependencies typically account for 30-50% of total size.
# Node.js install only production dependencies
RUN npm install --production

# Python install only necessary packages (separate in requirements.txt)
RUN pip install --no-cache-dir -r requirements-prod.txt
These 5 techniques work multiplicatively, not additively. My 3.2GB project dropped to 180MB by applying all of them.
Complete Case Study: Node.js Application Optimization Journey
Enough theory - let’s look at a real optimization case. This is the Dockerfile evolution of an Express API service I worked on.
Before Optimization (1.2GB)
FROM node:16
WORKDIR /app
COPY . .
RUN npm install
RUN npm run build
EXPOSE 3000
CMD ["node", "dist/index.js"]
Simple and brutal, but massive image.
First Optimization: Switch to Alpine Base Image (→ 400MB, -67%)
FROM node:16-alpine
WORKDIR /app
COPY . .
RUN npm install
RUN npm run build
EXPOSE 3000
CMD ["node", "dist/index.js"]
Just one line change, saved 800MB.
Second Optimization: Add .dockerignore (→ 380MB, -5%)
Create .dockerignore:
node_modules
.git
*.md
.env
coverage
Doesn’t look like much savings, but build speed improved significantly.
Third Optimization: Multi-stage Build (→ 220MB, -42%)
# Build stage
FROM node:16-alpine AS builder
WORKDIR /app
COPY package*.json ./
RUN npm install
COPY . .
RUN npm run build

# Runtime stage
FROM node:16-alpine
WORKDIR /app
COPY --from=builder /app/dist ./dist
COPY --from=builder /app/node_modules ./node_modules
COPY package*.json ./
EXPOSE 3000
CMD ["node", "dist/index.js"]
This step had the most significant effect, discarding all intermediate build files.
Fourth Optimization: Production Dependencies Only + Cache Cleanup (→ 180MB, -18%)
# Build stage
FROM node:16-alpine AS builder
WORKDIR /app
COPY package*.json ./
RUN npm install
COPY . .
RUN npm run build

# Runtime stage
FROM node:16-alpine
WORKDIR /app
COPY package*.json ./
RUN npm install --production --no-cache && \
    npm cache clean --force
COPY --from=builder /app/dist ./dist
EXPOSE 3000
CMD ["node", "dist/index.js"]
Final version: 180MB, down from the initial 1.2GB - an 85% reduction.
Optimization Roadmap Summary
1.2GB  (node:16 original)
  ↓ Switch to Alpine
400MB  (-67%)
  ↓ .dockerignore
380MB  (-5%)
  ↓ Multi-stage build
220MB  (-42%)
  ↓ Production deps + cleanup
180MB  (-18%)
────────────────
Total reduction: 85%
Which Techniques Work Best?
From this case, you can see:
- Alpine base image: Immediate impact, easiest to implement
- Multi-stage builds: Most significant effect, but requires some learning
- Cleanup and production deps: Detail optimization, adds up
If time is limited, prioritize the first two.
Conclusion
Let’s recap these 5 techniques:
- Choose Alpine base image - Reduce size from the source
- Merge RUN instructions - Complete install + cleanup in same layer
- Multi-stage builds - Take only what’s needed at runtime
- .dockerignore - Exclude unnecessary files and sensitive info
- Clean package manager caches - Use
--no-cachetype parameters
These techniques aren’t isolated - combining them works best. My experience: Alpine + multi-stage builds solve 80% of size problems, the remaining 20% comes from cleanup and exclusion optimization.
FAQ
What's the difference between Alpine and slim base images?
• Only 5MB
• Uses musl libc
• May have compatibility issues with some native modules
Slim images:
• Debian-based (around 240MB)
• More compatible
Try Alpine first, fall back to slim if needed.
Why does merging RUN instructions reduce image size?
If you delete files in a later layer, the data still exists in previous layers.
Merging RUN commands allows you to install and clean up in the same layer, actually removing the data.
What is a multi-stage build and why is it effective?
This excludes build tools, source code, and dependencies from the final image, dramatically reducing size.
What should I include in .dockerignore?
• node_modules
• .git
• .env
• *.log
• Test files
• Documentation
• Any build artifacts
This prevents sending unnecessary files to Docker daemon and speeds up builds.
How much can I realistically reduce image size?
Alpine base images alone can save 50-70%, multi-stage builds add another 30-40% reduction.
Are there any downsides to using Alpine Linux?
If you encounter library errors, switch to slim variants.
Should I optimize image size for all projects?
Production images benefit most from optimization.
Development images can be larger for convenience.
Focus on images that are frequently pulled or deployed.
Take Action Now
Don’t wait until you hit problems to optimize. Find an existing project and try these 5 techniques:
- See if you can switch to Alpine (probably can)
- Check if your Dockerfile has separate install and cleanup commands (merge them)
- Add multi-stage builds (must-do for compiled projects)
- Create a .dockerignore file
- Add
--no-cacheparameters to package managers
After building, use docker images to compare the before and after sizes.
Advanced Topics
If you want to dive deeper, research:
- Docker BuildKit’s cache mount feature
- Distroless images (by Google, even smaller than Alpine)
- Image security scanning tools (Trivy, Grype)
Dockerfile optimization isn’t a one-time thing - it’s a continuous improvement process. Make it a habit to check image size every build, and the size will naturally stay under control.
May your images get lighter and lighter.
11 min read · Published on: Dec 17, 2025 · Modified on: Mar 3, 2026
Related Posts
AI Keeps Writing Wrong Code? Master These 5 Prompt Techniques to Boost Efficiency by 50%

AI Keeps Writing Wrong Code? Master These 5 Prompt Techniques to Boost Efficiency by 50%
Cursor Advanced Tips: 10 Practical Methods to Double Development Efficiency (2026 Edition)

Cursor Advanced Tips: 10 Practical Methods to Double Development Efficiency (2026 Edition)
Complete Guide to Fixing Bugs with Cursor: An Efficient Workflow from Error Analysis to Solution Verification

Comments
Sign in with GitHub to leave a comment