OpenClaw 2026 Ultimate Installation Guide: Deploy Your Personal AI Assistant from Scratch
It was 2 AM, and I was staring at the 17th error message on my screen.
“Cannot find module ‘@anthropic-ai/sdk’” — I’d been looking at this red text for three days. As someone who’s tinkered with countless open-source projects, I thought I’d seen every installation failure scenario out there. But the OpenClaw deployment process took me on a complete journey from “confident” to “questioning my life choices.”
Honestly, when I finally got my first conversation running on my Mac Mini, that sense of accomplishment rivaled writing “Hello World” for the first time. Once you get OpenClaw working, it’s pretty sweet — you can access top-tier AI like Claude and GPT-4 through WhatsApp, Telegram, Discord, even iMessage, with complete data privacy and no worries about leaks.
But here’s the thing: the installation process isn’t exactly beginner-friendly.
This guide won’t make empty promises or regurgitate the same official documentation you’ve read ten times already. I’m going to tell you exactly which pitfalls I fell into, which approaches I tried, and what finally worked. Whether you’re a Windows user, Mac enthusiast, or a seasoned sysadmin looking to deploy on a server, you’ll find a solution that fits.
Pre-Installation: Don’t Rush Into It
Many people see “one-click installation script” and immediately copy-paste with excitement — hold on, wait a second.
OpenClaw has strict system requirements, and skipping these checks leads to endless headaches. Based on official docs and community feedback, here’s what you need to verify:
Node.js version must be 22 or higher
This is crucial. I tried with Node 20 and got dependency errors everywhere; upgrading to 24 made everything smooth instantly. Check your version with a simple command:
node --versionIf it shows below v22, go download the latest LTS from the Node.js website. Windows users should just install 24.x — don’t skimp on versions.
Operating System Compatibility
- macOS: 12.0 (Monterey) and above, both Intel and Apple Silicon supported
- Windows: Must run through WSL2, native Windows not supported
- Linux: Tested on Ubuntu 20.04+, Debian 11+, CentOS 8+
API Key Preparation
OpenClaw itself is just a “gateway” — you need to connect actual AI services to use it. Currently supports Claude (Anthropic), OpenAI, Google Gemini, etc. I recommend at least getting a Claude API Key for the best experience.
Special Notes for Users in China
The official npm registry is painfully slow in China — switch to a mirror beforehand:
npm config set registry https://registry.npmmirror.comAlso, API calls require international network access — both Anthropic and OpenAI APIs need outbound connectivity. If you don’t have stable international routing, consider compliant proxy services.
Method 1: One-Click Script Installation (Fastest, 5 Minutes)
If you meet these conditions, just go with this method:
- Running macOS, Linux, or WSL2
- Just want a quick taste, don’t want to tinker
- Comfortable with system modifications
Installation Command
curl -fsSL https://openclaw.ai/install.sh | bashThis script automatically:
- Checks Node.js version (prompts to upgrade if insufficient)
- Installs the openclaw npm package globally
- Creates necessary config directories (
~/.openclaw/) - Sets up system services (optional)
Post-Installation Setup
openclaw onboard --install-daemonThis step asks for your API Key and configures default messaging channels. Just follow the prompts — nothing special to watch out for.
Verify Installation
openclaw --versionSeeing the version number means success. If everything goes smoothly, it really does take just 5 minutes.
But I’ll be honest — this “one-click” script failed twice on my Ubuntu server, both times due to permission issues. If you hit similar problems, don’t panic; check out the manual npm installation below.
Method 2: npm Global Installation (Most Flexible, Recommended for Advanced Users)
This is my go-to method and my top recommendation. It takes a few more steps, but troubleshooting is easier and it’s less invasive to your system.
Step 1: Verify Node.js Environment
# Check version
node --version

# If version insufficient, use nvm to manage
# macOS/Linux install nvm
curl -o- https://raw.githubusercontent.com/nvm-sh/nvm/v0.39.0/install.sh | bash

# Then install Node 24
nvm install 24
nvm use 24
Step 2: Install OpenClaw
npm install -g openclaw@latestThe @latest ensures you get the newest version. OpenClaw updates frequently — as of February 2026, it’s at v2026.2.24.
If you encounter EACCES permission errors during installation (common on macOS), your npm global directory permissions aren’t set up correctly. Here’s the fix:
# Create dedicated directory
mkdir ~/.npm-global

# Configure npm to use new directory
npm config set prefix '~/.npm-global'

# Add to PATH
echo 'export PATH=~/.npm-global/bin:$PATH' >> ~/.bashrc
source ~/.bashrc

# Reinstall
npm install -g openclaw@latest
Step 3: Initialize Configuration
openclaw onboard --install-daemonThis interactively guides you through:
- Selecting AI providers (Claude, OpenAI, Gemini, etc.)
- Entering corresponding API Keys
- Configuring messaging channels (Telegram Bot, Discord, etc.)
- Setting up system services (optional but recommended)
Step 4: Start the Service
# Foreground mode (for debugging)
openclaw start
# Background mode (for production)
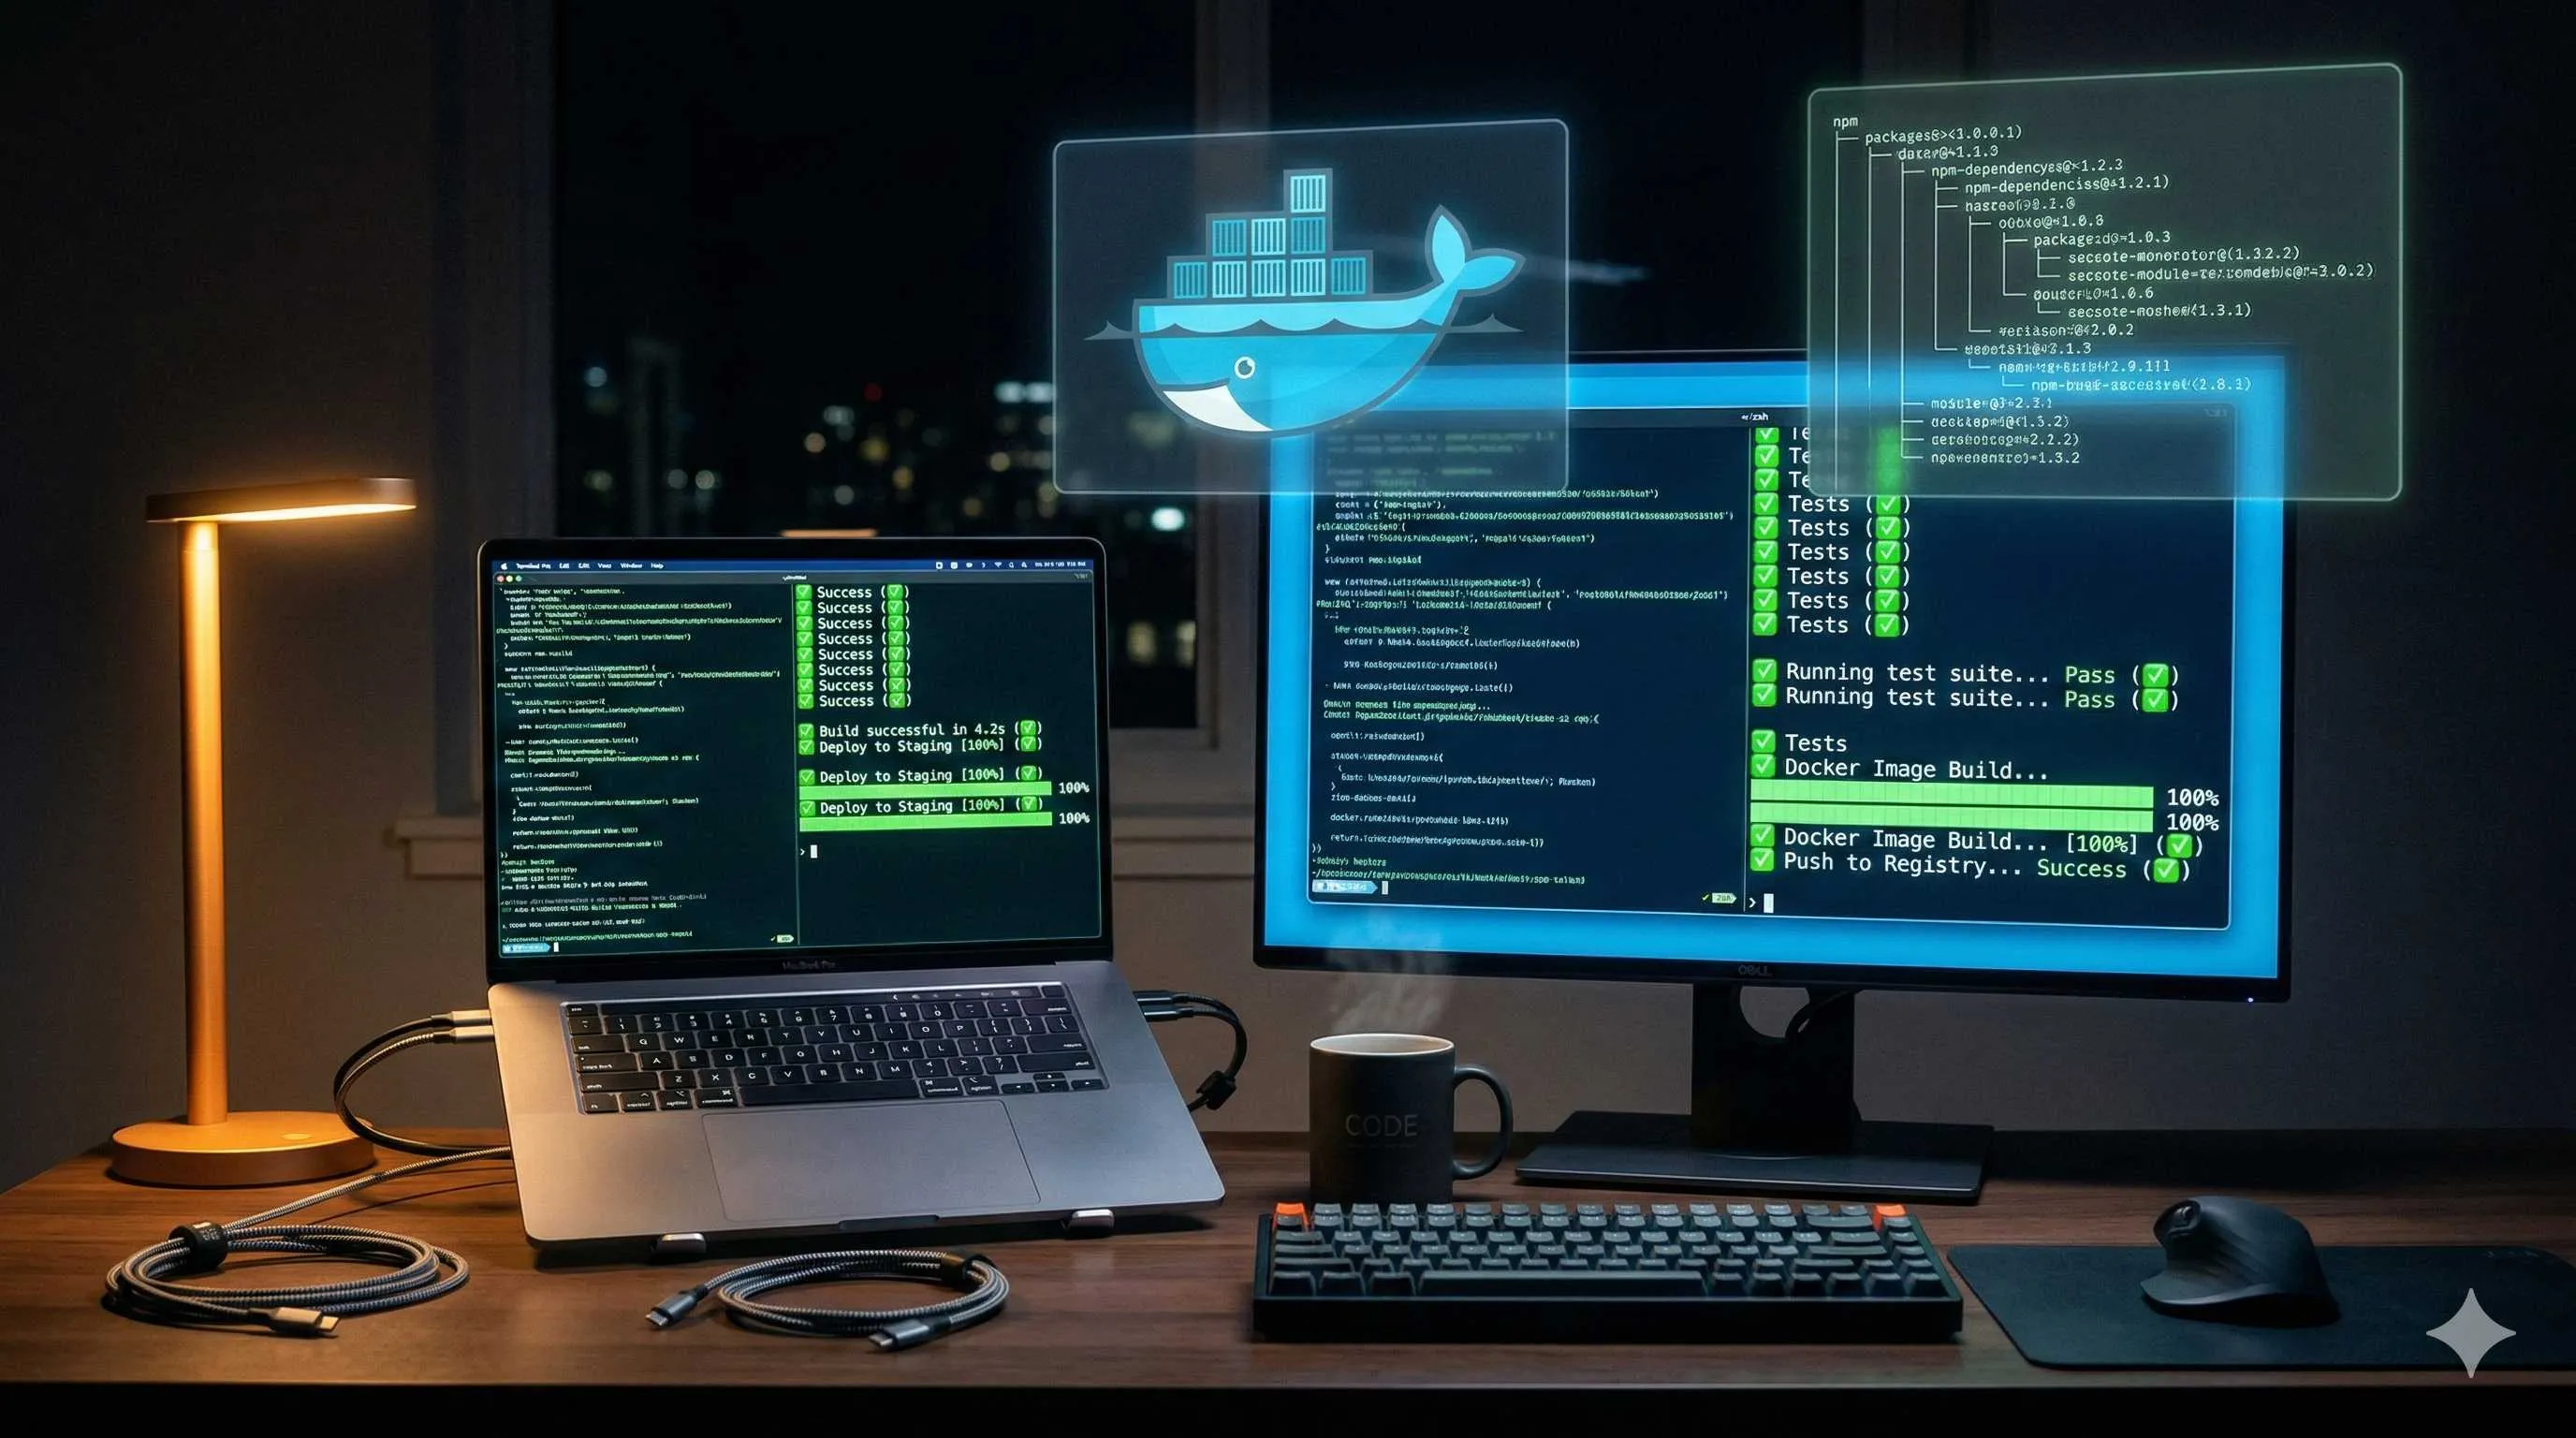
openclaw start --daemonMethod 3: Docker Installation (Most Secure, Recommended for Server Deployment)
If you’re running OpenClaw on a VPS, NAS, or any environment requiring long-term stability, Docker is the smartest choice. Container isolation effectively prevents AI agent mishaps from affecting your host system — and yes, someone’s OpenClaw instance actually did delete files by mistake.
Step 1: Verify Docker Environment
docker --version
docker-compose --version
No strict version requirements, but Docker 20.10+ recommended.
Step 2: Create Configuration Directories
mkdir -p ~/openclaw-data/config
mkdir -p ~/openclaw-data/data
Step 3: Prepare Docker Compose File
# docker-compose.yml
version: '3.8'

services:
  openclaw:
    image: openclaw/openclaw:latest
    container_name: openclaw
    restart: unless-stopped
    ports:
      - "3000:3000"
    volumes:
      - ~/openclaw-data/config:/app/config
      - ~/openclaw-data/data:/app/data
    environment:
      - NODE_ENV=production
      - ANTHROPIC_API_KEY=${{ANTHROPIC_API_KEY}}
      - OPENAI_API_KEY=${{OPENAI_API_KEY}}
Step 4: Configure Environment Variables
# Create .env file
cat > ~/openclaw-data/.env << EOF
ANTHROPIC_API_KEY=your_claude_api_key_here
OPENAI_API_KEY=your_openai_api_key_here
EOF
Step 5: Start the Container
cd ~/openclaw-data
docker-compose up -d
Step 6: Check Logs to Confirm Status
docker logs -f openclawSeeing “OpenClaw Gateway started on port 3000” means success.
By the way, a bonus of the Docker approach: you can deploy on Mac Mini, Raspberry Pi, or any Docker-capable device, then access it from your phone via Telegram or WhatsApp. This is actually how many people primarily use OpenClaw.
Windows WSL2 Installation Detailed Steps
Windows users must run OpenClaw through WSL2 — native Windows isn’t supported. Here are some common pitfalls:
Pitfall 1: Wrong WSL Version
# Check WSL version
wsl --list --verbose
If it shows Version 1, you need to upgrade:
# Run in PowerShell (Administrator)
wsl --set-version Ubuntu 2
Pitfall 2: Insufficient WSL2 Memory
OpenClaw consumes some memory when running, and WSL2’s default configuration might not be enough. I recommend creating .wslconfig in your Windows user directory:
[wsl2]
memory=4GB
processors=2
Then restart WSL:
wsl --shutdownPitfall 3: Windows Firewall Blocking
If you want to access the OpenClaw web interface running in WSL2 from your Windows browser, you may need to allow the corresponding port through Windows Firewall.
How to Run OpenClaw on Mac Mini
Running OpenClaw on a Mac Mini is a pretty solid choice — low power consumption, silent operation, and sufficient performance. My M1 Mac Mini has been running stably for three months.
M-Series Chip Considerations
Docker images need to support ARM64 architecture. The latest OpenClaw official images natively support Apple Silicon — no Rosetta translation needed.
# Specify platform in docker-compose.yml (usually not needed, but try if pull fails)
services:
  openclaw:
    platform: linux/arm64
    image: openclaw/openclaw:latest
Running as Background Service
macOS recommends using launchd for service management. The --install-daemon flag during installation automatically creates the plist file, but if you installed manually, you might need to configure it yourself:
# Check service status
launchctl list | grep openclaw

# Manual load
launchctl load ~/Library/LaunchAgents/ai.openclaw.daemon.plist
OpenClaw Common Error Troubleshooting
Even following the steps, you might encounter various issues. Here are the most frequent errors and solutions:
Error 1: “Cannot find module” Series
Cause: Incomplete npm installation or version incompatibility
Solution:
npm uninstall -g openclaw
npm cache clean --force
npm install -g openclaw@latest
Error 2: “EACCES: permission denied”
Cause: npm global directory permission issues
Solution: Refer to the permission fix steps in the npm installation section above
Error 3: API Calls Return 401/403
Cause: Invalid API Key or quota exhausted
Troubleshoot:
# Check configuration
openclaw config get

# Reset
openclaw config set anthropic.apiKey=your_new_key
Error 4: Docker Container Keeps Restarting
Cause: Environment variable configuration error or port conflict
Troubleshoot:
# View detailed logs
docker logs openclaw

# Check port usage
lsof -i :3000
Error 5: Messaging Channel Not Receiving Replies
Cause: Webhook configuration error or network issues
Troubleshoot:
- Telegram: Verify Bot Token is correct, Webhook URL is accessible
- Discord: Verify Bot permissions are set correctly, Intents enabled
- Domestic servers: Check if Telegram/Discord servers are accessible
Post-Installation Configuration Tips
Once OpenClaw is installed, these configurations can enhance your experience:
1. Configure Multiple AI Providers
I recommend configuring both Claude and GPT-4 so you can auto-switch when one service is unstable.
2. Set Up System-Wide Shortcuts
macOS can use Alfred + Workflow, Windows can use PowerToys Run for global quick access.
3. Regular Configuration Backups
# Config files are all in ~/.openclaw/
cp -r ~/.openclaw ~/openclaw-backup-$(date +%Y%m%d)
4. Monitor Running Status
Docker deployments should add health checks:
healthcheck:
  test: ["CMD", "curl", "-f", "http://localhost:3000/health"]
  interval: 30s
  timeout: 10s
  retries: 3
Summary
Having said all that, if you’re still debating which installation method to choose, my recommendations:
- Want the fastest experience → One-click script
- Daily primary use → npm global installation
- Long-term server deployment → Docker
Actually, OpenClaw installation isn’t as difficult as it seems — many “pitfalls” are just due to unfriendly documentation and unclear error messages. Hopefully this guide helps you avoid some detours.
A final thought: deploying OpenClaw itself is about more than just installing software — it represents an attitude toward AI usage: data privacy, self-control, not being locked into any single platform. As AI capabilities grow stronger, this “sovereignty consciousness” might be more important than you think.
Alright, go give it a try. If you run into issues not covered in this guide, feel free to share in the comments — I’ve probably fallen into more pits than you’d imagine.
OpenClaw 2026 Complete Installation Process
Step-by-step guide to deploying OpenClaw AI assistant from scratch, including environment preparation, three installation methods, and common troubleshooting
⏱️ Estimated time: 30 min
- 1
Step1: Environment Preparation: Verify System Requirements
Before installation, confirm the following environment:
• Node.js version ≥22 (strongly recommend v24+)
• Operating System: macOS 12+ / Windows WSL2 / Ubuntu 20.04+
• Disk Space: At least 1GB available
• API Key: Prepare Claude or OpenAI API Key
Check Node version:
node --version
China users recommended to switch npm registry:
npm config set registry https://registry.npmmirror.com - 2
Step2: Choose Installation Method and Execute
Method A - One-click script (fastest, 5 minutes):
curl -fsSL https://openclaw.ai/install.sh | bash
openclaw onboard --install-daemon
Method B - npm global install (recommended for daily use):
npm install -g openclaw@latest
openclaw onboard --install-daemon
Method C - Docker install (recommended for servers):
• Create directories: mkdir -p ~/openclaw-data/{config,data}
• Prepare docker-compose.yml file
• Configure .env environment variables file
• Start: docker-compose up -d - 3
Step3: Verify Installation and Start Service
Verify successful installation:
openclaw --version
Foreground mode (debugging):
openclaw start
Background mode (production):
openclaw start --daemon
Docker deployment view logs:
docker logs -f openclaw
Seeing "OpenClaw Gateway started" indicates success - 4
Step4: Configure AI Providers and Messaging Channels
Run onboard command to configure:
openclaw onboard
Follow prompts to complete:
• Select AI provider (Anthropic/OpenAI/Gemini)
• Enter corresponding API Key
• Configure messaging channels (Telegram/Discord/WhatsApp)
• Set up system services (optional)
Verify configuration:
openclaw config get
FAQ
Can I install OpenClaw directly on Windows?
Installation steps:
• Run wsl --install in PowerShell to install WSL2
• Install Ubuntu distribution
• Follow Linux installation steps in WSL2 terminal
• Note: WSL version must be 2, version 1 is incompatible
Common issue: WSL2 default memory may be insufficient — recommend creating .wslconfig file in Windows user directory, setting memory=4GB.
How do I fix EACCES permission errors during npm installation?
Solution:
• Create dedicated directory: mkdir ~/.npm-global
• Configure npm: npm config set prefix '~/.npm-global'
• Add to PATH: echo 'export PATH=~/.npm-global/bin:$PATH' >> ~/.bashrc
• Reload config: source ~/.bashrc
• Reinstall: npm install -g openclaw@latest
Or use nvm to manage Node.js, which automatically handles permission issues.
What's the difference between Docker and npm installation? Which should I choose?
Docker approach:
• Pros: Container isolation security, consistent environment, easy migration, suitable for long-term operation
• Suitable for: VPS servers, NAS, Mac Mini and other always-on devices
• Cons: Slightly more resource usage, more complex configuration
npm approach:
• Pros: Simple installation, low resource usage, easy debugging
• Suitable for: Personal computers, development environments, temporary use
• Cons: Depends on host environment, potential version conflicts
Recommendation: Use Docker for servers, npm for local development.
What special considerations for M1/M2/M3 Mac installation?
• Docker images: OpenClaw official images natively support ARM64, no Rosetta needed
• Node.js: Download ARM64 version from official website for better performance
• If platform mismatch errors occur, specify platform: linux/arm64 in docker-compose.yml
• macOS system version requirement: 12.0 (Monterey) and above
• Background services use launchd management — --install-daemon flag auto-configures
M-series Mac Minis are ideal devices for running OpenClaw — low power, silent, sufficient performance.
How to fix 401 error after installation when calling API?
1. Check if key was entered correctly:
openclaw config get
2. Reset the key:
openclaw config set anthropic.apiKey=your_key
3. Confirm API Key has available quota:
• Log into Anthropic/OpenAI dashboard to check billing
• New accounts may have usage restrictions
4. Network issues in China:
• Anthropic/OpenAI APIs require international network access
• Verify server can reach api.anthropic.com
• Consider compliant proxy services
5. Check key format:
• Claude Keys start with sk-ant-
• OpenAI Keys start with sk-
How do I completely uninstall OpenClaw?
npm installation:
• npm uninstall -g openclaw
• Delete config: rm -rf ~/.openclaw
• Remove service: launchctl remove ai.openclaw.daemon (macOS)
Docker installation:
• Stop container: docker stop openclaw
• Delete container: docker rm openclaw
• Delete image: docker rmi openclaw/openclaw:latest
• Delete data: rm -rf ~/openclaw-data
One-click script installation:
• Run npm uninstall -g openclaw
• Delete ~/.openclaw directory
• Manually remove added PATH configurations
After cleanup, recommend restarting terminal or re-logging into the system.
8 min read · Published on: Feb 26, 2026 · Modified on: Mar 3, 2026
Related Posts
AI Marketing Automation Guide: Build a One-Click Content Pipeline with OpenClaw

AI Marketing Automation Guide: Build a One-Click Content Pipeline with OpenClaw
AI Tools for Developers: OpenClaw + Claude Code 24/7 Auto Bug Fix

AI Tools for Developers: OpenClaw + Claude Code 24/7 Auto Bug Fix
Building Your Second Brain: OpenClaw & Obsidian/Notion Deep Memory Sync Guide

Comments
Sign in with GitHub to leave a comment